4 Ways to Connect Trail Camera to Computer: View Photos/Videos
After months of filming wildlife, it’s time to see just what your trail camera captured. Here’s how to view trail camera photos on your computer. The methods vary from simple to fastest. Some methods are automated and require monthly data plans.
There are 4 ways to view your trail camera photos on a computer. They include using a USB cable, using an SD card reader, connecting via WiFi, or syncing photos with a cellular trail camera. Each method will connect your camera and upload your footage to a computer.
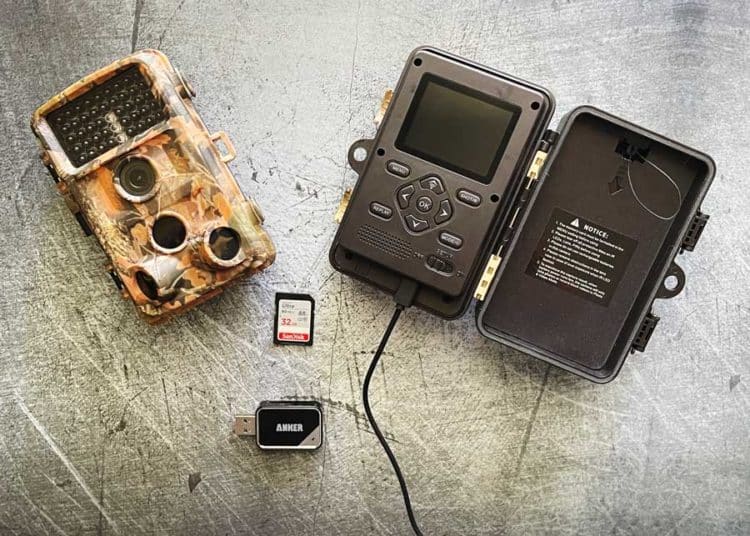
How to View Trail Camera Footage on a Computer
Here’s how to view and upload your photos and videos to your computer.
They are listed in order of easiest to more complex. It’s worth noting that the easiest method isn’t the fastest.
1. Connect With Supplied USB Cable (Easiest)
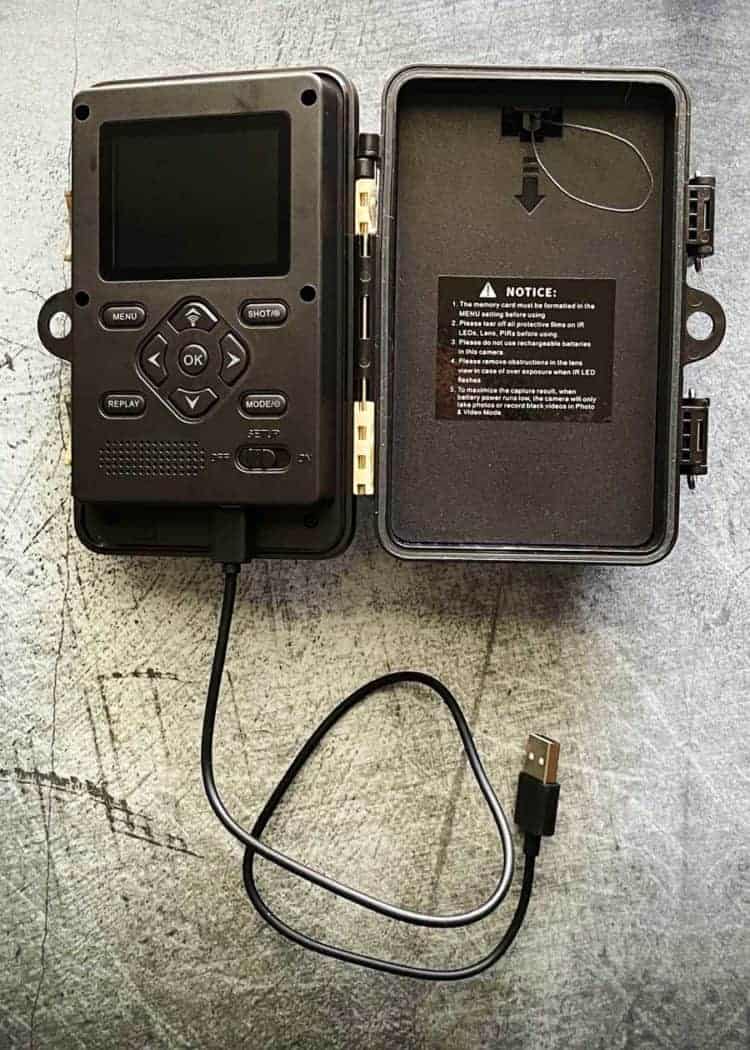
This is an easy method because most trail cameras ship with a USB cable.
This cable is for viewing your photos on a computer. It isn’t for charging, because trail cameras recommend against using rechargeable batteries.
Once connected, your trail camera should automatically display in File Explorer. Your trail camera will display “Mass Storage” or an equivalent term.
Most trail cameras will automatically turn on when connected via USB, regardless of the position of their power button. If it doesn’t power on, turn the power switch on.
- Connect your USB cable to your trail camera.
- Insert the other end into your computer. If the camera isn’t recognized automatically, press Window Key + E. This will open File Explorer.
- Navigate to “This PC”, in the left sidebar. Your trail cam should be visible under this header. It will likely show as “USB Drive”. One folder should be visible: DCIM
- Open the DCIM folder. You’ll likely see two folders: Movie and Photo. The number of folders may vary, depending on the manufacturer of your trail camera.
- From here, just drag and drop the files to your computer.
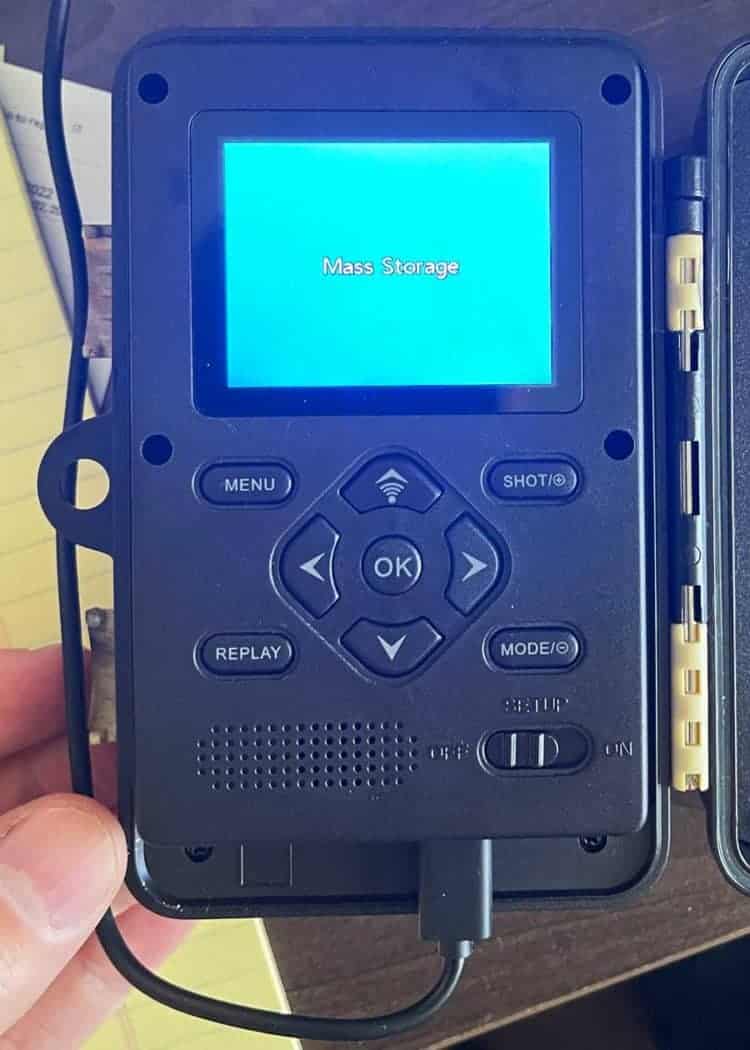
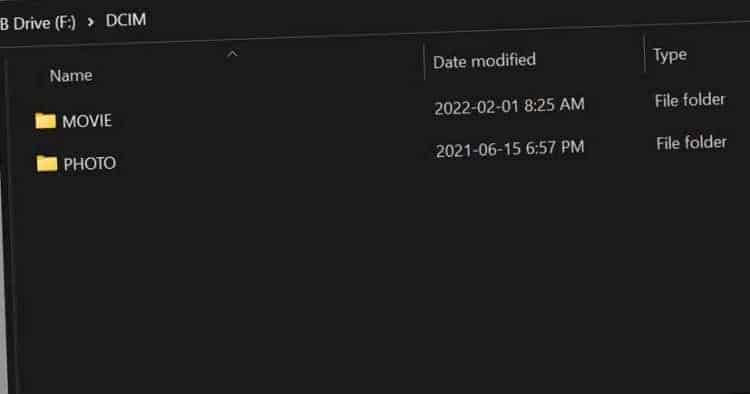
Two Requirements: This method requires that your trail camera have a battery charge. And that you know where your USB cable is.
These are two reasons I prefer the next method. It cuts the camera right out of the equation. This means that battery levels don’t matter. And I don’t have to worry about locating that random cable.
Plus, the next method is faster too.
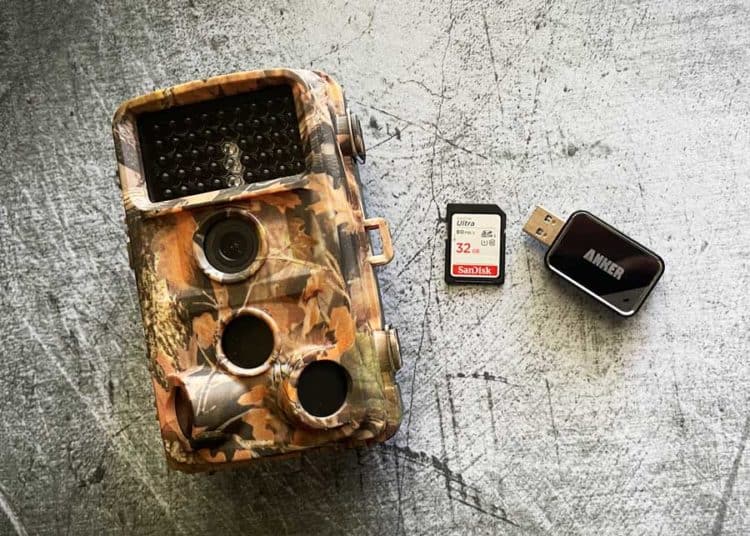
2. SD Card Reader (Fastest)
This is also a pretty simple way to view your trail camera footage. And if your computer has an SD card reader you won’t need any additional gear.
If you swap out SD cards, your camera can continue to film with its new card, while you’re uploading footage from the old one.
Just pop out your SD card and drop it in the SD card reader. If your computer doesn’t have one built-in, you’ll need to pick one up.
I’ve been using this one by Anker for a few years and I love it. It is USB 3.0 for fast connection and it has slots for standard SD and Micro SD cards.
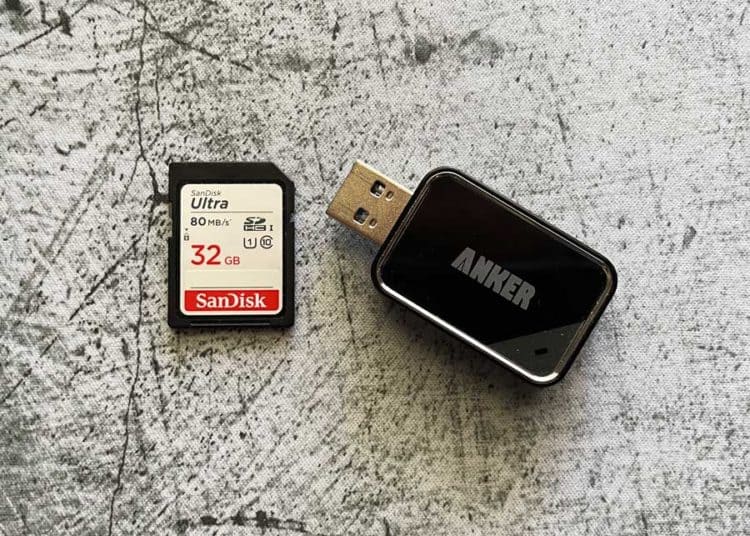
Here are the steps to view and upload your trail camera footage:
- Remove the SD card from your trail camera. Make sure that the camera is powered off.
- Insert the card into either a USB card reader or SD card adapter.
- Now insert this into your computer. If the card isn’t recognized automatically, press Window Key + E. This will open File Explorer.
- Navigate to “This PC”, in the left sidebar. Your trail cam should be visible under this header. It will likely show as “USB Drive”. One folder should be visible: DCIM
- Open the DCIM folder. You’ll likely see two folders: Movie and Photo. The number of folders may vary, depending on the manufacturer of your trail camera.
- From here, just drag and drop the files to your computer.
This is my favorite method. I have an SD card reader on my desk. And it’s also how I connect my other cameras (GoPro, Canon, Sony, and Olympus) to my computer.
If you don’t love waiting for file transfer, you should consider using an SD card reader. This method is faster than using a USB cable. This is because transfer rates are faster with the USB 3.0 reader than with the supplied cable.
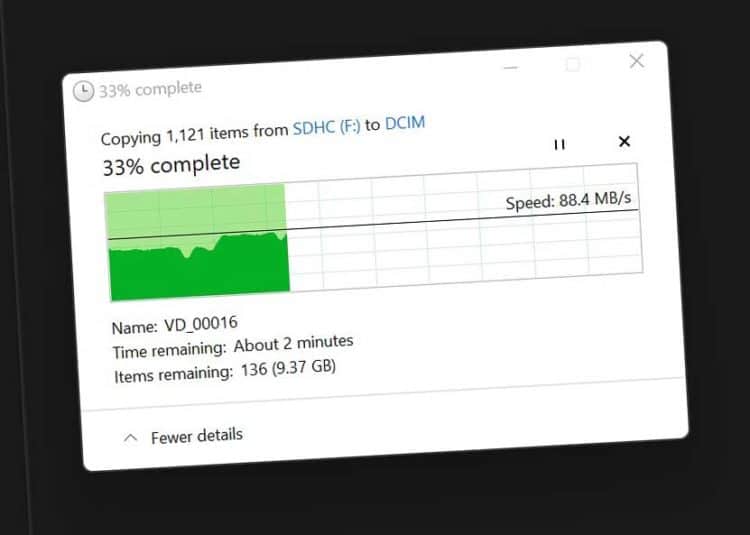
How much faster is a SD card reader? In my test, the USB cable method averaged around 9 MB/s. And the SD card reader transferred the same set of photos and videos (14.1 GB) at a speed of 88 MB/s. That’s almost 10X faster.
- Via USB Cable: 26 minutes
- Via SD Card Reader: Under 3 minutes
Variables: I used the same USB hub and the same SD card (rated for 80 MB/s.
Once you have your SD card connected to your computer, it’s a good idea to format it. Make sure you do this AFTER you upload your footage!
Here’s more about how to properly format your SD card for a trail camera.
3. Connect via WiFi
If you have a WiFi module on your trail camera, you can try to connect this to your home network, and to your phone, via the manufacturer’s app.
A few notes about viewing via WiFi. Your camera will need to be close to your connection. This feature is not made for long-range transmission. Or to deal with physical barriers, like a few trees.
The WiFi module in the camera is underpowered because the batteries are small and power is reserved for filming, not transmitting.
4. Sync Footage From Cellular Trail Camera
If you’re using a cellular-connected trail camera, the images are automatically uploaded to cloud-based storage, where you can access them from your phone or computer.
This is a pretty great option if you have the budget for the purchase of the cellular trail camera and the monthly fee for the data plan. Here’s an explanation of this by Moultrie.
The Final Result
Follow these simple steps and you’ll have your footage and photos uploaded and ready to view.
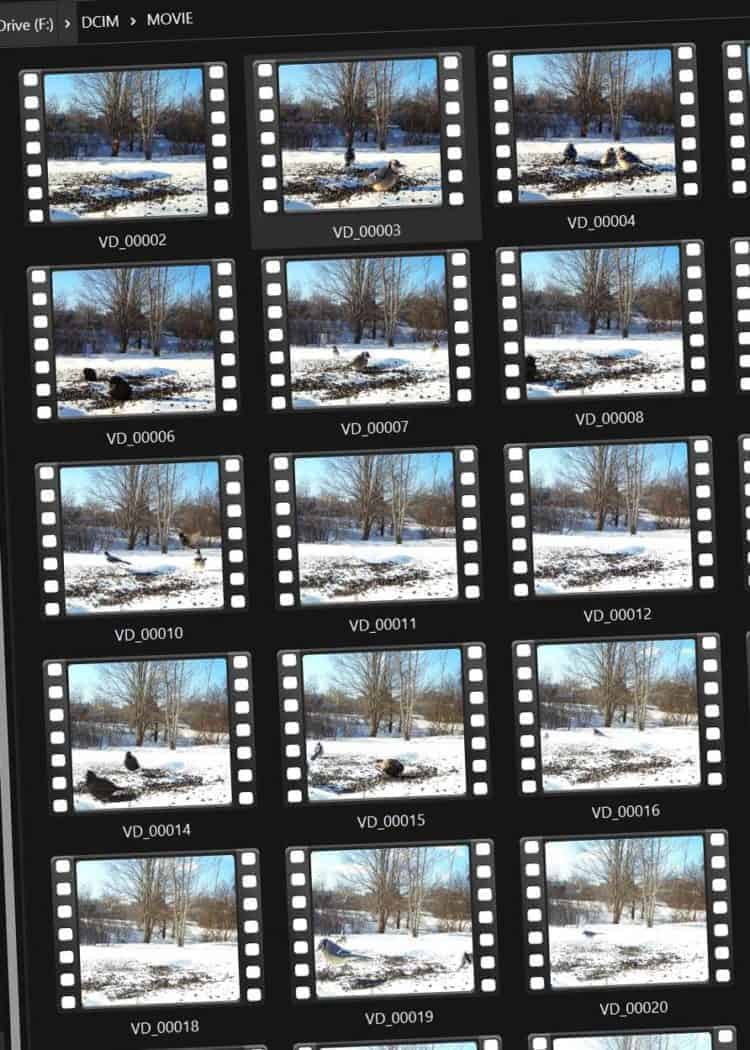
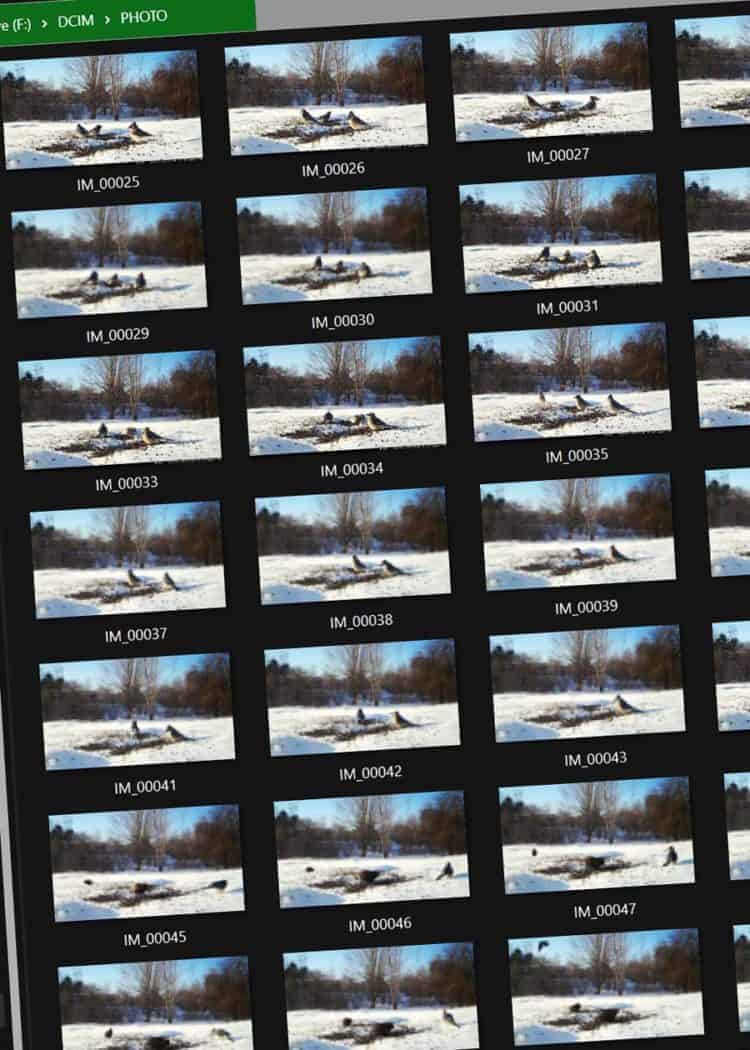
Here are some clips that I uploaded this morning from some birds this past winter.
Keep reading: Here’s how to troubleshoot a trail camera that won’t turn on.
Your Turn
How do you view trail camera photos on your computer? Have a tip to share? Let me know below!


