How to Level a Camper: Step by Step for New RVers (Tools)
There are few things more exciting than buying a new camper. You have purchased your ideal camper, learned how to hook it for towing, and now it is time to learn how to level a camper with this step-by-step guide for new RVers.
How to Level a Camper: Begin by choosing a level site and removing debris. Using your level and wheel blocks, level from side to side. Then level your RV from front to back. Unhitch your RV and lower the stabilizing jacks. Bring the right tools and take a few minutes to plan will make the job easier.
More on each step and some tools to make it easier below.
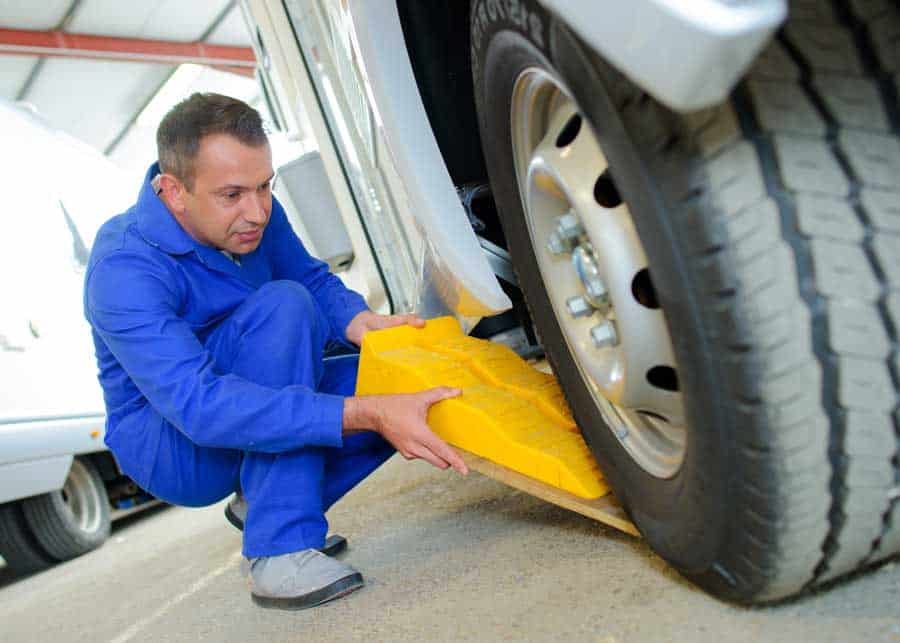
A few tools are essential for proper leveling, and you will want to remember them for every trip. It is best to keep them stored in your travel trailer to streamline the process.
Don’t be overwhelmed by the prospect of leveling your trailer.
It’s easier than you think, and there are even ways to automate the process, should you prefer to avoid the manual requirements.
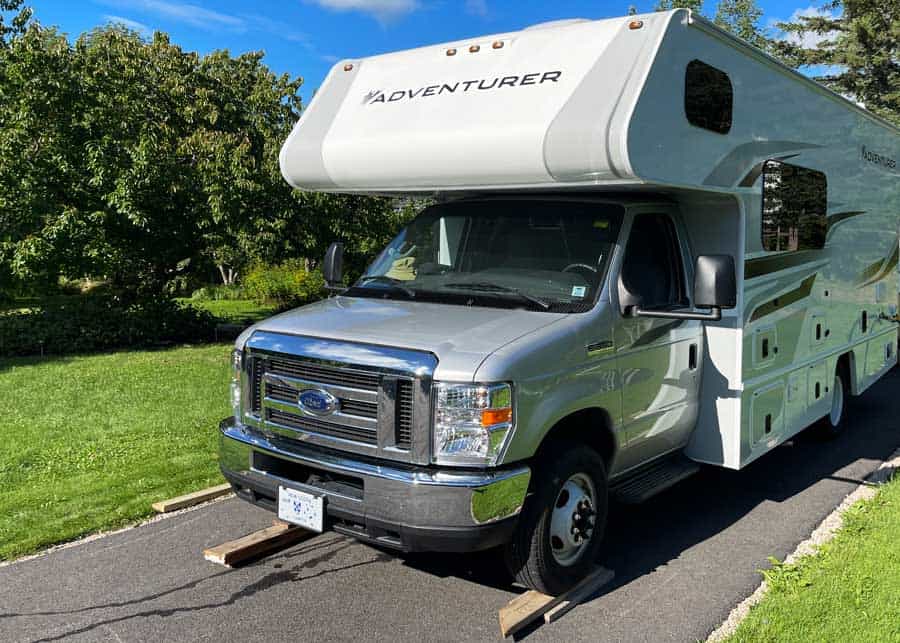
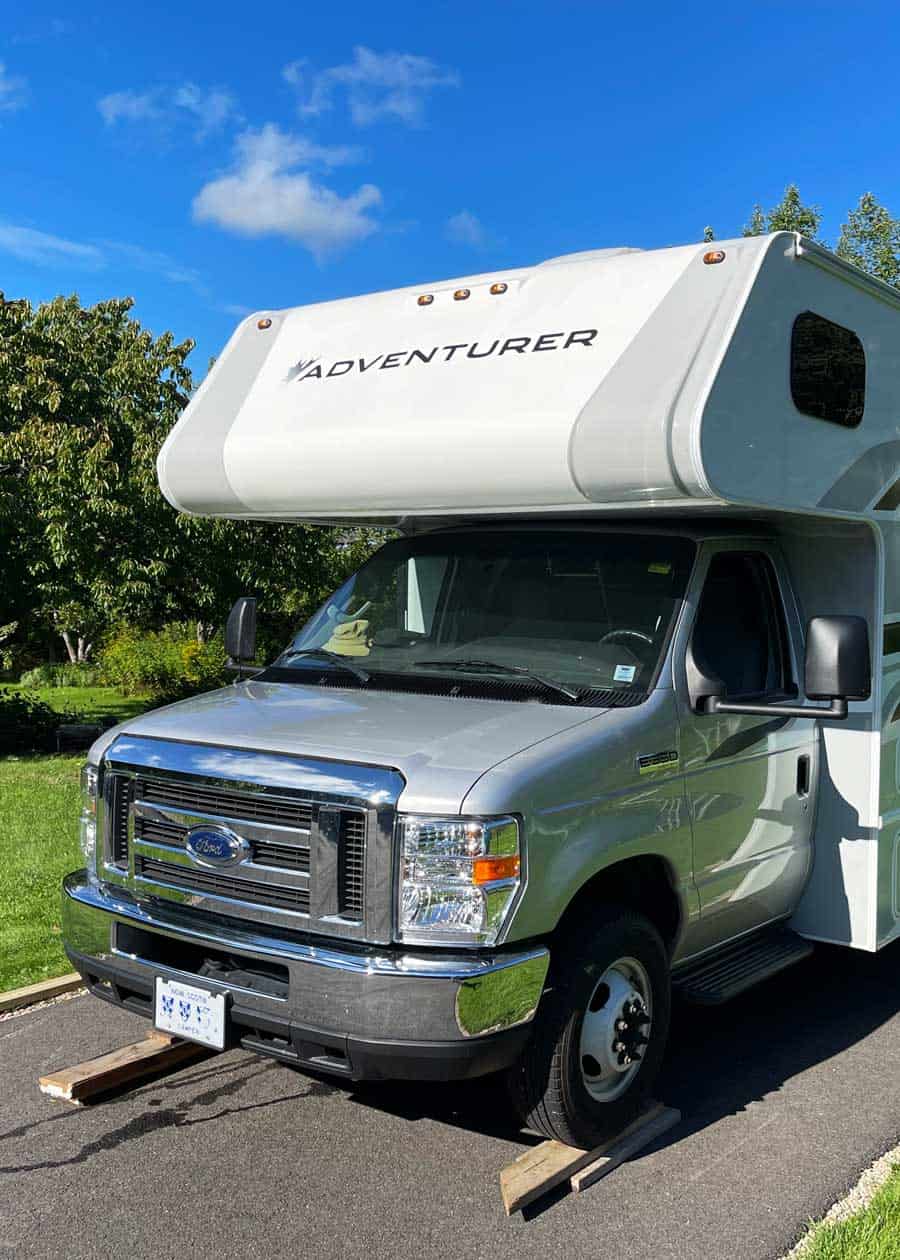
If you don’t use leveling blocks, you probably do what I did last summer: small piles of 2×6 boards. They do the trick, it just takes a bit of fiddling.
Why You Need to Level Your Camper
There are several reasons why leveling your camper is vital.
4 Reasons to Level Your RV
Leveling a camper ensures that all components will function properly.
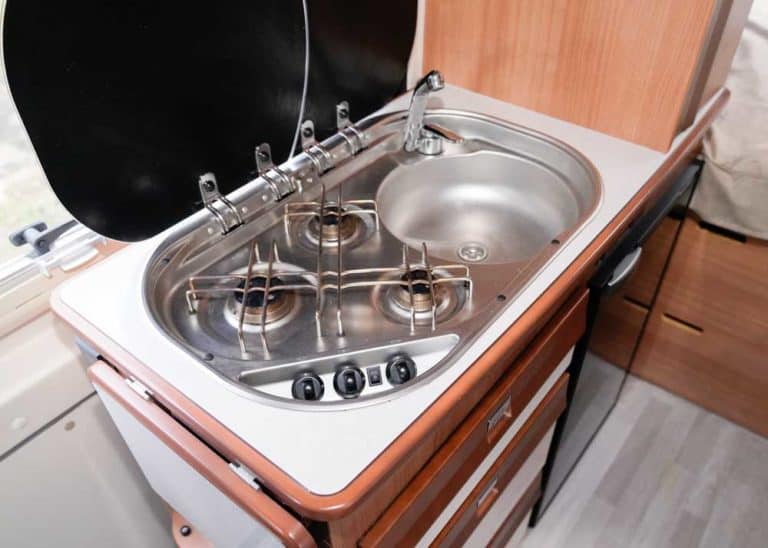
- Pumps and compressors require level. For example, if refrigerant fluid is off to one side, your RV fridge won’t work correctly. And electrical components can end up damaged if something leaks.
- Doors and cupboards will only open/close correctly when RV is level.
- For campers with slide-out parts, a level camper keeps unwanted stress from damaging rails or braces.
- A camper that is not level can also be uncomfortable for occupants with sleeping quarters and living areas off-kilter.
Leveling your camper is an easy way to prevent unwanted damage to your trailer or frame. The extra time you spend in leveling provides a comfortable stay and doesn’t require extra hands.
Gather your tools and follow this guide to level your camper!
How to Level Your RV Fast (Video)
7 Tools You Need to Level a Camper
Leveling your camper for the first time requires a few tools. While nothing is specialized, you’ll want to gather everything before you start to make the job as quick and effortless as possible.
1. Bubble Level
When talking about leveling an RV, a leveler of some kind should be obvious, but it is required nonetheless.
Installing a bubble level on various spots on your camper will aid in the leveling process. They are cheap and effective and often come pre-installed with many new models.
2. LevelMatePro+
As an alternative to a bubble level, you might consider the LevelMatePro.
Mount the unit inside your RV and then level your camper from inside your vehicle. It connects via Bluetooth to the LevelMatePro app and to the Apple Watch.
It gives real-time updates on how to level your RV. It shows how out of level each wheel is, making it easier to find a level spot, to begin with. And then takes the guesswork out of which side to adjust – and by how much.
This video review by the RVGeeks gives a great intro for the ease of use of the LevelMatePro.
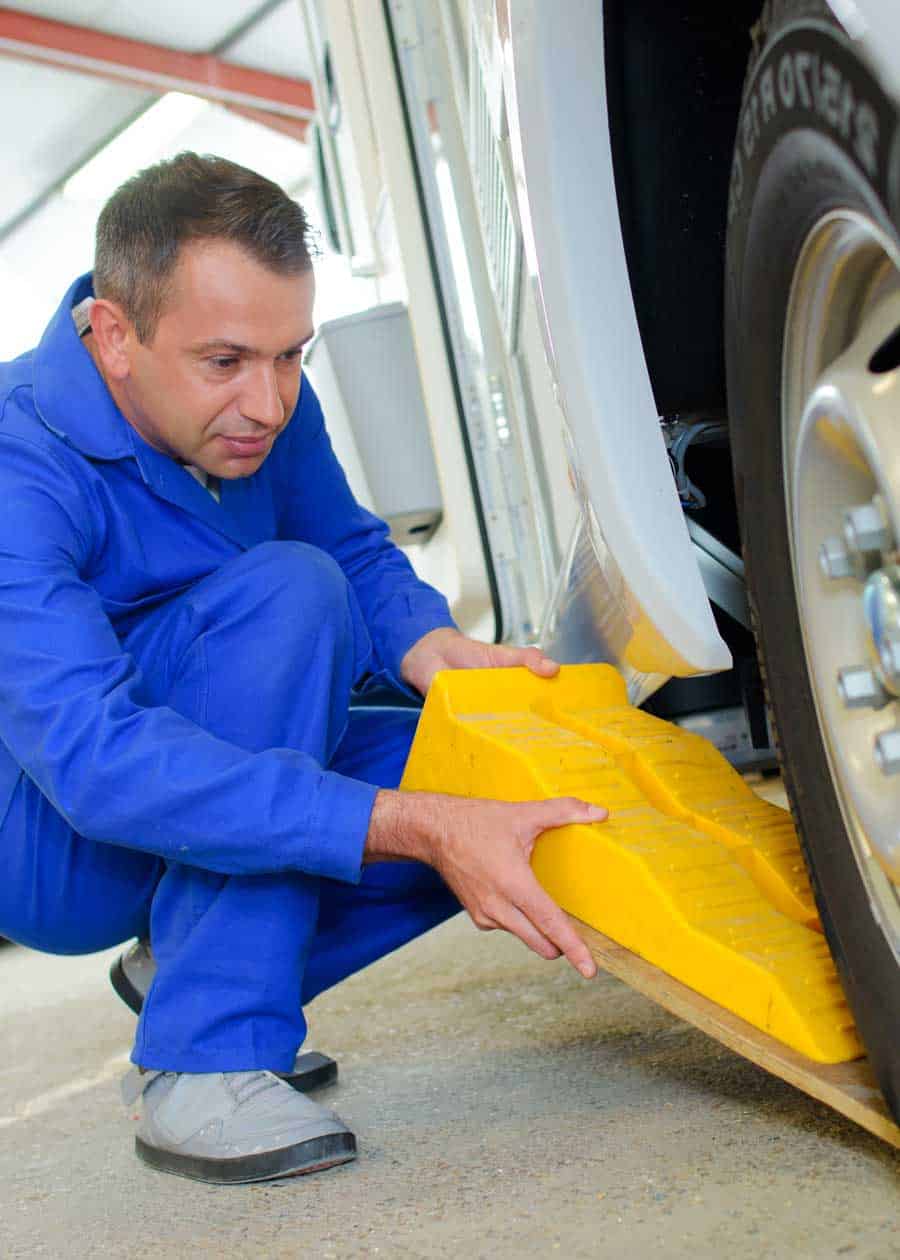
3. Leveling Blocks
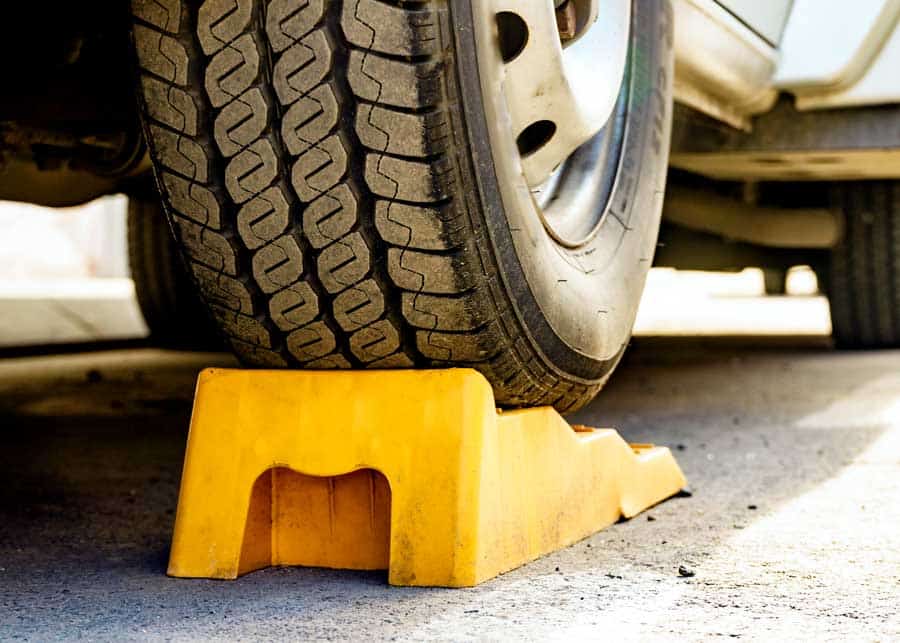
No matter how hard you try, most camping sites aren’t perfectly level. In that case, leveling blocks will help raise one side to match the height of the other sides.
These are vital pieces of equipment to have with you on every trip.
Here is one of the more popular options for leveling blocks.
Andersen Levelers: These leveling blocks are used in two pieces per wheel. Drive up on the larger chock, then insert the smaller chock on the opposite side. They offer precise leveling between 1/2″ and 4″.
Andersen levelers support trailers up to 30,000 lbs and up to 32″ tires.
4. Wheel Chocks
After leveling with blocks, it’s a good idea to drop in some wheel chocks.
This step ensures you keep your trailer or RV where you want it. And solid wheel chocks (like these solid rubber ones) will keep your level trailer stable and in place.
5. Shovel
Sometimes you’ll come across a level site except for one area. In this case, a shovel is a perfect tool to level things out.
You can quickly scrape away some gravel (or add some in a low spot) and shortcut the leveling process.
A shovel is a tool that you will want to have with you at all times for more than just leveling your camper, and it hurts when you forget one.
6. A Cool Head
Leveling a camper is difficult at times. Sometimes a spot does not play nice, and there is no such thing as a flat area—other times, leveling front to back throws off the leveling side to side.
Keeping a cool head when leveling your camper will make the process easier.
7. Spotter
While not required, having a second set of eyes can make the process easier. This is especially true if you aren’t using an automated level tool (like LevelMatePro) and easy levelers (like Andersen).
Having another person to see your progress and check the level can help you having to jump in and out of the truck again and again.
How to Manually Level a Camper Step by Step
Once you have gathered the required tools to level your camper, follow these steps to balance your camper.
Once you have done it once, it gets easier every time after. After a season of RVing, you will be a regular pro.
1. Survey Your Site
The first thing to do when you get to your site is to find the most level place to park your camper. Every spot will be different, and finding that sweet area where leveling is the easiest will make setting up a breeze.
It is a good idea to remove anything that might get in the way of a level camper.
It would be best to clear rocks, logs, and other debris before leveling. Nothing is worse than setting up shop on a rock, only to have the camper shift when trying to adjust the other side.
2. Level Side to Side First
Start by leveling side to side first. It’s easy to level front and back once this step is done.
Surveying and clearing your campsite will make this step extra easy. If it is not level, start by setting up your leveling blocks in front of the wheels.
After setting up the leveling blocks, push them as tight against the tire as possible. It will be easier to pull onto the blocks instead of backing onto them.
Once set, pull forward more to secure the blocks. Keep pulling forward until the bubble level hits the middle. Keep trying, sometimes, you do not get it the first time, and you have to reset.
Set your chock before unhitching once the tires are level to prevent your RV from rolling away.
3. Level Front to Back
After balancing side to side and unhitching, you can balance front to back.
Start by lowering your landing gear or tongue jack to raise the camper just off the hitch. You might need to add leveling blocks under the jack if you are on unlevel ground.
Luckily, by this step, you have already done the hard part.
Unhitch and pull away from the camper and start using the jack to level the camper. You are again looking for the bubble level to read the middle before calling it good.
4. Lower Stabilizing Jacks
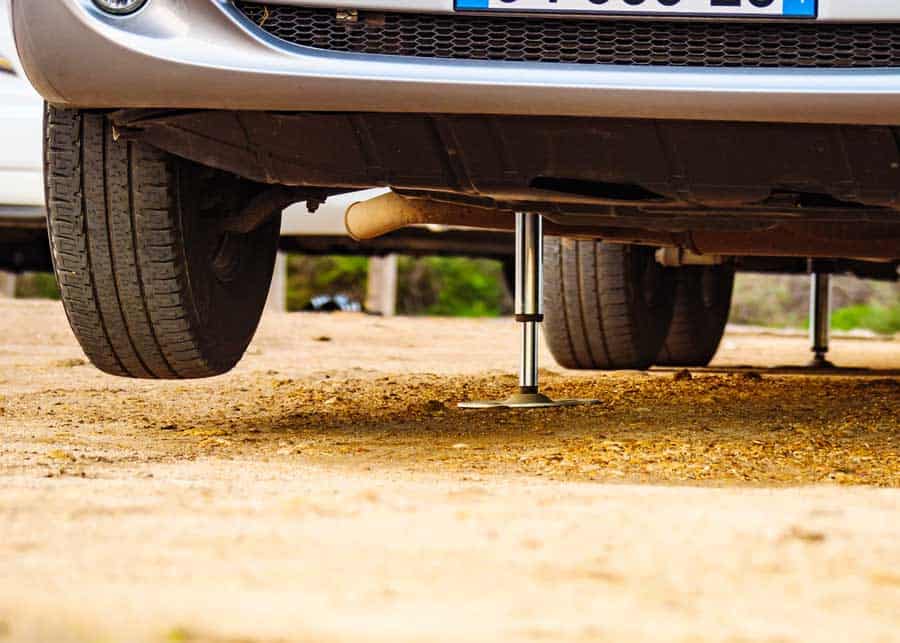
Once your camper is level, the final step is to lower the stabilizing jacks. Stabilizing jacks are vital for creating a comfortable camping experience.
These jacks are not meant to level the camper but to stabilize and support your RV. Make sure your RV is fully level before lowering these jacks.
Now that your camper is level and stabilized, you can sit back and enjoy your hard work. Keep playing with these steps until you can set up your camper with your eyes closed.
Is There an Easier Way to Level a Camper
Leveling a camper by hand may seem tedious or challenging. Maybe manual leveling is impossible because of health or age. Or perhaps the act of leveling a camper is just too much to bear.
Luckily there are options for automatic leveling, even straight from your phone!
You can use either hydraulic jacks or a digital leveler (or both).
Automatic leveling uses hydraulic jacks in various configurations to find the perfect camper level. At the push of a button, sensors fine-tune the jacks to achieve a level that manual leveling cannot reach. Of course, there are some limitations, so it is vital to understand how to level manually.
If you decide the automatic route is the method for you, check with your dealer about factory-installed options. The implementation of automatic leveling is more popular every year.
In the event you cannot get factory-installed levelers, there are plenty of aftermarket options to choose from with warranties should something go wrong.
More reading: How to Keep an RV Fridge Cold While Driving
Final Thoughts on How to Level a Camper
Buying an RV opens a whole new world of adventure. Having a stable base of operations for hunting, fishing, camping, hiking, and other countless outdoor activities creates a sense of security. It provides a level of comfort a tent could never match.
The first trip with a camper is exciting, and learning how to level a travel trailer will make things much easier.
An unlevel RV is uncomfortable and a liability. Avoid an awkward experience and follow these easy steps to level a camper.
How do you level your RV? Have a tip to share? Join me below!


