PIR Delay on Game Camera: Meaning, Use, Setting
Game cameras are popular among game photographers and hunters. They allow you to see what the animals are doing without having to be there in person. The motion detection shoots only when there is wildlife. PIR delay on game cameras is an important feature.
On trail cameras, PIR delay refers to the amount of time your camera waits before shooting another photo or video. Delay ranges from 5 seconds to 60 minutes. The delay setting is important for two reasons which must be balanced. Avoid shooting too much of the same animal and missing a special moment of rare wildlife.
Here’s how to use PIR delay on your trail camera.
Game cameras come with advanced features like the PIR delay. What is the PIR delay on the game camera?
PIR Delay on Trail Camera: Meaning
PIR stands for passive infrared. PIR has a sensor that detects animals in motion, and the movement must happen between predetermined intervals. These delay intervals range from 5 seconds to 60 minutes.
The PIR delay interval is the amount of time that the camera waits before triggering another round of photos and videos.
2 Benefits of Using PIR Delay
There are two primary benefits to using the PIR delay interval.
- The reason for the delay is to avoid filling the SD card with very similar photos of the same animal.
- The PIR delay also helps save your camera’s battery, save your SD card’s space, and even saves you time from rifling through useless recordings.
Ideal PIR Delay Settings
What is the ideal PIR delay setting? Most trail cameras have PIR intervals ranging from 5 seconds to 60 minutes.
If you’re getting started, I recommend starting at a 30-second delay interval. This will capture passing animals, and shoot multiple sequences and videos of any animals that stay around longer than 30 seconds.
After shooting for a while with the 30-second interval, you can adjust up or down, depending on the conditions and your desired footage.
According to members of the Field and Stream forum, it’s good to experiment with the PIR delay.
- 5-Second Delay: You’ll get lots of footage of the same animal.
- 5-Minute Delay: You’ll likely get a single image of each animal unless they stay around for longer than 5 minutes.
The PIR Delay sweet spot is likely somewhere in between 5 seconds and 5 minutes.
When to Use the PIR Delay Interval
You have two options: either opt for a longer PIR delay or a shorter PIR interval.
- Choosing a longer PIR delay means that your trail camera will not capture as much footage of each animal as it passes by.
- Choosing a shorter delay gets you a higher quantity of recordings, often multiple of the same individual animal.
Depending on your needs, you can choose either option, a short or long delay time. It all comes down to the duration of the trail camera will be out, your location, and the time of the year.
When to Use a Longer PIR Delay
The PIR delay on your game camera should be longer if you’ve set out bait. Putting out bait is a great way to attract animals and get lots of great footage of them feeding and interacting.
Consider a PIR Delay of 5 minutes when using bait.
With a longer delay interval, your trail camera will shoot fewer videos and pictures of these animals. And you’ll get footage spread over a longer period of time.
A longer delay means you can avoid the problem of filling your card with images of the exact same animal.
How long is your game camera going to stay out? If your camera will stay out for a week or more, the ideal option is to set the delay to thirty seconds or more. The logic behind choosing a longer delay time is that you have several days to capture different actions each day. You wouldn’t want to run out of SD card space or risk running out of battery before this period.
When to Use a Short Delay
Most wildlife watchers prefer a shorter PIR delay over a longer one. Missing out on an animal passing by can be avoided by using a shorter PIR delay interval.
Consider a PIR Delay of 30 seconds when shooting a wildlife trail.
Another scenario is when you’re watching over a game trail or another location expected to have animals visiting frequently.
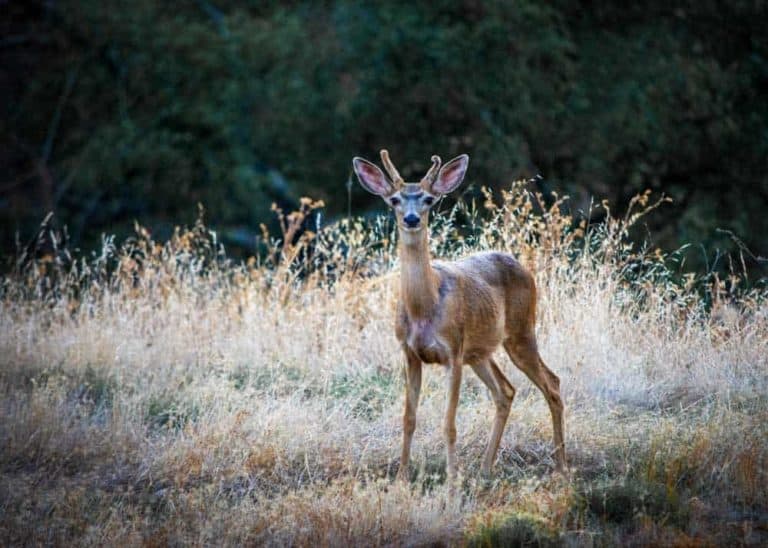
For example, you don’t expect deer to slowly travel their trail. Since they’ll be moving fast, you want your trail camera to take several pictures. With a shorter delay time, you won’t miss out on the full herd as they pass by.
Can PIR Sensors Fail?
Yes. The game camera heavily relies on the sensor for efficient functioning. However, if a single part of the camera malfunctions, the sensor will not work.
If you have low or unstable voltage at the detector, the sensors might not detect trigger movement. You can avoid this problem by using the correct, fully charged batteries. Here’s more about maximizing battery life in trail cameras.
Sometimes the camera takes several pictures of absolutely nothing. This is often caused by a faulty sensor that doesn’t match the trigger delay.
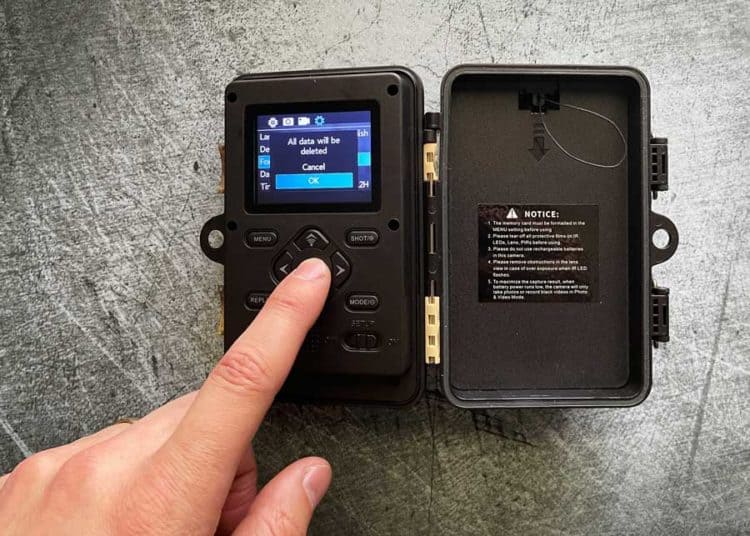
Recommended Settings for Your Game Camera
For your game camera to give you its full potential, you have to get the settings right.
Photo Mode
When setting your trail camera up, you should first select the capture mode. It could be a photo or video mode, depending on your preference. Many people prefer photo mode since pictures occupy less space, allowing the camera to record a lot more of the game.
Video Mode
If you want video clips, select your capture mode to be on video, but also remember to choose how long you want each video clip to be.
Smart IR Video Mode
It allows daytime video recording as long as there’s a movement triggered. However, if there’s no movement, the video will still run until the length chosen in the video mode elapses.
Trigger Time
It controls how long it takes the camera to capture and record the picture after detecting an animal like a deer passing.
PIR Delay Time
This setting shows how long a trail camera stays inactive after taking and recording a series of images or a video. The common recovery time is usually between 5 seconds to one minute.
Burst Mode
If your trail camera capture is in photo mode, this is one setting that you shouldn’t overlook.
With this burst mode, the camera takes several pictures of the same animal when triggered instead of one.
Your Turn
The PIR delay on your game camera is one of the most overlooked features but is a big help if you use it correctly. The feature saves both your battery and the SD card space, allowing your trail camera to record more, and longer.
Always ensure the trail camera points to the north whenever you leave it out. This avoids a false trigger by staying out of the sun’s path.
What PIR delay have you been having success with? I would love to hear your experiences below.
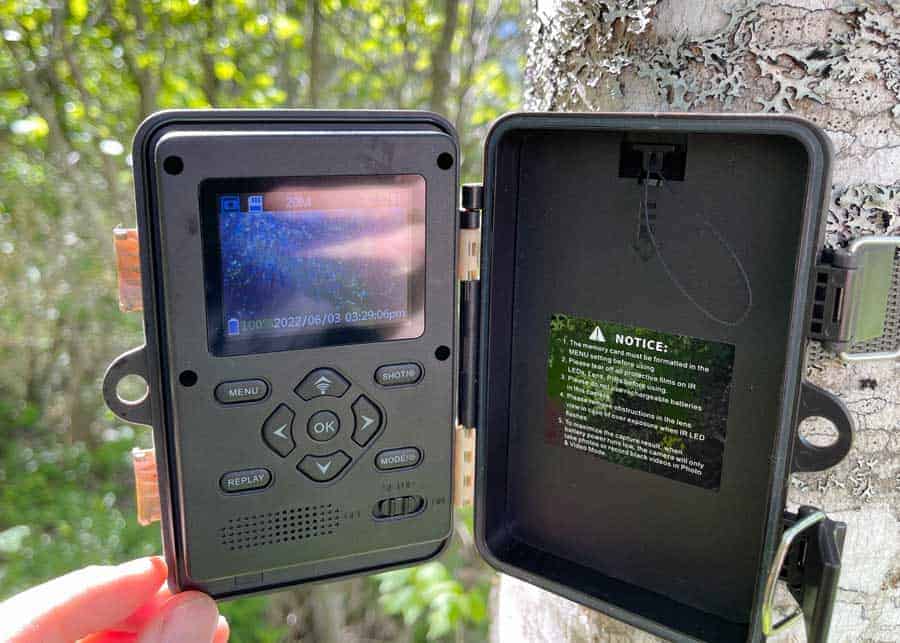
Hi Brian, I have TC06 trail camera. I was working fine up until a few weeks ago when it stopped recording at night. I have an external 6v power source and I make sure the batteries are fresh. When I set it up at dusk it takes video and then a video of me in the morning when I take it down but nothing in between. I have a group of red foxes that visit every night (for food) and the food is gone the next morning so I know they have visited. I contacted the manufacturer and they gave me some settings to change but it hasn’t solved the problem. Any suggestions would be appreciated.
Best Regards,
Tony Cicco