
How to Flush and Clean RV Black Water Tank (7 Easy Steps)
As an RVer, one of the most important things to remember is how to flush and clean your black water tank properly. Let’s face it; no one wants to deal with a nasty clog or spillage. This guide will help you to avoid such disasters.
To flush your RV black water tank, you’ll begin by draining the tank. Then fill it with clear water and drain it a 2nd time. To clean your RV black water tank, you’ll add detergents and water softener powder, then fill with water. After draining a 3rd time, your tank should be clean and ready for use.
From the best way to flush out the tank to how often you should clean it, we got all the information you need to ensure your next RV trip is smooth. So please sit back, relax, and let us take care of the dirty work.
This post will share tips on keeping your black water tank clean and functioning properly.
Step-by-Step Guide on How to Flush Black Water Tank
As any experienced RVer knows, dumping tanks is one of the least pleasant aspects of the lifestyle. However, it is a necessary evil if you want to continue enjoying the freedom of the open road.
Here is a step-by-step guide to emptying and flushing your RV’s black water tank.
Note: In this process, you’ll be draining the tank 3 times (black water, secondary black water, flush with clean water).
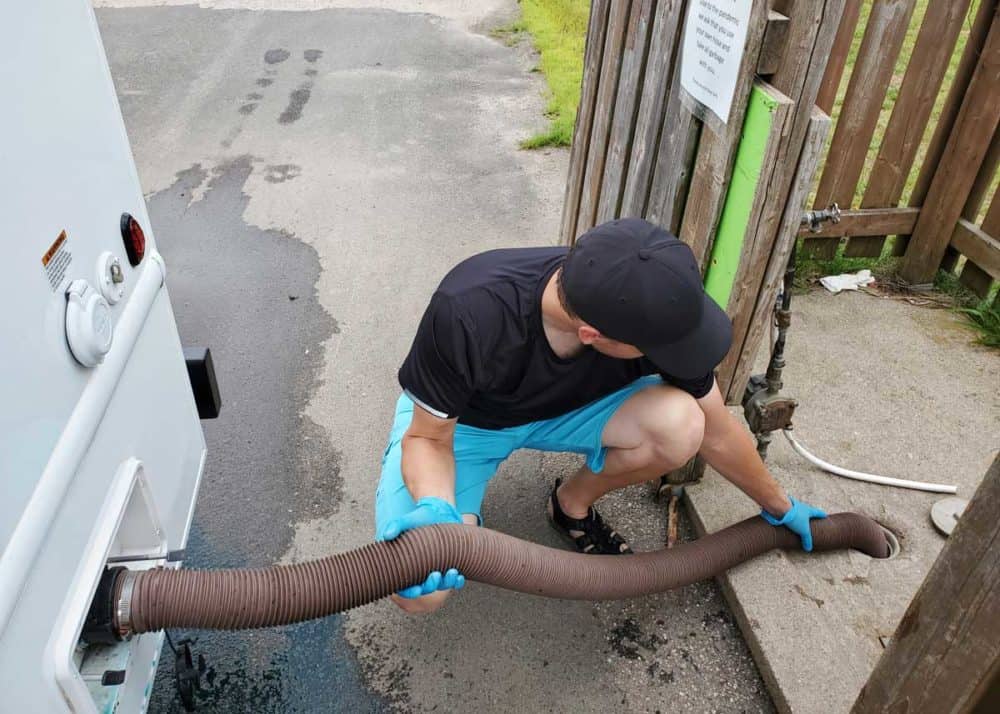
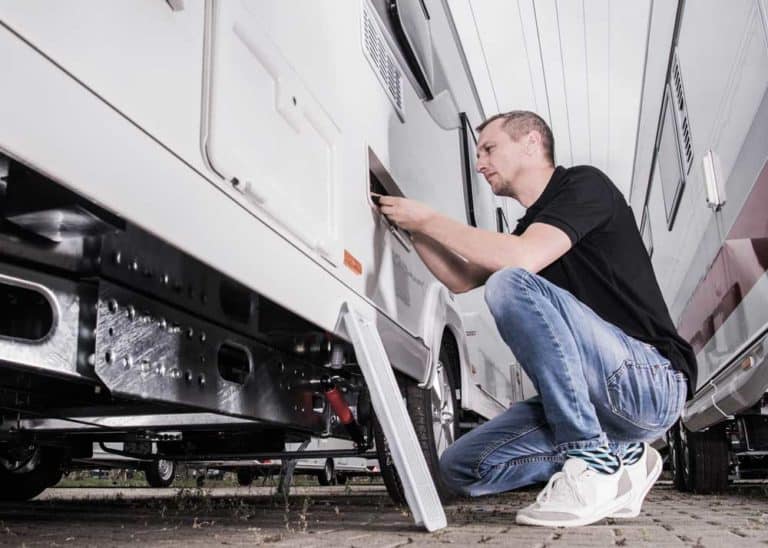
- Empty your black water tank first. Always begin by draining the black water tank. If your tank isn’t full, consider filling it with fresh water before dumping it. This provides enough liquid to sufficiently flush the solids.
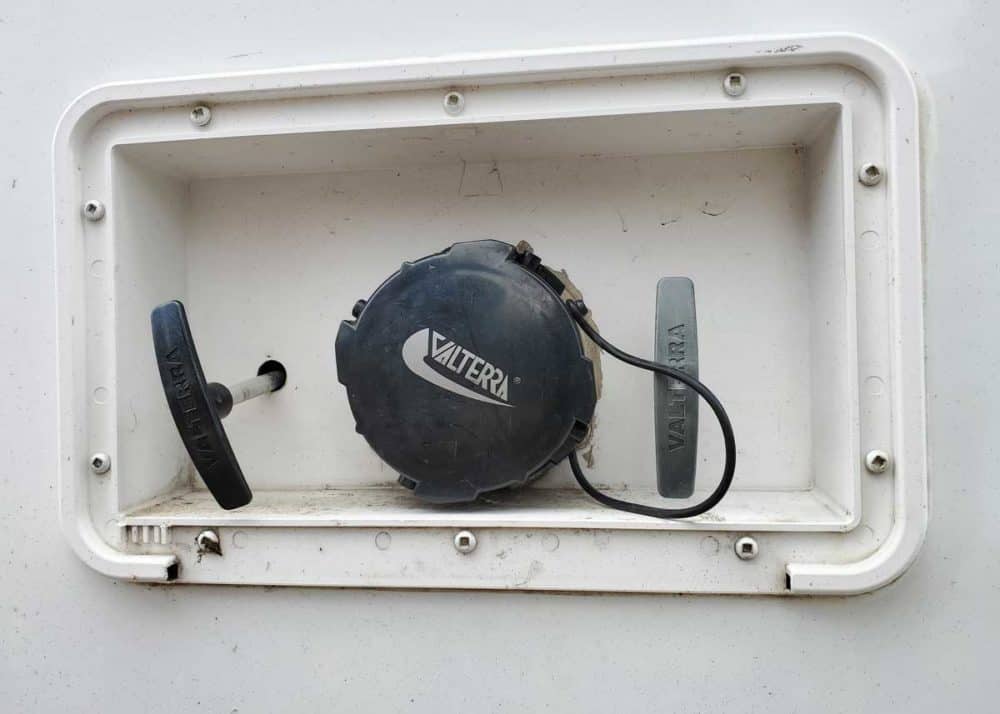
- Close the valves and disconnect your RV from any sewer hookups. If you are boondocking, this step is not necessary.
- Flush the toilets several times to add some clear water to the black tank. This is to only partially fill the black water tank.
- Drain the black tank a second time. Now it’s time to get rid of the wastewater. If hooked up to a sewer connection, open the valves and let the water flow. If you are boondocking, you must find an appropriate dump station.
- Once the tanks are empty, it’s time to flush them out with clean water. This will help remove residual waste and prevent odors from building up. Connect your RV to a water source and run a hose into the black tank until the water runs clear.
- Optional: Add enzymes, cleaners, and disinfectants. If you’re concerned about a build-up inside your tank, you can add these materials before the final flush.
- Empty your grey water tank last. This is important to do last, as it will flush any remaining black water residue from the hose.
To ensure the water runs clear (step 5), you can use a clear RV hose elbow. This Camco RhinoFlex is a popular choice.
By following these simple steps, you can ensure that your gray and RV black tank are clean and odor-free.
Video Tutorial for Flushing Black Water Tank
RV Tank Treatment Methods
The final step in this process, and arguably the most important, is treating your RV tanks. While it may seem like a chore, treating your RV tanks after dumping, flushing, and cleaning them is a crucial step in preventing future buildup, clogs, and odors and accelerating break-down time for future waste stored in the tank.
By taking the time to treat your tanks, you’ll be able to enjoy your RVing adventures for many years to come. Plus, it’ll save you from dealing with a smelly, messy situation down the road.
How do you treat your RV tanks?
1. Adding a Cup of Bleach
There are a few different methods that you can use, but one of the most effective is to add a cup of bleach for every 15 gallons of tank capacity. Once you’ve added the bleach, fill the tank with water and let it sit for at least six hours before draining it again.
This will help ensure that the bleach has enough time to work its magic and kill any germs or bacteria lurking in your tank.
Cleaning the residue inside the black tank is important for good sensor function. Without regular cleaning, your black tank might show as 2/3 full, even after emptying.
2. Using Detergent and Ice Cubes
Okay, so this may not be the most glamorous method of treating your RV’s tanks, but it’s one of the most effective. Drop a couple of ice cubes and a scoop of detergent into your black water tank and let it sit at the bottom.
The ice (when agitated – while driving) may help to break up any solid waste, while the detergent will work to dissolve any stubborn residue. This method is handy if you’ve trouble with clogs or odors. Just be sure to empty and rinse your tanks thoroughly afterward.
3. Using Peroxide and Baker’s Yeast
If you’re looking for a natural way to clean your RV tank, you may want to try using baker’s yeast and peroxide. This method is effective in breaking down waste and preventing tank buildup. To use this method, add a cup of baker’s yeast to a gallon of peroxide and stir well.
Then, add the mixture to your RV tank and allow it to sit for 24 hours before flushing. After using this treatment, you should notice a significant difference in how your RV tank smells. And, best of all, you won’t have to worry about harsh chemicals or fumes.
4. Using Borax and Dawn to Clean RV Tanks
If you’ve ever tried cleaning your RV’s tanks with a standard cleaner, you know it’s a frustrating process. The grime and gunk seem to build up faster than you can clean it, and no matter how much elbow grease you use, the results are always disappointing.
But there’s an easy way to clean your tanks that will save you time and frustration: borax and Dawn dish soap.
Mix equal parts borax and dawn in a bucket of hot water, and then use a sponge or brush to scrub the mixture into the affected areas. The borax will help break down the dirt and grime, while the dawn will cut through the grease. After letting the mixture sit for a few minutes, rinse the dirt and grime, and your tanks will be sparkling clean.
Try the GEO Method
Like most RVers, you probably don’t give much thought to your black water tank. After all, it’s just where all the dirty water goes. Wrong! Your black water tank needs to be carefully maintained to avoid future problems.

But don’t worry, there’s no need to call in a professional – with a little time and effort, you can easily treat your RV tank through the GEO Method:
- Calgon water softening powder.
- Powdered laundry detergent
- Household bleach
Here’s how to use these three products.
Geo Method Explained
What is the GEO method for RV black water tanks?
Buy a couple of boxes of powdered water softener at the grocery store. You’ll find it located with or near the laundry detergent products. I prefer Calgon Water Softener because it dissolves quickly in water. Cheaper water softeners work just as well but dissolve more slowly. Dissolve two (2) cups of the water softener in a gallon of hot water. Then, pour the solution down the drain into the empty tank. Use two cups of softener for each wastewater tank in your RV. The tank’s drain valve should be closed otherwise the softened water will just drain out. Then use the tank(s) normally until it is full and drain it normally. Add a cup of laundry detergent to the black (commode) water tank at the same time you add water softener. This will help clean the tank.
Charles Bruni
Occasionally, I pour a half gallon of liquid bleach into each tank to deodorize, sanitize and disinfect them. I add the bleach when the tank is about half full, and then continue to use the tank normally until it is full and ready to dump.
4 Tools to Clean Your Black Water Tank
If you’ve ever had the pleasure of cleaning your waste water tank, then you know it’s not a job for the faint of heart.
But fear not – with the right RV black tank cleaners, you can make quick work of this dirty task.
- Tank Rinser: The first tool you’ll need is a tank rinser. This handy device attaches to your water hose and sends a jet of water into your tank, dislodging all the gunk clinging to the sides.
- Tank Wand: Next, you’ll need a tank wand. This long, narrow wand helps you reach all the nooks and crannies of your tank, helping remove every last bit of grime.
- RV Hydroflush: If you’re serious about keeping your tank clean, consider investing in an RV Hydroflush. This powerful system flushes your tank with clean water, leaving it squeaky clean.
- Built-in Waste Tank Rinse System: Choose a built-in waste tank rinse system if you want the ultimate convenience. This system hooks up to your water supply and flushes your tank automatically – no manual scrubbing required!
FAQs about Black Tank Cleaning
Here’s more about cleaning and flushing your RV black tank.
How often should you clean your RV tank?
You don’t have to clean your RV tank as often as you think. You should clean your black tank every 6-12 months, depending on usage. If you live in a seasonal zone, flushing and sanitizing your tank in the fall should be sufficient.
Of course, if you notice any unusual smells or problems with your plumbing, it’s time to break out the gloves and thoroughly clean your tank.
If you’re using your RV regularly, it’s a good idea to flush the tank once a month or so.
Of course, your fresh water tank should be cleaned and sanitized more often than your black water tank.
How do you remove black tank waste buildup?
If you’ve ever had the unfortunate experience of dealing with a backup in your black tank, then you know that it’s not a fun job. And if you’re regularly dealing with backups, you likely have a buildup of waste in your tank.
So, how do you remove black tank waste buildup?
- The best way is to use a black tank cleaning wand. These wands can help reach into the corners and crevices of your tank and break up the waste to make it easier to flush it out.
- Another option is to add a black tank cleaning chemical to your tank. These chemicals will help to break down the waste and improve the overall efficiency of your tank.
- Finally, if you’re struggling with a bad waste buildup, you may need to have your tank professionally cleaned. This can be expensive, but it’s often the only way to get your black tank back in working order.
Here’s how to turn off the water to your RV toilet.
How do you drain your RV black tank?
RV black tanks are not like ordinary septic tanks. Just connect the hose, put the hose in the drain and pull the black valve to open.
Its be best to drain it regularly to full tanks and gross splashing.
More reading: See all our posts in our Guide to RV Living.
How Did it Go?
If there’s one thing in life, your black water tank will eventually require flushing and cleaning.
And while some people may view this task as a necessary evil, you should consider it an opportunity to get up close and personal with your sewage. After all, what could be more satisfying than spraying your sewage all over a concrete surface?
So there you have everything you need to know about flushing and cleaning your RV’s black water tank.


If dumping your black water into a septic system avoid using bleach as it will kill the necessary bacteria you septic sytem needs to properly function.
Good reminder, thanks!
I bought a shuttle bus that my wife and I want to convert into an RV. Any suggestions and advice would be welcome, can you tell me where the best place is to shop for accessories and stuff that we will need? We are from southern Illinois. Thanks