How to Measure Ice Thickness: 5 Methods and Testing Devices
Learning how to measure ice thickness will help you stay safe. Here are five ways you can test the thickness of the ice to ensure you stay safe. Including devices and tips to get an accurate measurement.
Five of the best ways to test for the thickness of ice are cordless drills, wood augers, ice chisels, ice testing poles, and axes, hatchets, and chainsaws. All of these methods require a tape measure to ensure the thickness of the ice is four inches or more.

Below, we’ll discuss how to use each measurement device and the best way to use them, so you can get the most out of your winter activities.
No one wants to take a freezing plunge because the ice was too thin!
Safe Thickness of Ice
Before we discuss how to test for the thickness of ice, it is important to know how thick it needs to be.
- Clear ice has to be at least 4 inches (10.16 centimeters) thick to support your weight. This is just for supporting a person; obviously, ice has to be a lot thicker to hold a vehicle safely. However, if you want to do ice fishing or ice skating, a thickness of 4 inches should be safe enough to hold you.
- If you want to drive your snowmobile on the ice, the depth needs to be at least 5-7 inches thick (12 – 18 centimeters). Because Snowmobiles and ATVs are built to be lighter and to distribute the weight of the vehicles evenly, this helps to keep excess stress from being placed on the ice.
- For vehicles like cars and trucks, you’ll want to make sure that the ice is a lot thicker; at least 8 inches (20.32 centimeters) for smaller cars. For trucks and vans, you’ll want the thickness of the ice to be at least 12 inches thick (30.48 centimeters).
Again, these measurements of thickness are for new, clear (or black) ice. If you have white ice (ice that is covered by snow) you’ll want to double the measurements above.
White ice is half as strong as clear ice, so it is important that you know what the different types of ice are before you start with your winter activities. You want to make your safety the priority.
For more detail, check our Guide to Safe Ice Thickness

1. Cordless Drill and Auger: How to Measure Ice Thickness
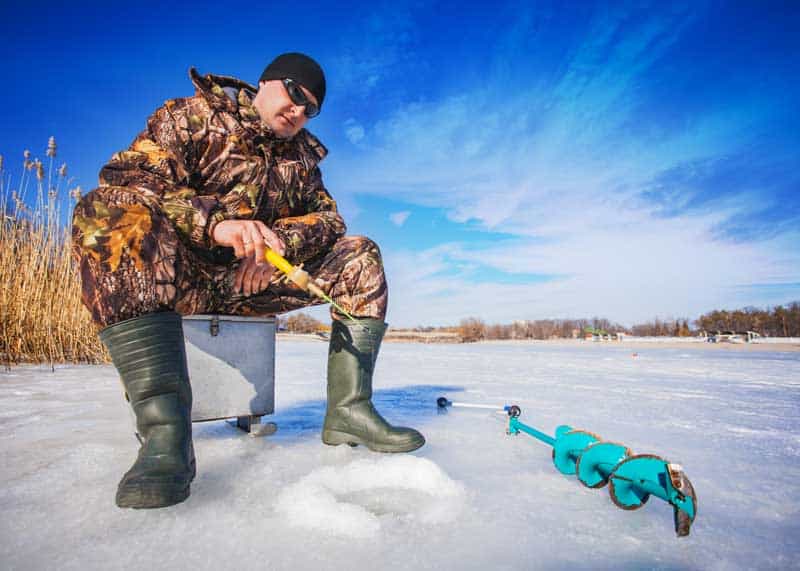
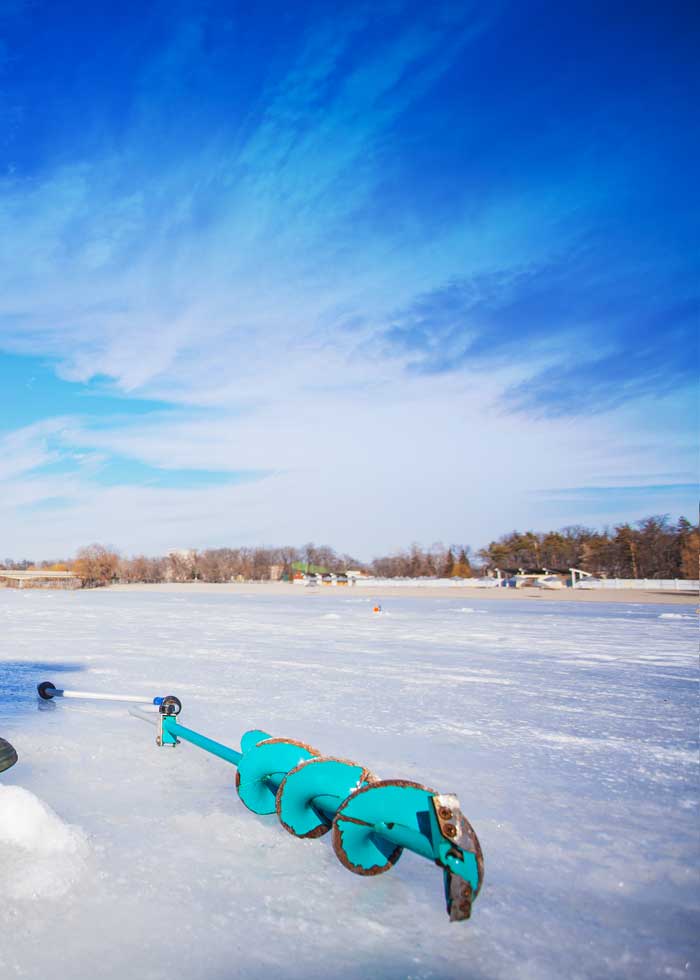
A cordless drill and auger is a very efficient way to test for the thickness of the ice. You don’t have to pre-drill holes for testing; instead, you can drill the hole you want and move around the pond with ease. When drilling, you can mark your auger bit with tape. Whatever types of marking you make will allow you to see what depth you reached.
As you drill, whether manually or with a cordless drill, you want to make sure that you are standing straight up. You also want to keep your auger as straight as possible so you can get the most accurate reading from the ice.
After drilling straight down, you’ll want to stop drilling and then lift it up. This will make sure that you are kept safe. The auger could bind if the angle changes – and it could injure you.
You can always use a tape measure to double-check the markings left on your auger. You’ll do this by hooking the metal edge of the tape measure to the bottom of your hole. If the marking reads four inches (10.16 centimeters) or more then you should be safe to begin fishing.
Here’s a popular auger bit – it fits gas-powered augers. And with this auger adapter, it will also fit in your cordless drill.
If you’re interested in using this method, but you’re unsure of where to start, take some time to watch the included video clip.
This fisherman goes through the different things he has found useful for his ice fishing. He also explains some of the important requirements to consider as well.
As an alternative to the cordless drill and auger setup, you might also consider a manual hand auger, like this one by StrikeMaster. It drills a 28″ hole without batteries.
2. Ice Chisel (Ice “Spud”)
An ice chisel is also an easy way to test the ice while you’re on the pond or lake. Making a hole with an ice chisel is going to take more time because you’ll have to stab and chisel away at the ice.
You’ll want to create a big enough hole where you can fish there if you choose to. Always have the blade facing away from you so if your hand slips, you won’t hurt yourself. This would be a nice, portable option if you are skiing or skating on the ice.
They are much heavier than an ice testing pole and will sink quickly if you accidentally drop them into the water.
This one by Bully Tools is 48″ long and has a flat head so you can strike it with a mallet. It will work for ice and soil. It weighs almost 12lbs so it’s a good option if you don’t have to hike far.
You can make a hole much more quickly than you can with an ice-testing pole, but if you are on thicker ice it would be more effective to use a drill. You can still use it on thicker ice, but it will take a lot more time.
3. Ice Testing Pole
An ice testing pole is similar to an ice chisel because of its length. However, it is lighter and is better suited for use on foot.
For trying to test thickness to hold a car or truck, a cordless drill with an auger would be much better. It breaks through about 2-4 inches (5.08-10.16 centimeters) of ice. The testing pole has a sharp tip so you’ll want to keep it low while using it.
This is a good tool to initially test for your weight. Then you can switch to another option to check for heavier activities.
4. Nordic Skating Poles
The design of these ice testing poles is to make travel fast and easy. They are specifically designed for cross-country skiers. It is a much lighter design and is used to test much thinner ice.
Because skiers are typically moving at higher speeds, they aren’t as concerned with ice holding their weight for as long. However, it is still important that they are safe while on the ice.
These poles are meant to break up just over 2 inches (5.08 centimeters) of ice. If you buy the heavy duty European-styled skate poles, you can do the jab test. Just give it a hard jab and if the ice breaks then it’s too thin.
The points can be incredibly sharp, so you want to keep the points low at all times, so you don’t stab someone by accident.
5. Axes, Hatchets, and Chainsaws to Check Ice Thickness
Axes, hatchets, and chainsaws can all be used in a similar fashion. You want to cut a 12 inch by 12 inch square in the ice.
Once the piece of cut ice floats up, you’ll want to grab it. You can test the thickness of this slab with your tape measure.
These would all be good tools to use if you are out ice fishing, or using an ATV or Snowmobile.
Planning on winter camping? Here are 35 winter camping tips to keep you warm and safe.

More reading: The Best Time of Day for Ice Fishing
Your Turn
Have a tip for checking ice depths? Let me know in the comments!


I carry a 5 inch ice screw, it also serves as a reccue anchor if required.
I actually have a question is there a way to test on average thickness of ice on a river without any devices i e can I clear an 8-foot strip and watch the bubble flow of water beneath going in simultaneous spots across the river will that tell me within a few inches of safety let me know when you got time I appreciate it for the time being I’m walking on the Shiawassee River
I’m not familiar with that method. And I’m not sure that a visual estimation is a reliable method of determining thickness.