GoPro Hiking Photography Guide: 19 Tips (Settings, Gear, Composition)
In this GoPro hiking guide, you’ll learn about the best settings, mounts/accessories, composition/storytelling skills, and tips you need to shoot compelling footage of your hiking adventures.
GoPro cameras are perfect for hikers – they are lightweight, waterproof (and shockproof – you know you’ll drop it), and shoot in 5.3K video.

GoPro Hiking Guide: Tips, Settings, and Gear
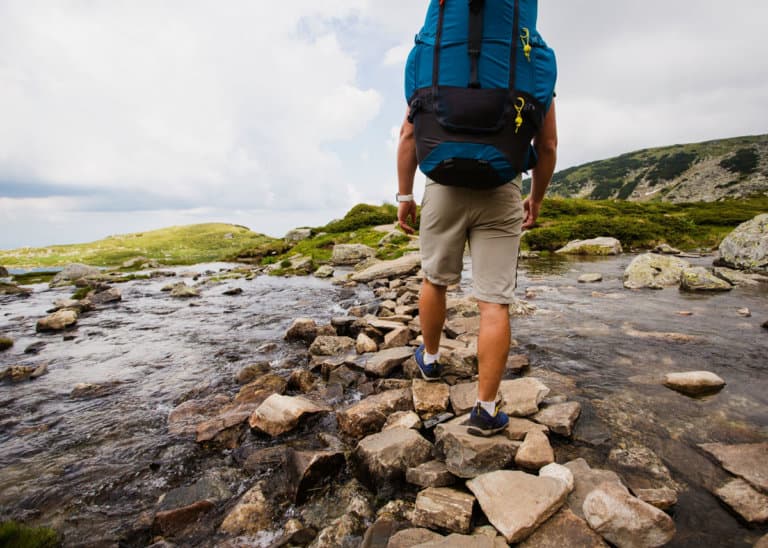
If you’re out hiking, chances are you’re going to come across some pretty impressive views. So it makes sense to take the lightweight, 5.3K camera that’s not going to weigh you down at all, your GoPro.
This post is divided into three main sections: tips, best GoPro, and mounts and gears.
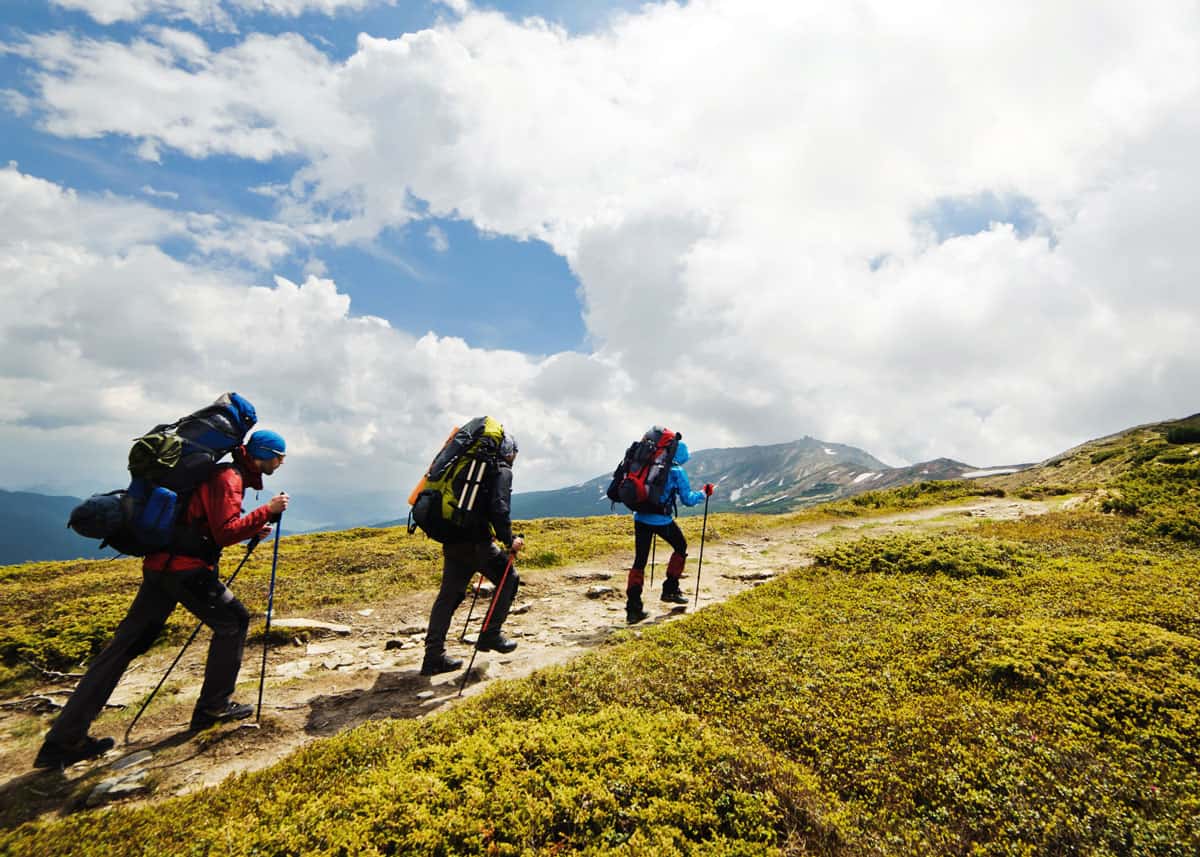
But first, here’s a taste of the kind of GoPro footage you can get while hiking.
Before you head out on your hiking adventures, you need to know how to take the best possible photos and videos with your GoPro.
So here are 13 GoPro hiking tips to help you capture the beauty of your hikes.
13 GoPro Hiking Tips
1. Best GoPro for Hiking?
Hiking isn’t as fast-paced as other outdoor activities, which means that most GoPro models will be more than adequate for your hiking needs.
Chances are you’ll shoot most of your videos at 30fps, so the GoPro Hero5, Hero6, and Hero7 will all be able to shoot in 4K at that frame rate.
Best GoPro for hiking? ![]() I would have to choose Hero11 Black. I’m a fan of buying the most recent model – especially when it comes to tech.
I would have to choose Hero11 Black. I’m a fan of buying the most recent model – especially when it comes to tech.
The Hero11 is one solid camera – it shoots in 5.3K and is waterproof to 33ft (without an extra case). Check current price on Amazon.
Incredible image stabilization and a built-in touch screen make the Hero11 Black our top choice of GoPro for hiking. This way, you can enjoy easy usability and control, and if at any point you want to change settings you can do so without too much hassle.
2. Pack plenty of spare batteries
If you’re heading out on a serious hike, you’re going to be gone for many hours, so you need to be prepared.
Most GoPro batteries won’t last longer than a couple of hours, so you’re either going to need to take spare batteries, or a power bank to charge your GoPro on the go.
If you’re filming in 4K, you can expect about 70 minutes of straight recording before the battery will die.
Read more about making your GoPro batteries last longer.
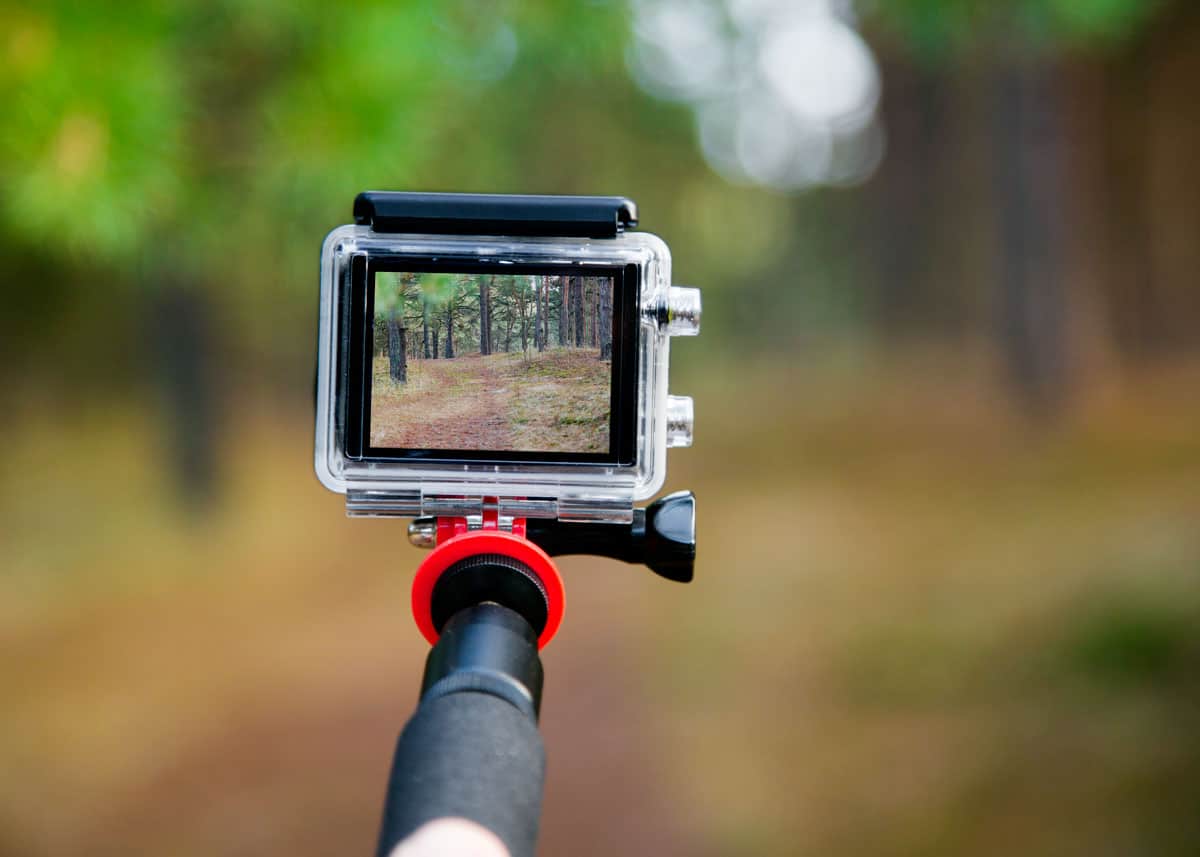
3. Grab photos from videos
Hikes can be long and challenging, so you probably don’t want to make the journey longer by stopping every minute or two to take a photo.
Instead, keep your GoPro rolling, and film your hike. You can then go back and grab still shots from the video in the GoPro app. This will also help you capture moments that you might otherwise not have been quick enough to snap.
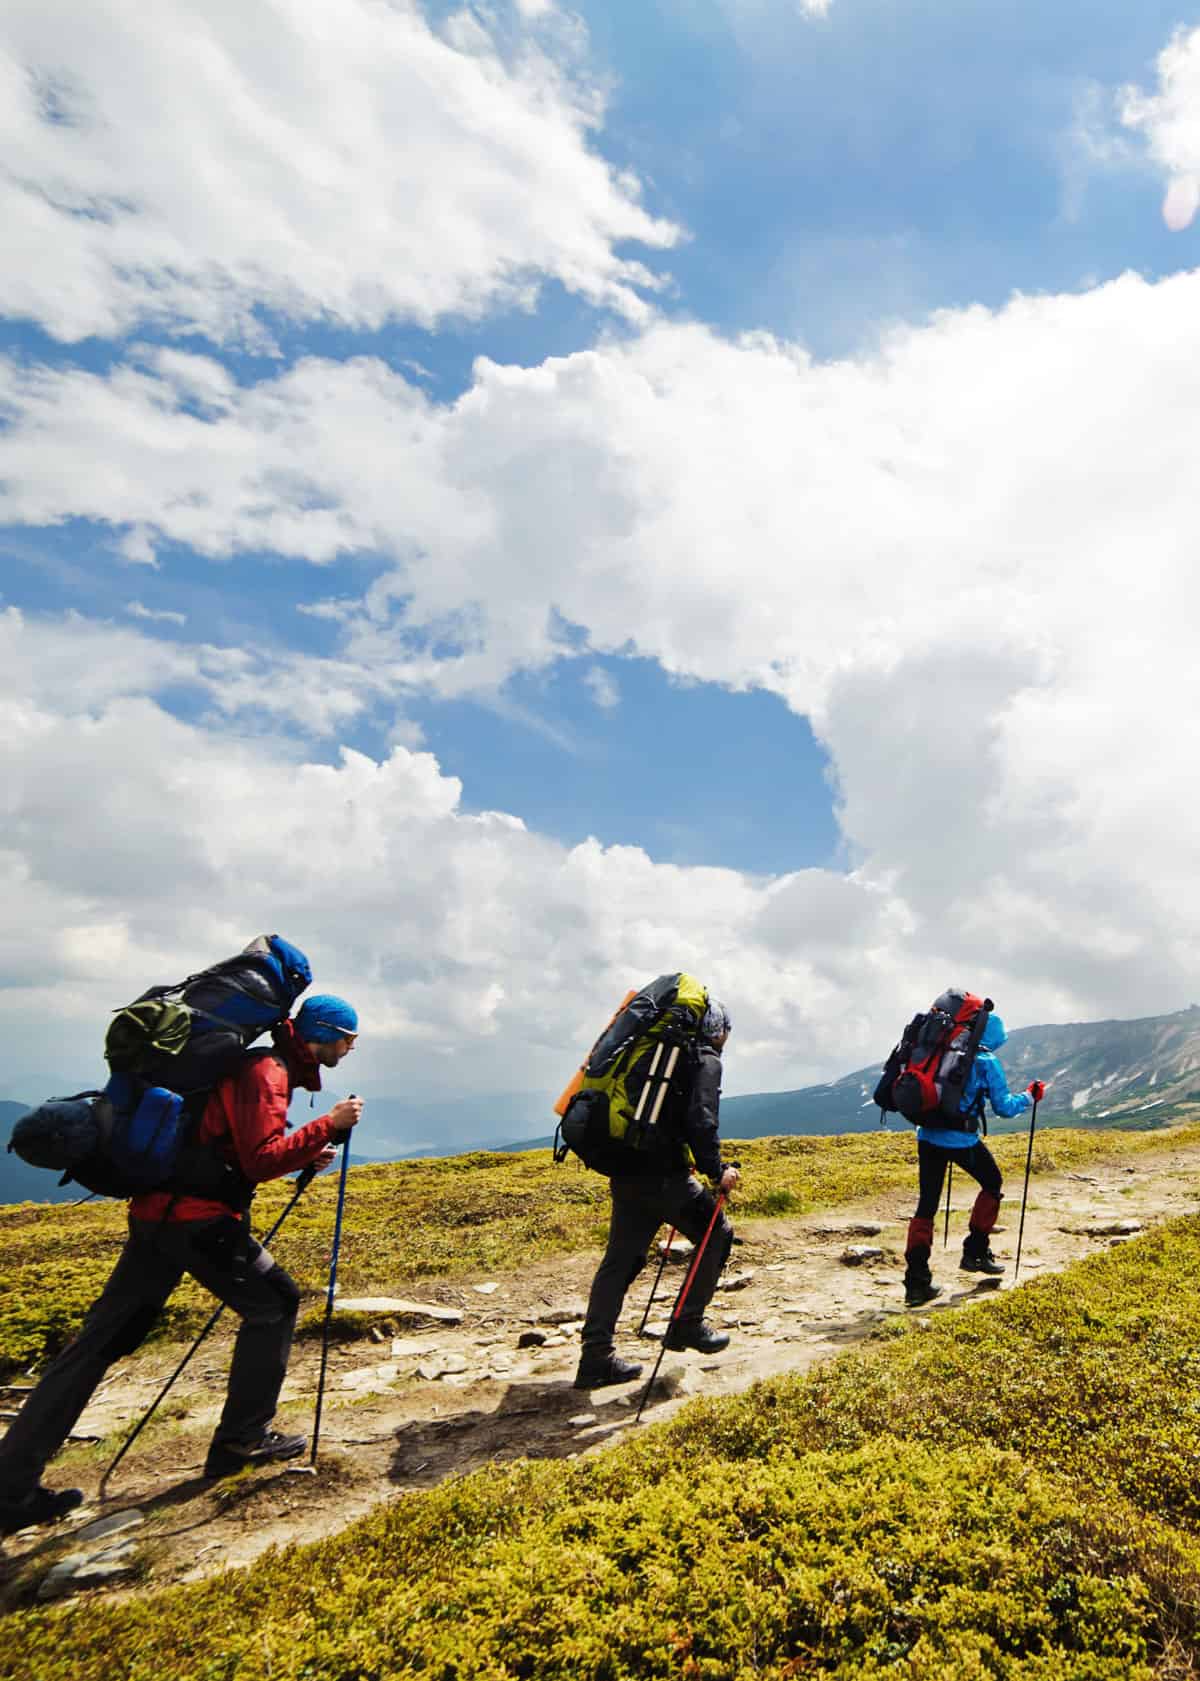
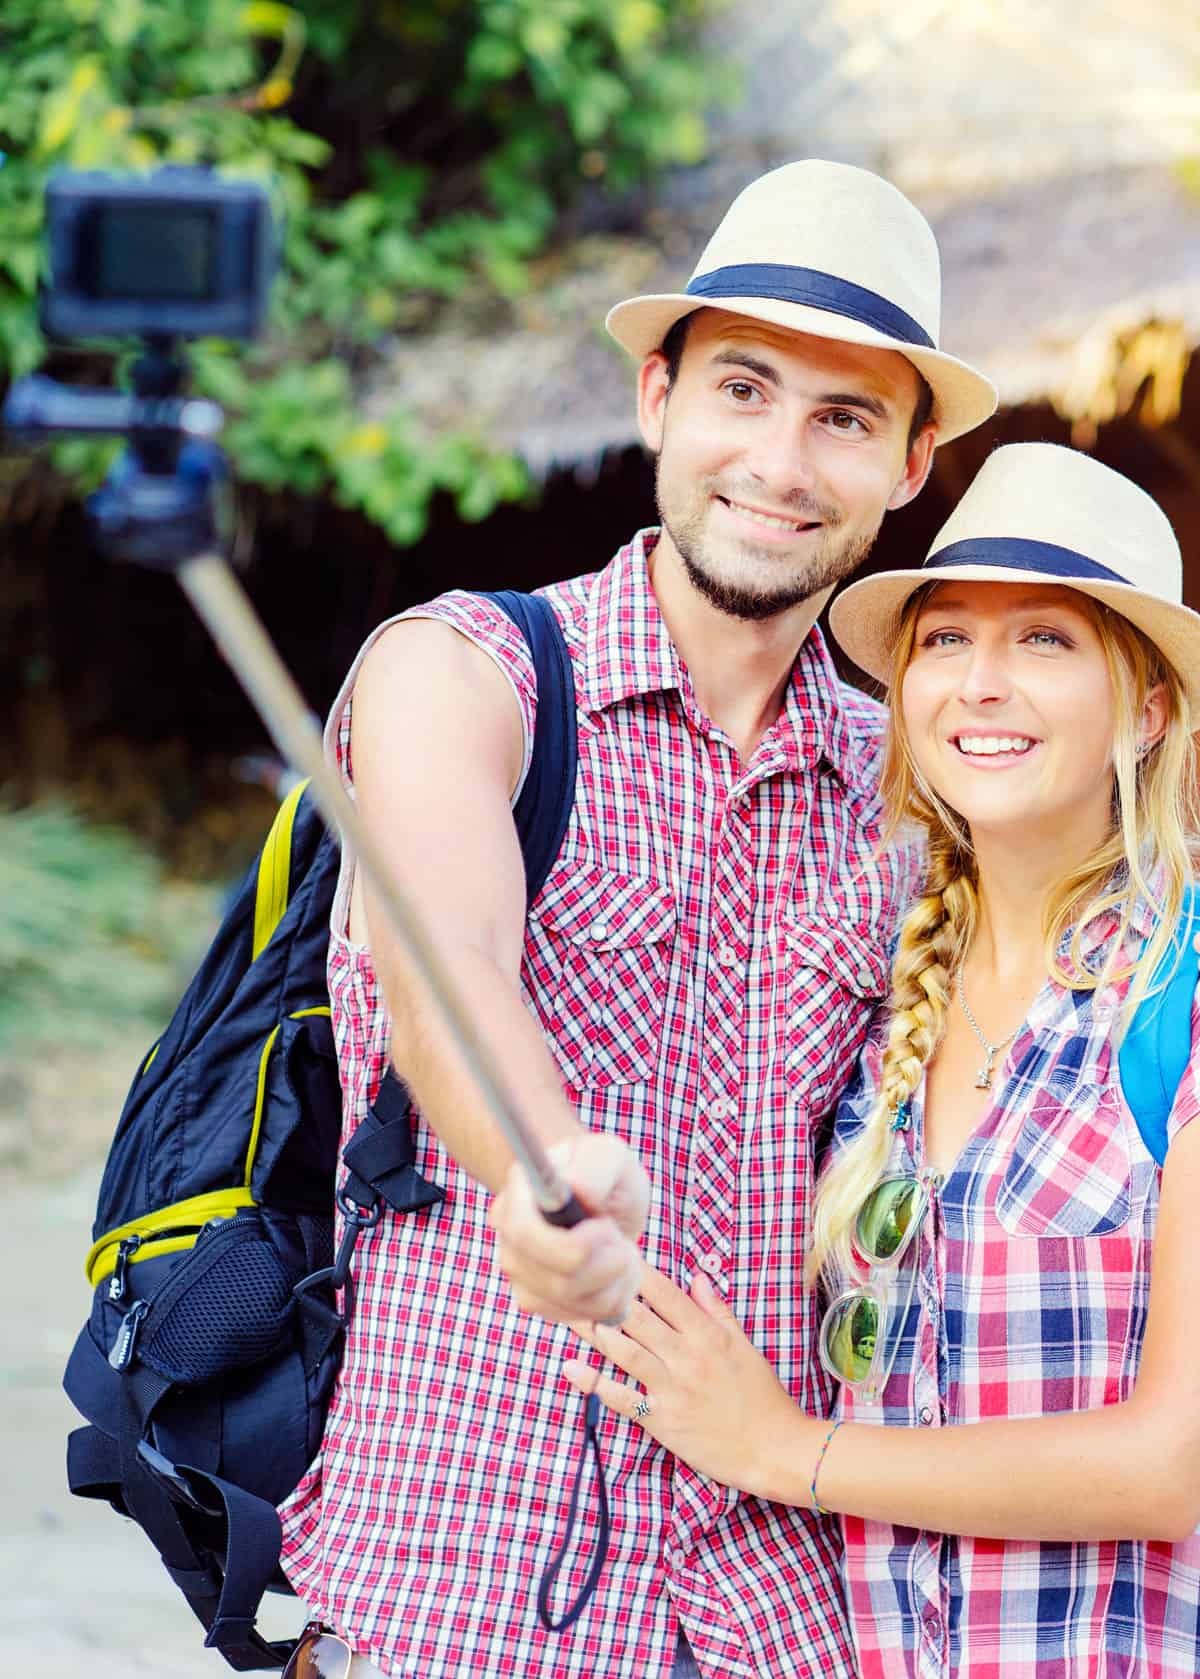
4. Include people in your photos
It’s easy to get carried away with the breathtaking views of your hike, but including people in your footage brings it to life.
First off, you’ll want to snap a few selfies on your hike. Take a few throughout your journey to capture your progress, and of course, don’t forget the victorious selfie once you’ve reached your destination.
As well as having fun with selfies, try some more artistic shots involving people. Using a model also gives your pictures a point of focus, something your eye is drawn to when you first look at the picture. It’s a great way to make your photos stand out.
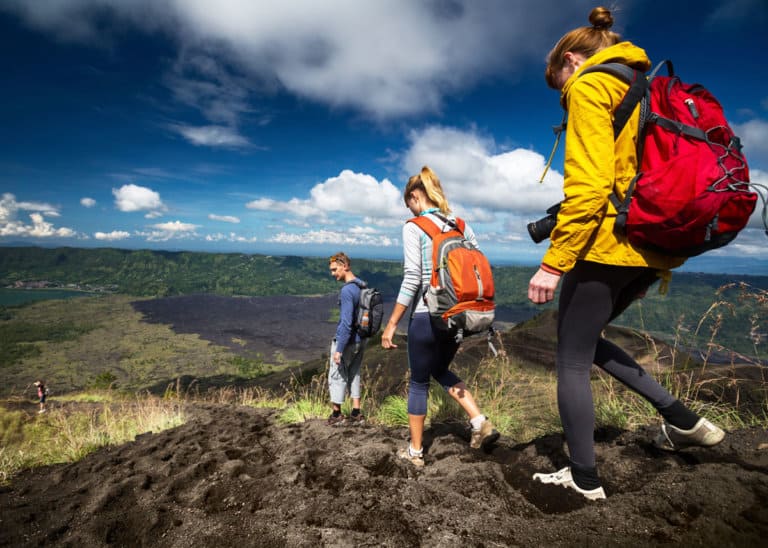
5. Tell a story
People want to hear all about your experience. They want to imagine the adventure and the journey for themselves. So when you’re taking your photos or videos, think about the story you’re telling.
If it’s a journey you’re undertaking with friends, capture candid shots of the laughter. If it’s a hike intended to challenge, capture the moments you struggle the most, and the relief and smiles of achievement when you finish.
If you’re embarking on a hike in harsh weather conditions, aim to capture a close-up shot of an icy branch, with the landscape in the background.
I recommend “How to Shoot Video that Doesn’t Suck“ – this book fundamentally changed how I looked at video creation. It’s written like a reference book – you can jump into any chapter and get the skills you need.
6. Pack a few different mounts
You can move your GoPro around from your backpack strap to your handheld selfie stick, or 3-way grip, and try taking shots from different perspectives.
You’ll be able to get some great point-of-view footage, as well as selfie pictures of your whole group. Plus, if you want to get some shots of yourself with an impressive backdrop, having different mounts means you’ll be able to play around with angles and get your best side.
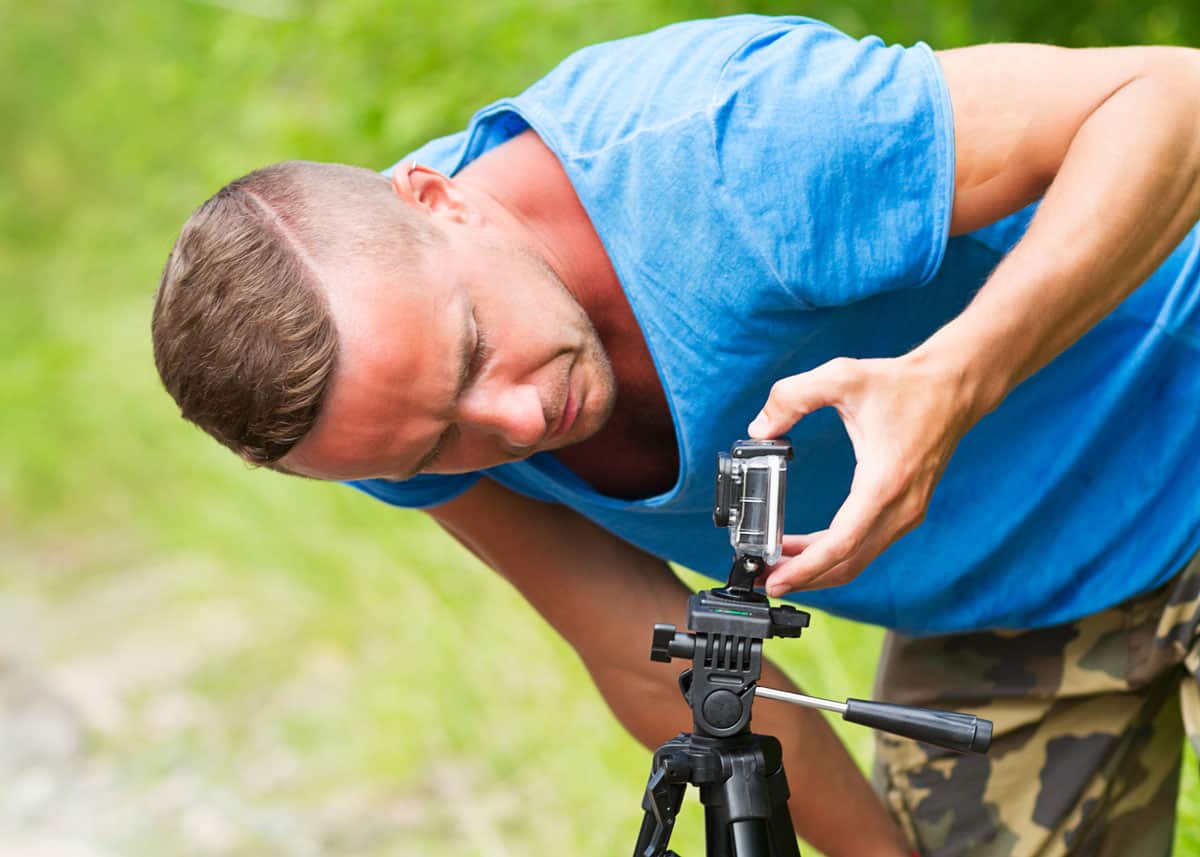
7. Use a stabilizing gimbal
If you’re going to be filming most of your hike, you don’t want your footage to sway from side to side, or bob up and down as you walk.
Or enable the Hypersmooth feature on your GoPro for in-camera stabilization.
8. Avoid shooting at midday
At midday, the glare from the sunlight directly overhead can interfere with the quality and clarity of your footage. The light is much softer on either side of midday, especially during the golden hour (sunrise or sunset).
Plus, photos and videos with the sun slightly lower in the sky can be more dramatic, and show more effectively the passing of time.
9. Use a wide field of view for photos
When choosing a field of view, it’s probably best to stick to wide. You want to capture as much of your beautiful surroundings as possible, but without distorting the picture too much.
Superview distorts the image a bit too much for a classic landscape shot, and it’s hard to ignore the fish-eye effect. So wide is your best bet for filming and photographing your hikes.
By using a wide field of view, you’ll also have more freedom when it comes to choosing a higher resolution and frame rate. So you can take higher-quality images and footage.
10. Choosing the right settings
For hiking you don’t need to worry too much about the frame rate because you won’t be doing anything that’s too fast-paced.
30fps is a good choice of frame rate and you shouldn’t lose out on any quality with this. GoPro models since the Hero4 can all shoot in 4K at 30fps, so you’ll have the perfect balance of resolution and frame rate quality.
It can be a good idea to shoot with Protune if you’re going to be editing your photos and videos afterward. Protune captures more details and gives you more control over the composition of your photos and videos.
Here’s how to choose the best food for hiking.
11. Find a foreground to focus on
If you want to get artsy with your photos and make them unique, find things to position in the foreground of your pictures. From flowers to trees, to people, a focused foreground with an impressive backdrop can make an incredible photo.
A shot like this gives real depth to your photo and gives it layers. You capture both what you’re seeing first hand, close up, and the view you’re looking out over.
12. Try out different angles
You might have seen people crouch or even lay on the floor to get the perfect shot, and whilst they may look a bit odd, the technique of getting higher or lower can transform a photo.
A photo taken from down low can look drastically different from the same photo taken from up above. Try out different angles to capture different perspectives. Having different mounts on hand can help with this.
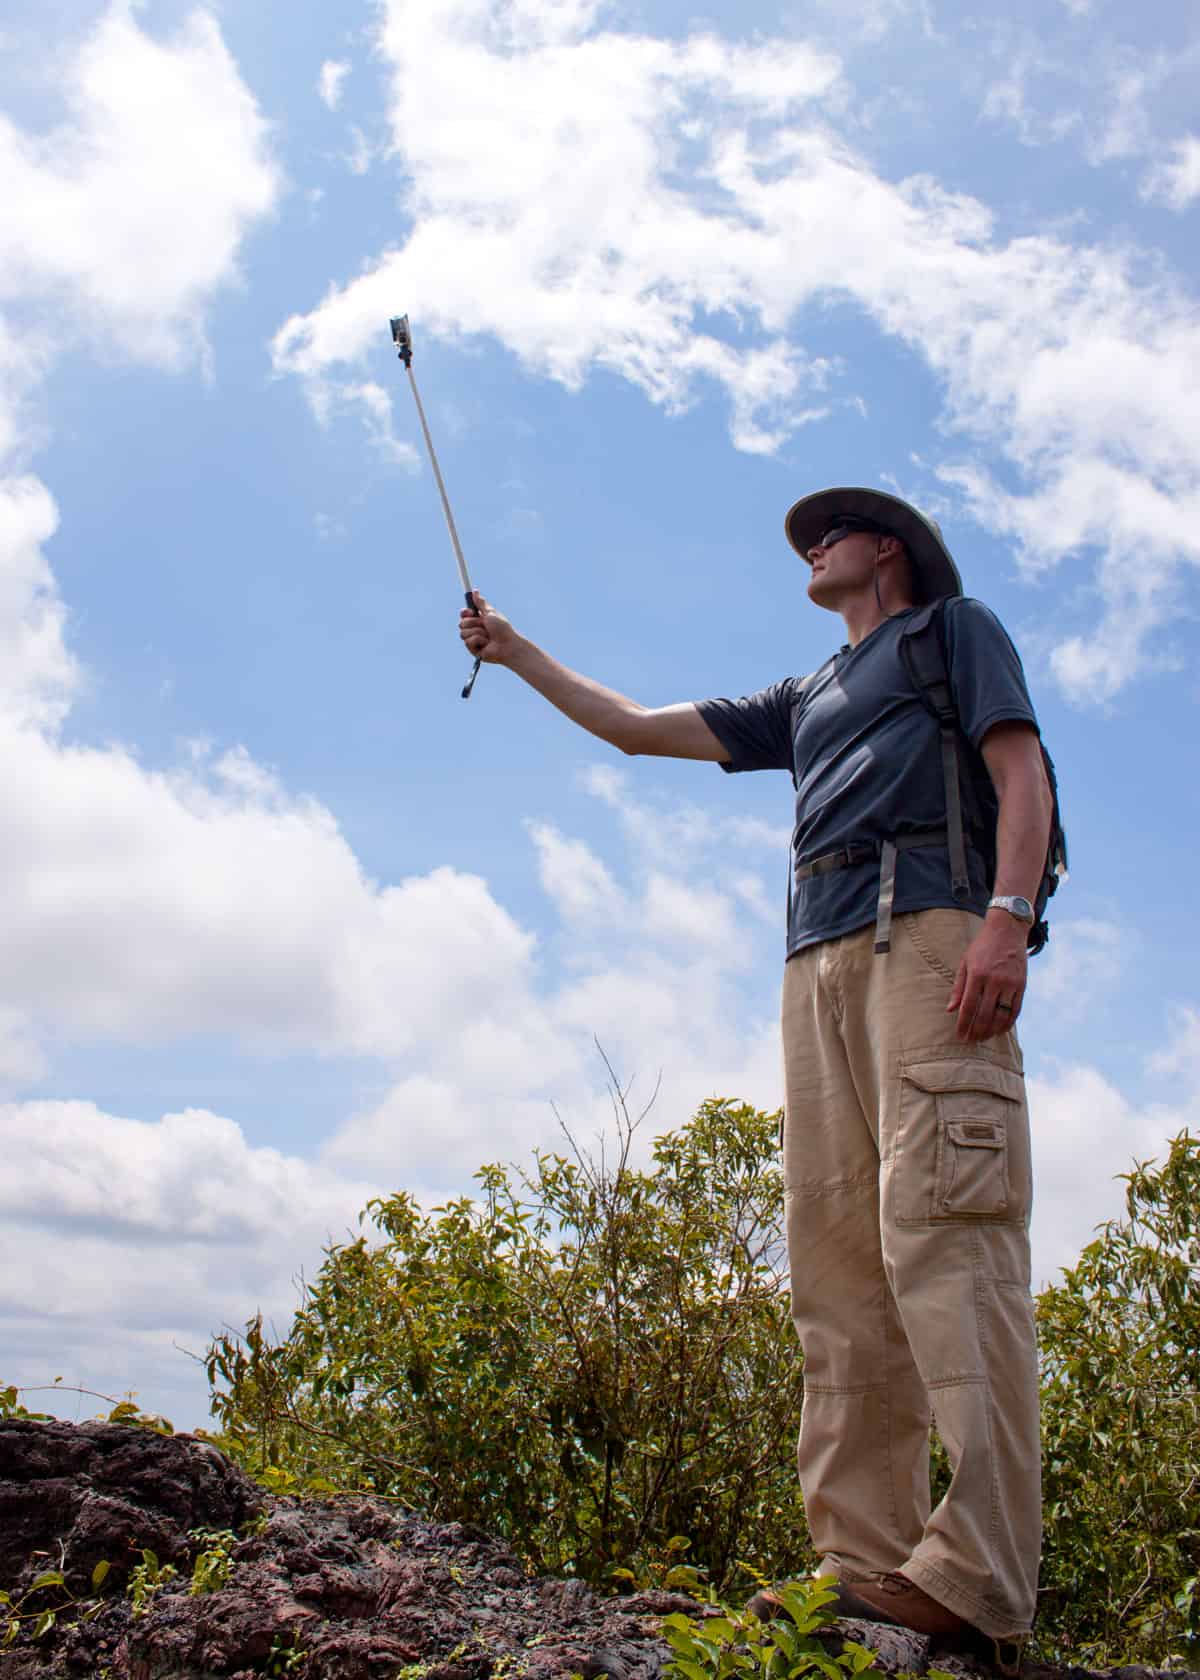
Try a shot looking up from the ground, but get so close to the ground that grass blades frame your shot.
Or try taking a photo using an extendable pole mount, so that your GoPro looks down on you, or your surroundings. This can accentuate any impressive drops or hills and can be a good way to capture your whole group.
13. Take to the skies with your GoPro
If ever there’s a time to play around with drone photography, it’s during a hike. Your hands are free so you can control the drone manually and get all the aerial shots and footage you can think of.
Aerial footage of your walk can be a great way to create videos that show just how far you ventured on your hiking adventure.
From the skies, you’ll see the path stretched out before you, and you’ll be able to create footage that does the hike justice.
6 Best GoPro Hiking Accessories
So now you’re hopefully a bit more clued up on how to take incredible hiking photos and videos with your GoPro.
But if you really want to make the most of your GoPro’s abilities, you’ll want to have all the right accessories to take on your hike.
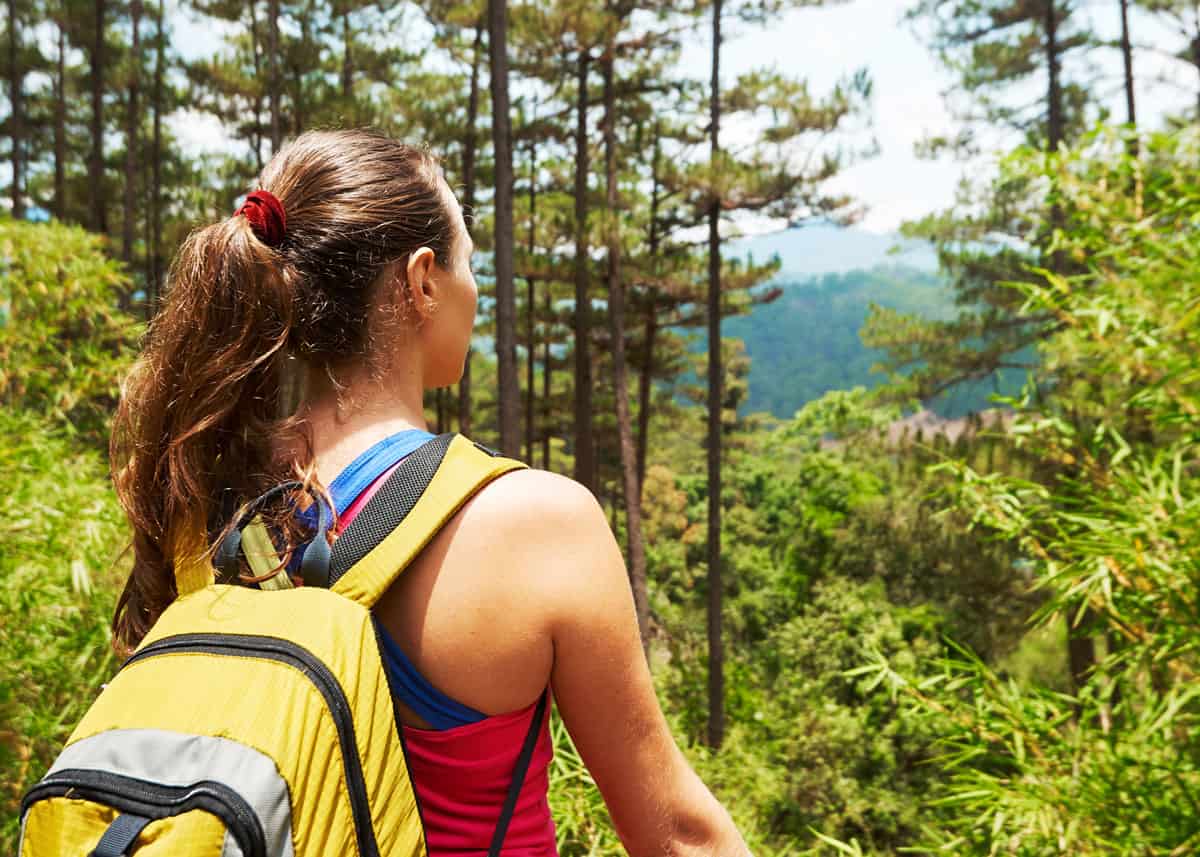
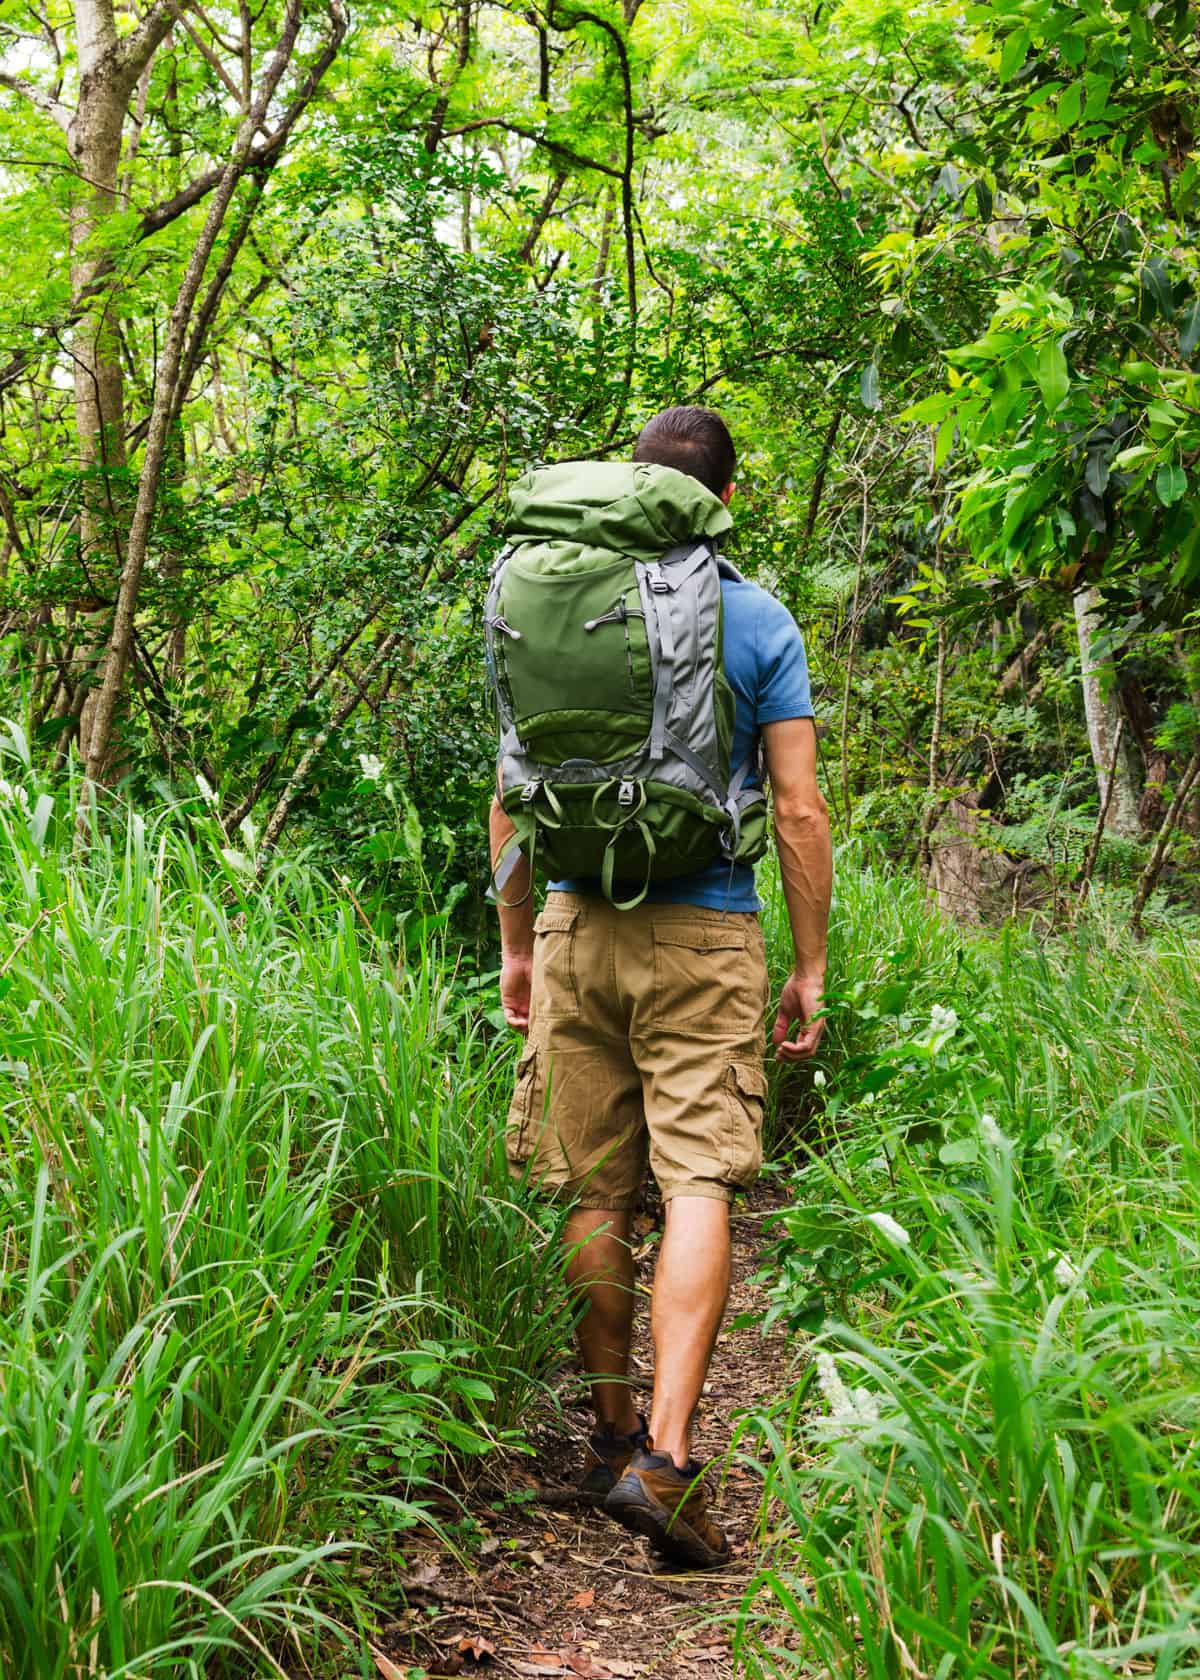
1. Backpack mount

![]() One thing you’ll no doubt be taking on all of your hikes is a rucksack, for your water and supplies. So if you’re going to be wearing your rucksack anyway, why not also use it as a GoPro mount?
One thing you’ll no doubt be taking on all of your hikes is a rucksack, for your water and supplies. So if you’re going to be wearing your rucksack anyway, why not also use it as a GoPro mount?
Check current price on Amazon.
The GoPro backpack mount attaches easily to the straps of backpacks, so you can position your GoPro similarly to how you might with a chesty mount.
2. Head strap
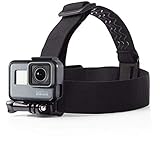
![]() The head strap is another popular choice of mount for hikers, as it’s the classic choice for those looking to get a point-of-view video.
The head strap is another popular choice of mount for hikers, as it’s the classic choice for those looking to get a point-of-view video.
The head strap is a cheap and lightweight bit of kit, so it’s one of those mounts that’s easy to take along on your hikes.
3. GoPro 3-Way Grip

![]() The GoPro 3-way grip is one of the best multi-purpose GoPro accessories out there. The 3-way grip is a GoPro camera grip, an extendable arm, and a tripod all in one.
The GoPro 3-way grip is one of the best multi-purpose GoPro accessories out there. The 3-way grip is a GoPro camera grip, an extendable arm, and a tripod all in one.
Check current price on Amazon.
So you can capture handheld footage, and if you’re looking to take more professional shots, you’ve got the tripod to help you take steadied still shots and time-lapses.
4. DJI Drone
![]() If you want to try out some aerial shots, a drone is a must-have accessory. They generally come with a carry case that can be worn as a rucksack, so that you can easily transport it on all of your hikes.
If you want to try out some aerial shots, a drone is a must-have accessory. They generally come with a carry case that can be worn as a rucksack, so that you can easily transport it on all of your hikes.
The drone folds up to make it more portable and fits snugly into the rucksack. And once it’s in the air you can quickly and easily set it to follow-me mode, so your entire hike is captured from the sky.
5. GoPro Seeker Backpack
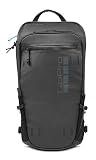
![]() If you’re taking a few different mounts on your hikes, the GoPro Seeker Backpack could be a great addition to your collection of GoPro accessories.
If you’re taking a few different mounts on your hikes, the GoPro Seeker Backpack could be a great addition to your collection of GoPro accessories.
Check current price on Amazon.
It’s a backpack that’s specifically tailored to suit the needs of GoPro users, so it’s got space for all your GoPros, batteries, memory cards, and even your Karma Drone.
Hiking in wet conditions? Here’s how to keep your feet healthy in wet conditions.
Your Turn
What’s your favorite GoPro hiking accessory? Have any tips to share? We would love to hear about it in the comments.
All the best in capturing your hiking adventures!
Hello Bryan,
Just would like to thank you for sharing all these tips&tricks. I’m new to “the GoPro family” and it is helps me a lot to start my journey. I’m going to the mountains in next couple of weeks so I will test my new friend (Black 7) there.
Sounds great – I hope you have a blast!