How Much Does It Cost to Install RV Hookups? (Water, Power, Sewer, Pad)
RVs are great as extra work or living space or to set up camp somewhere exciting.
Knowing how to install hookups is necessary to create a livable space with water, electricity, and sewage. Whether you plan on installing hookups yourself or hiring a professional, there’s a cost of installing all types of RV hookups.
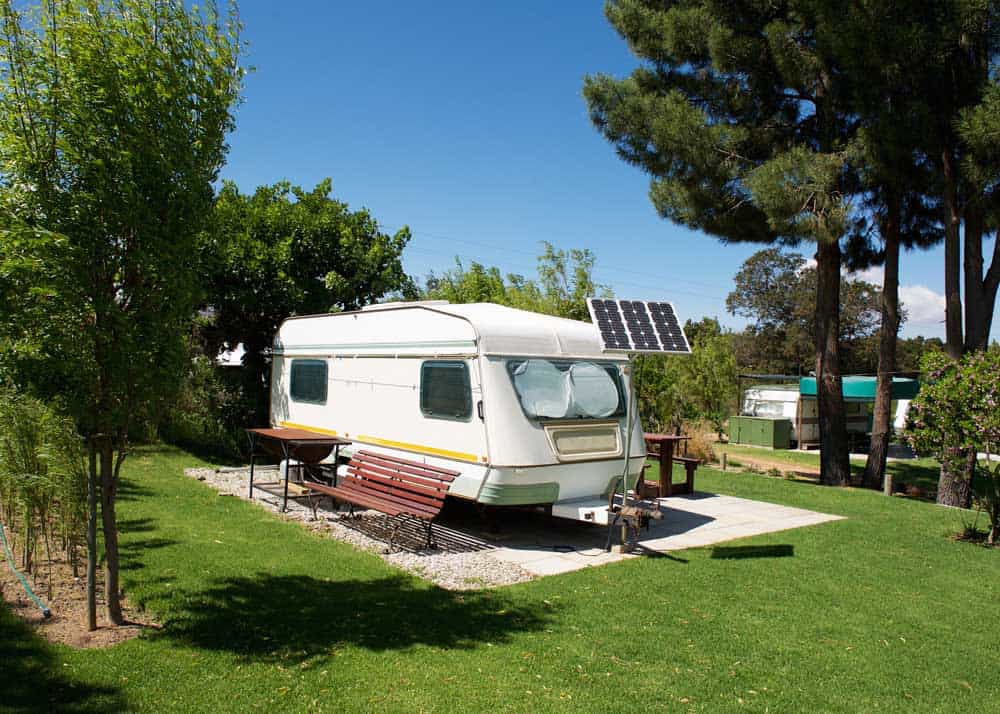
The cost to install RV hookups varies and ranges from $430 (DIY) to $12,000 (professional). The below costs outline hookups for water, power, sewer, and pads.
| RV Hookup | DIY Cost | Professional Install |
|---|---|---|
| Parking Pad | $300 (Gravel) | $4000 (Cement) |
| Water Hookup | $30 | $700 |
| Power Hookup | $100 | $1200 |
| Sewer Hookup | Free | $6100 |
| Total Cost | $430 | $12,000 |
Installing hookups yourself will save you hundreds – and even thousands – of dollars versus hiring a professional. The existing services at your RV site will also affect how much work (and cost) will be involved.
RV hookup projects are daunting, but anyone can get the job done with proper instructions and the right skills.
Installing RV Hookups at Home
Installing RV hookups at home doesn’t need to be a complicated process.
Gather the right tools and inform yourself ahead of time, and you’ll be set up in no time.
Tools you’ll need:
- Gravel or concrete for a parking pad
- Tools to dig into the ground
- Filter cloth
- Wooden post to mount water and electricity. Either 4×4 or 6×6.
- CPVC pipe
- Heat tape
- Pipe clamps
- Four-inch pipe
How to Make an RV Pad at Home
Before installing any hookup, you need a parking pad. Pads support the RV on a level surface and keep it from settling into the dirt or grass.
There are numerous pads available, depending on how you plan on using your RV. Gravel and cement are the most common.
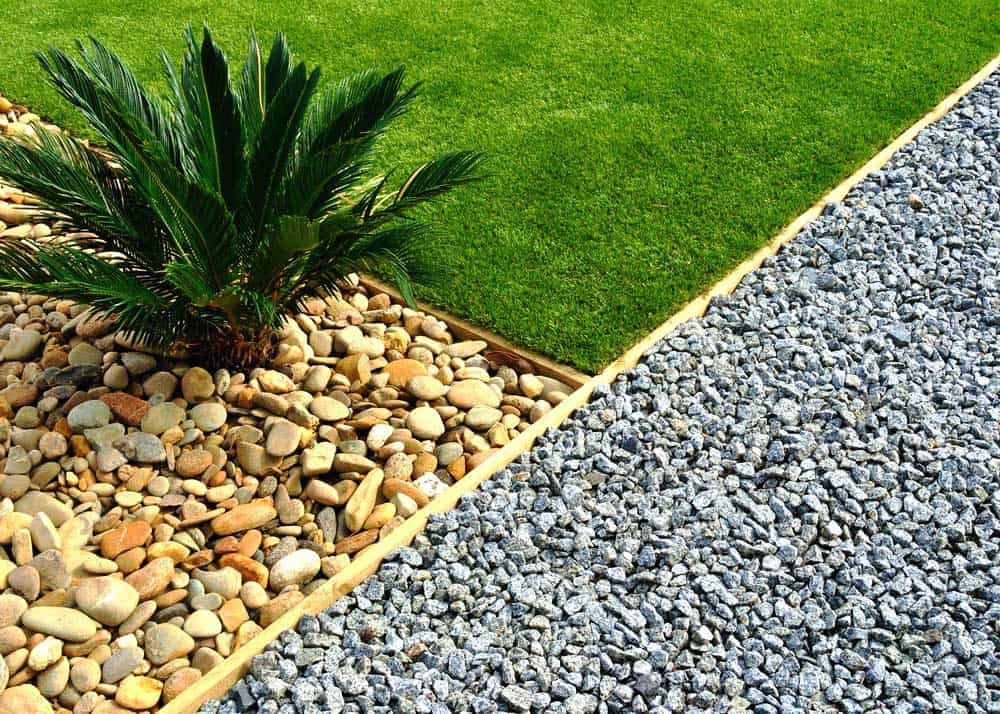
- Gravel Pad (Cost: $300). This is pretty easy to do yourself. Lay down your filter cloth, have the gravel truck dump directly on the cloth, and spread it by hand.
- Cement Pad (Cost $4000). For this job, you’ll likely need a cement truck and a little help. Don’t forget the gravel base and rebar to reinforce the pad.
Choose the spot where you’ll park your RV. Try to keep it relatively close to your house so that water and power hookups are easy.
Keep in mind there shouldn’t be any low-hanging branches or power lines over the area.
- Measure space for a pad that is at least four feet wider and four feet longer than your RV.
- Start by digging out the measured space and leveling the ground. Try to dig about four to six inches into the ground (if your RV is heavier, then dig deeper).
- Lay down a filter cloth over the area to keep the dirt from eroding under the gravel once you install it. Once the site is measured, dug, and the filter cloth is installed, you can pour the gravel or concrete.
You might need a permit from your city or municipality. It would also be worth getting an expert opinion about pad thickness and placement.
Remember: the RV pad is the foundation for your unit. You’ll want this done right the first time.
Install Posts for the Water and Power Hookups
Once you’ve installed the pad (and the concrete is dry), begin putting in the wooden posts to hold the water and power hookups.
Don’t forget to make sure your posts are on the right side of the RV! One post should be able to hold both hookups.
- What is the best post size for hookups? While a 4×4 post will work, I prefer a 6×6. It will be sturdier and have more room. The extra cost is almost nothing compared to the whole project.
- What height for an RV hookup post? Instead of just the standard 4′, you might consider 8′ or even 10′. On the last 6×6 post I set, I mounted this solar powered motion light. You could even use the post for a clothesline or something else.
- Setting the Post: If you used concrete for your pad, use the leftover concrete to firmly install the posts.
We’ve done this with fence posts and the gravel will set almost as sturdy as concrete. We just tamped it down with the end of a 2X4. They stayed square through many winters, the frost didn’t affect them.
How to Hook Up RV Water at Home
The first hookup you should install is water. Before digging a trench from the water source to the post, call your utility company to make sure you don’t dig into a water or gas line.
It may cost some money to get someone to your house to check, but it is a money (and life) saving expense.
Now, just how much does it cost to set up a water hookup for your RV?
- DIY Water Hookup Cost (Cost: $30). If you have a ready supply of water, you might only need a water hose to run from your supply to your RV. This is most common if you are putting your RV next to your home or cottage.
- Professional Water Install (Cost: $700). If you need to run pipes underground, you should consider hiring a plumber. For this job, you’ll also need to dig a trench.
Both options above are based on already having a supply of pressurized water. If you need to dig a well or connect to municipal water, the cost will be higher.
Dig a Trench Below the Frost Line
Digging a trench for your RV water is essential, especially if you live in a region with harsh winters. Keeping your water line underground and below the frost line will ensure your water line doesn’t freeze.
The trench needs to be deeper than the frost line and run from your water source to your post. Digging the trench is the hardest part of the process.
You can rent a trenching machine from a home improvement store to do the hard labor for you.
Install CPVC Pipe in the Trench and Secure the Water Line
CPVC pipe is more expensive than PVC pipe, but it can handle high temperatures and is better suited for drinking water.
Run a high-rated CPVC pipe through the trench and connect it to your water supply. Wrap heat tape around the exposed water line to prevent freezing. Using pipe clamps, secure the water line to the post.
Complete the Job
Now that your water line is hooked up, fill the trench with dirt. Add a faucet, and you’re all set!
Read more about how to shower when camping.
How to Hook Up RV Power at Home
Installing electricity is a little more complicated than installing water or power hookups. If you’ve never worked with power before, it may be best to hire an experienced professional to get the job done.
Before diving into your power hookup project, you need to determine a few things about your RV:
- The type of plug your RV uses (30-amp or 50-amp)
- If you want to install phone and cable (an electrician can hook this up)
Knowing the amps your RV pulls will help you decide the type of breaker box you’ll need.
Common RVs can have two types of amps: 30 or 50. The RV’s manual should have the information you need.
How much does it cost to install power hookup for an RV?
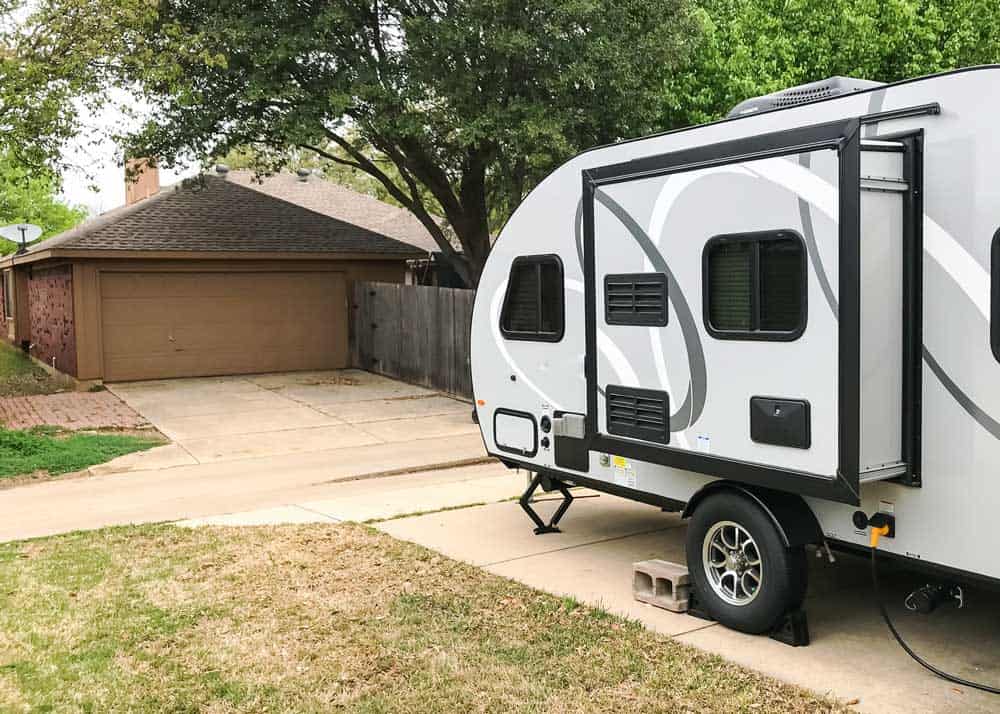
- DIY Power Install (Cost: $100). If you are setting up your RV close to a home or cottage, you can probably get away with running a heavy gauge power cable to your RV. The distance should not exceed 100 feet.
- Professional Electrical Install (Cost $1200). You should consider hiring an electrician if your RV will be more than 100 feet from your outlet or if you want to buy your cable and connect it to your service post.
Should I Hire an Electrician?
If your RV has 30-amp or 50-amp plugs, it’s best to hire a professional. Incorrectly installing power can lead to damage and severe injury. Power pros know the size of the wiring needed and will install power from your home to the RV safely.
However, you don’t need an electrician to dig the electric line trench. If you still have a trenching machine from your water line project, it’ll be easier for everyone.
Ask the electrician to mark where the trench will be and how deep to dig. Remember not to use the same trench as the waterline.
Install a Surge Protector
A surge protector will protect your RV’s appliances from shorting out. A 30- or 50-amp surge protector will work just fine.
How to Hook Up RV Sewer at Home
Now that your water and power are all set, the final step is to install a sewer hookup. This is the easiest hookup of all, as you often don’t even need to do anything.
There are three ways to connect a sewer hookup at home:
1. Hooking Up to a Public System
This is the easiest way to drain your tanks, but make sure it’s legal! Some jurisdictions don’t allow this.
Cost: Free (You might require a connector or coupling)
If you have the green light, all you need to do is look for the sewer cap in your yard and hook up the sewer line.
2. Hooking Up to a Private Septic System
The process for hooking up to a septic system is very similar to hooking up to a public system.
Cost: Free (You might require a connector or coupling)
Use a four-inch pipe to connect to the septic tank so that you have something to dump the sewage into.
Here’s more about dumping RV waste at home.
3. Adding an In-Ground Septic Tank
The last – and most expensive – option for installing a sewer hookup at home involves installing an in-ground septic tank specifically for your RV.
Cost: $6,100
Cost estimate according to HomeAdvisor.
A four-inch pipe will connect your RV’s septic system to your holding tank. A contractor will be able to make sure your RV is hooked up quickly and efficiently.
Camping at Home (In Style)
Installing RV hookups at home can cost anywhere from a few hundred dollars to more than $2,000. You can save money by doing it yourself, but it’s best to hire a professional to install the power hookup.
Start your project by building a parking pad to ensure your RV is level and won’t sink into the ground. Install water first, then power, and finish with the sewer hookup.



I have property and would like to build a small Rv park .where do I start
I bought a small property and would like to creat a small RV park.
That sounds amazing! I would love to hear how things go with your plans.
Bryan, Thanks for this informative RV setup to consider. My new 45ft RV will be placed on family property and we are in the process of doing this now!
Thanks Janice – sounds exciting. I would love to hear how it goes for you.
Would love to find a RV lot with hookups for sale seems to be hard to find