How to Program a Trail Camera: 12 Factors for Great Wildlife Photos
While the choice of trail camera matters, it’s all for nothing if you don’t actually record great footage. Here’s how to program a trail camera – including in-camera settings, mounting tips, and common mistakes.
When installing and setting up a trail camera the most important things to keep in mind are what sensitivity settings best fit the environment, how to best position the camera, the frequency of photo bursts, and being mindful of settings and features that could disturb the wildlife.
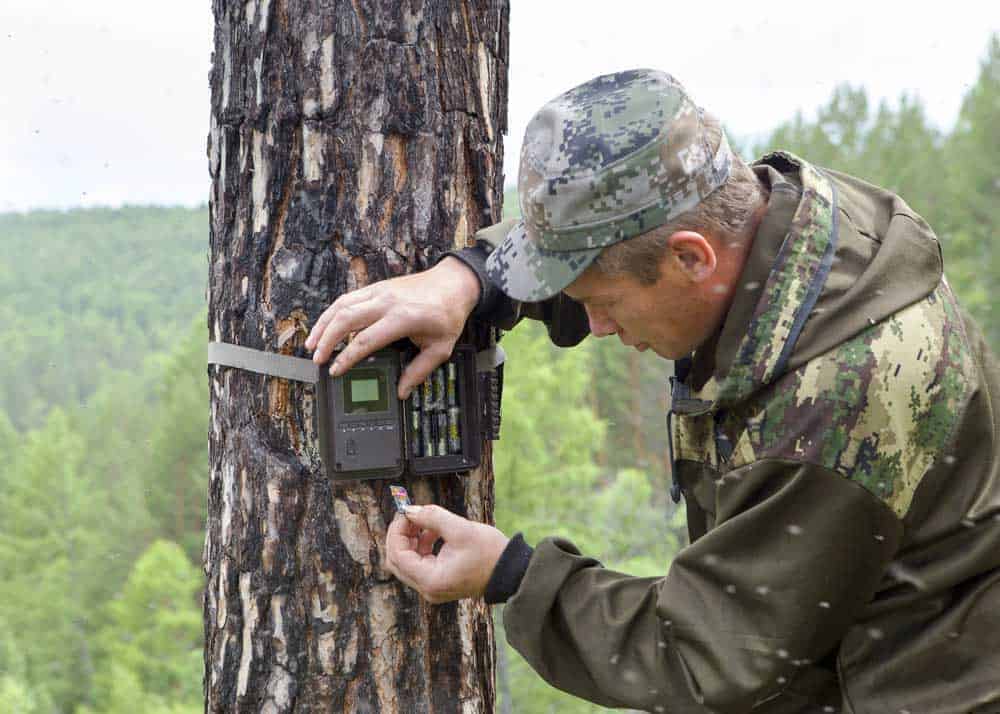
Trail cameras (also known as camera traps or remote cameras) are set up to capture photos and videos of local wildlife. This type of camera can be mounted and left to record and take photographs without a person there to manually operate it.
When trying to capture wildlife photos with a trail camera, it is important to know the proper setup needed for the specific environment you are working in.
In this article, we will discuss the different settings, proper placement, common mistakes, and the use of flash.
4 In-Camera Settings for Trail Cameras
Unlike traditional DSLR cameras, trail cameras have relatively fewer and simpler settings to work with. Nonetheless, many of these cameras will have a number of features and settings to choose between and choosing the correct ones for the given environment is crucial for achieving well-produced pictures.
Trail cameras operate automatically according to the settings given by the person setting up the camera.
Once these settings have been decided upon, the camera can be left in its position or mount and will take photographs on its own according to these settings.
According to Buck Score, the important settings that a person needs to adjust according to their needs are the camera mode, burst number, interval, and sensitivity.
Programming the trail camera correctly can be the difference between high-quality wildlife photography and missed or blurred opportunities.
1. Camera Mode
Camera mode is essentially the choice of how the user wants the camera to take pictures. Common modes include burst photos, video, single-photo, and time-lapse.
Which mode a user selects depends on their goals. Some people choose to bait, meaning they place food near the camera to bring in animals. In this case, single photo may work best.
Burst photos will capture several back-to-back photographs, making this mode better for non-baited photography.
2. Burst Number
Burst number is the number of photos taken back to back during a burst. This will allow for several shots of the same animal(s), giving ample opportunity for a good-quality photograph.
If the trail camera is set up in an area that animals frequently run through, having a high burst number can be beneficial. However, keep in mind, that the more photos in each burst the more memory will be used.
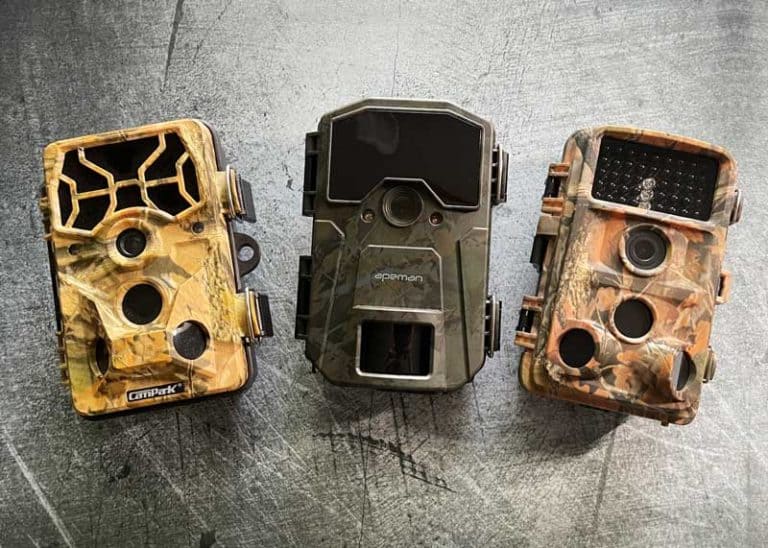
The specific options you can choose will depend on your actual trail camera model. Here are some of our favorite trail cameras.
3. Interval
Interval is the time between each single photograph or burst. Choosing a good interval is important, as it can help to preserve the battery for longer and keep the camera from ending up with hundreds of shots of the same exact animal.
Likewise, if the user does want a lot of shots of one particular animal, a small interval time can be set.
Here is more about PIR delay intervals and how to use them when shooting.
4. Sensitivity
Sensitivity is the camera’s reactivity to motion, and heat detection if the camera is infrared. Higher sensitivity settings will react to even small movements, causing the camera to take a photograph.
You should do test runs with a trail camera to determine what sensitivity works best in the chosen environment.
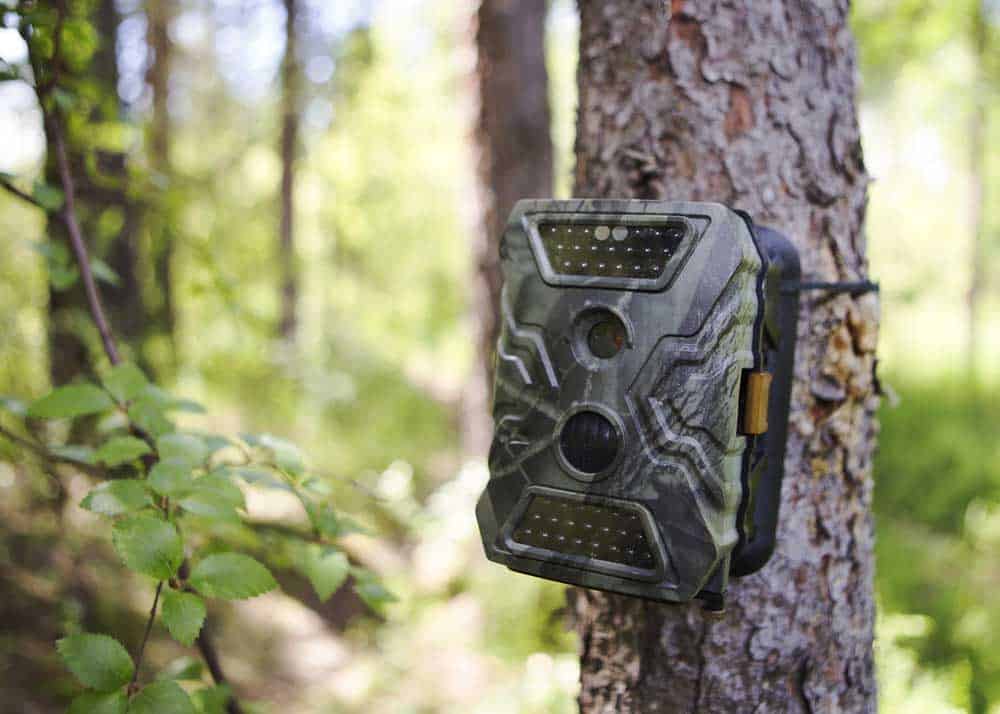
Trail Camera Placement: 4 Factors
When positioning and installing a trail camera there are several factors to keep in mind including mounting, the height of the camera, focus range, and the amount of sunlight in the frame.
1. Trail Camera Mounting
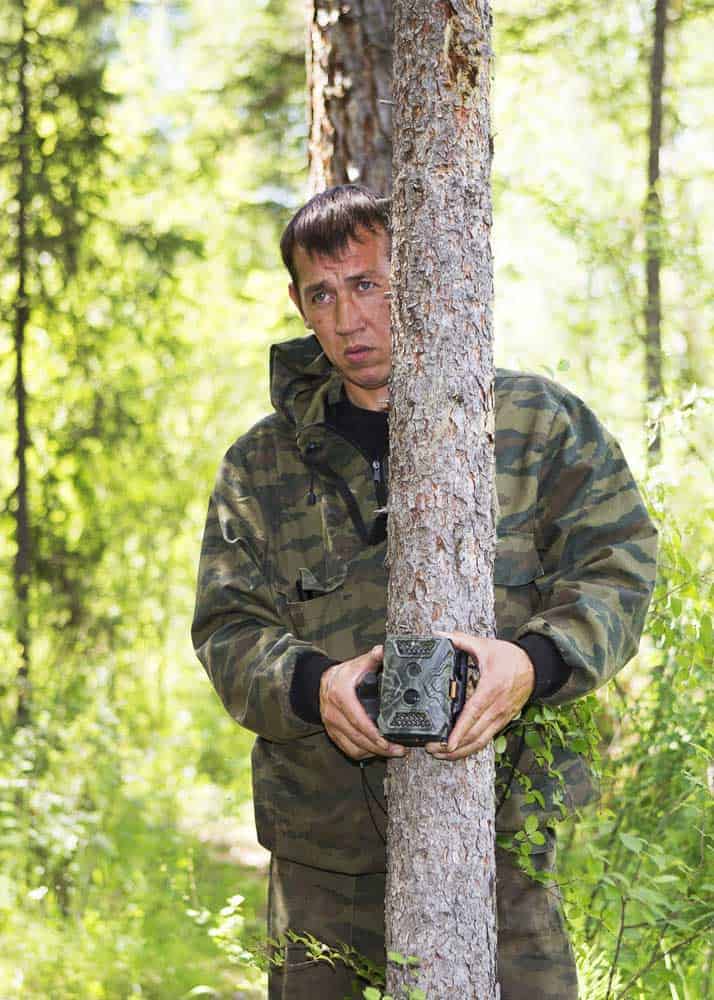
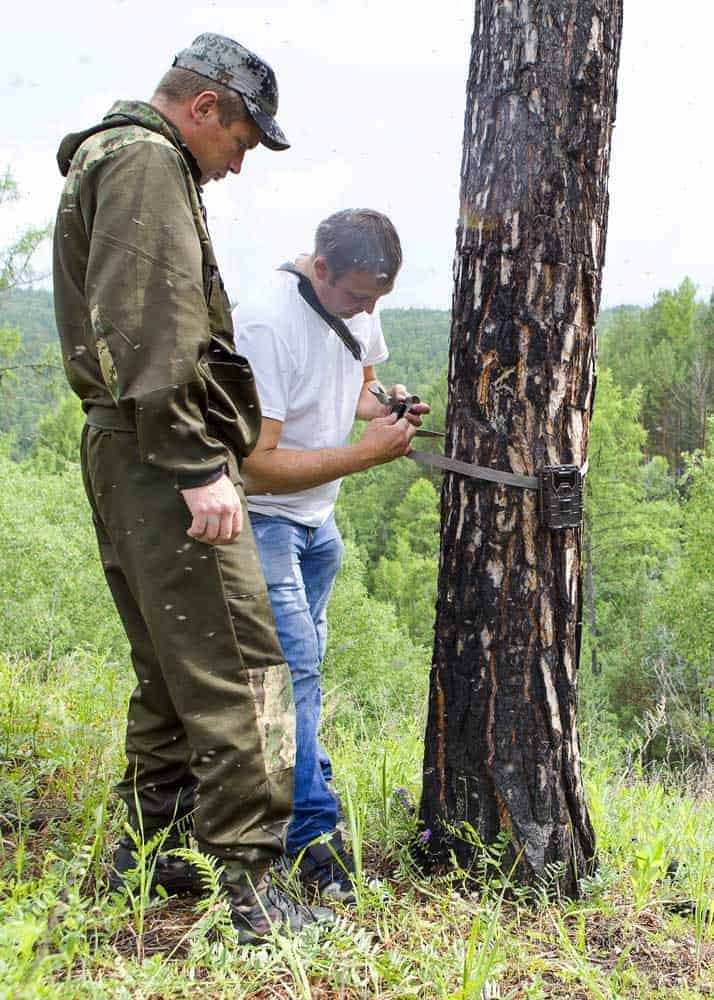
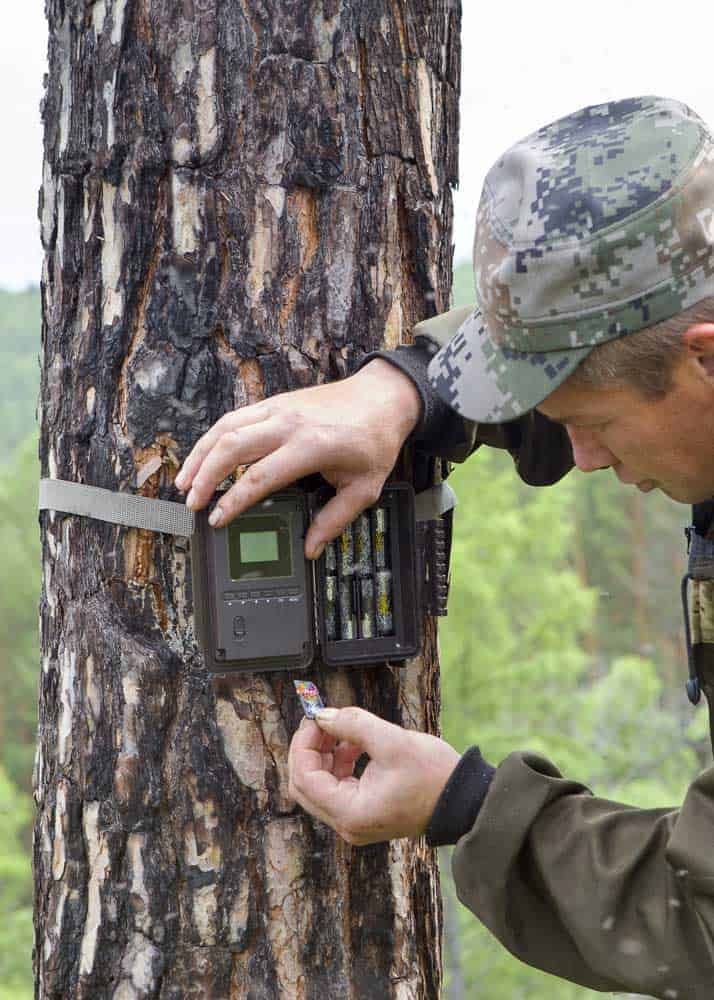
It is important to choose a location where the camera can be securely mounted without risk of it being knocked over or falling off. Many people choose to mount their cameras to trees.
In this instance, it is important to take test shots from the mount’s position. This is to ensure the angle of the tree or other various mounts does not cause the camera to face the ground or face too far upwards.
Make sure to mount the trail camera as level as possible.
2. Camera Height
When choosing the height to place the camera at, the user should consider which animals they are trying to capture.
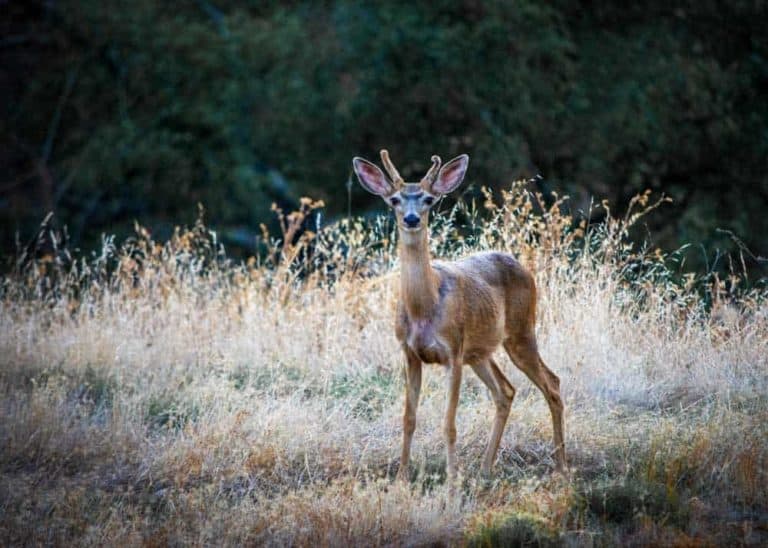
The camera should be placed at around eye level of the desired animal to capture the entire head and face, as well as the majority or all of the body. For taller animals the camera should be higher.
3. Focus Range
It is also critically important to keep the camera’s focus in mind.
Most trail cameras will come with a fixed focus and aperture. This often means that changing the camera’s range of focus will need to be done manually either by adjusting the camera beforehand or positioning it so that wildlife will be within its range of focus.
According to an article published on Springer Link:
“In order to shift the depth of field to closer distances in a fixed-focus lens, one needs to increase the distance between lens and sensor and thereby the focal length.”
4. Lighting / Sunlight
Sunlight is the next important consideration to keep in mind. It is better to place a trail camera in a more shaded area out of direct sunlight.
This is because if it is directly facing the sun the photos will have a glare, and if the sun is directly behind the camera may be falsely triggered to take photographs due to moving light and shadows thanks to the sun moving throughout the day.
Here’s more about how to avoid theft of your trail camera.
Setup a Full Camera Survey of an Area
Here’s a good breakdown of how to set up your camera and camera placement.
Here’s how to use a trail camera for security.
4 Common Mistakes to Avoid
The most common mistakes that occur with trail cameras include not accounting for weather conditions, not using a big enough memory card, not considering the effects of smell, and hiding your trail camera too well.
Each of these mistakes will affect the image quality and success of the camera.
1. Weather
As far as weather is concerned, trail cameras are designed to be durable and waterproof. However, trail cameras set up in very cold conditions are likely to experience much faster battery drainage.
If this is not accounted for during set-up, the user could end up with a dead camera rather than good wildlife photos.
Snow drifts and rising river banks can also affect image quality. It could even bury/submerge your camera if you don’t take these factors into account.
Here’s more about how long trail camera batteries last.
2. Memory Card Size
Likewise, memory cards should be big enough to handle several photo bursts over many hours.
Too small of a memory card will result in the camera filling the memory too quickly thanks to bursts.
I recommend buying the largest memory card that your trail camera can handle. Otherwise, you might be disappointed.
3. Smell
Additionally, users should keep in mind that animals have keen senses of smell, and the camera will hold the person’s smell if it is not cleaned after being set up.
The camera should be handled in scent-proof gloves and wiped down once set up so as not to alert or alarm the wildlife.
4. Hiding Your Trail Camera Too Well
While it’s important to hide your camera (to prevent theft and get the best shots), it’s possible to hide it too well.
- Affect footage: Using too much foliage or cover might prevent you from getting a good shot.
- Difficulty finding the camera: If you don’t take a GPS point, it’s also possible that you could hide it from yourself and might have a difficult time finding it again.
Flash Shows Who is on the Trails at Night
The use of flash will come into play the most at night. Most trail cameras nowadays are designed for both day and nighttime photography. They will also often have the choice between regular flash and infrared flash.
Infrared flash is good for not alerting the wildlife to the camera and consequently scaring them off. However infrared flash will result in black-and-white photographs.
This means that the user may get many nighttime pictures thanks to infrared capabilities, but these photos will be black and white.
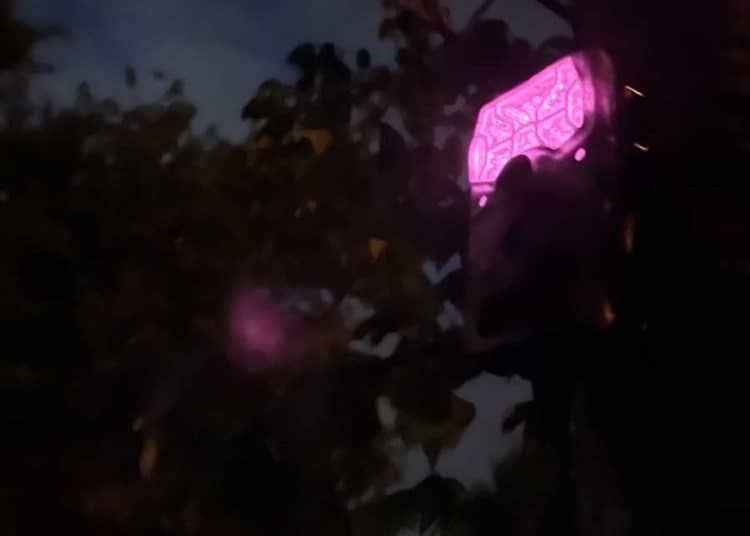
Of course, this is often preferable as normal flash may end up just scaring the wildlife off and result in blurry photos.
No Glow vs Low Glow vs Red Glow: Compared
Here’s how each of these flash types compares.
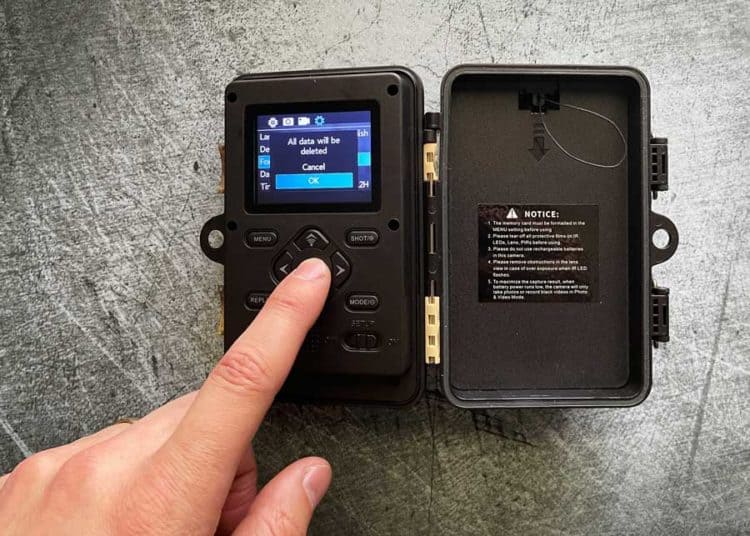
What if your camera is glitching? Here’s how to fix a trail camera that won’t turn on.
Here’s more about how to properly format your SD card for a trail camera.
How Will You Program Your Trail Camera?
The best thing to do when setting up a trail camera is to take several test shots to determine if the positioning, settings, flash, and other features will take photographs at the level of quality the user desires.
Always keep in mind that the camera should be discrete and scentless so as not to alert or scare the animals.
Have a question about programming your trail camera? Or maybe a tip to share? Join me below!

I have a Dargahou Trail Camera 4K that I purchased recently. The user manual is weak on defining the settings and understanding what the settings do. Is there a good source that can give a new trail camera user some definitions for the settings>
My camera is flashing but on my phone I am getting a message that it may take a while to show. My 1st camera is fine
I have a OUTDOOR EXPERTS trail cam. I love it but, I can’t find a way to extend the video more than 10 seconds. Nothing in the instructions cover this. Can anyone help??
Hi I am a new trail cam user. I have a GardePro A3 trail cam and I love it but I still have some questions about the settings. I only want to set the cam to take night photos but I don’t know whether to chose the 12 or 24 hour choice. Or if I use the 24 hour setting and set the actual time from 1200 to 0700 to record only at dark. Can you help me please.
thanks Scott
Hello there. Thanks for writing this article which is very useful. I am having problems with the time setting. As a result, whatever is feeding at my hedgehog feeding station is coming and getting food but the camera has recorded nothing at night. The format on the camera is confusing and looks li8ke a date, not time setting. What do I do please?
My camera has started to only take 2 or 3 photos I only put it out at night from 01.00 am to 7 am it used to
Take photos all the way through that time so I don’t know if I have changed the settings accidentally.
I don’t understand the settings very well .
My suggestion is to reset the camera – back to factory settings. The exact way to do that depends on your model. This will be the easiest way to see if it’s a setting or something more serious.
Bought a Lamptti 12mp 1080 from Amazon. Is the recorded time and date stamp on the recordings adjustable within the camera settings. If so how are the settings accessed.
WE ARE APT MANAGERS AND ARE TRYING TO CATCH A PARCEL THIEF THAT BEEN STEALING PARCELS IN THE AREA AND DUMPING THE EMPTY BOXES IN OUR GARBAGE CAN. WE BOUGH A TRAIL CAMERA I HOPE IT DOESN’T FLASH IF IT DOES , IT WILL ALERT THE PARCEL THIEF , WE DON’T WANT THAT….