How to Use a Trail Camera For Security: 11 Things to Know
Having video surveillance of your property provides extra peace of mind. But home security systems can be expensive. And most are complicated to set up. Here’s how to use a trail camera for security – either at your home or another property.
Trail cameras can be great for home security. They are motion-sensing, have night vision, have long-life batteries, and record photos and videos with audio. And if you use a cellular trail camera, they’re even better. You can get a notification even if you aren’t on your property.
Keep reading to understand how to use a trail camera for security purposes.
7 Reasons Trail Cameras Make Good Security Cameras
Cellular trail cameras can make excellent security cameras for several reasons.
- Weatherproof: Trail cameras are designed to withstand the natural elements, whereas standard home security cameras might be less hardy.
- Battery Powered: Unlike many standard home security cameras, cellular trail cameras do not need an electrical outlet or wired connection to function properly.
- Motion Activated: Trail cameras are often motion-activated, which saves energy and time since it only records footage when something is moving in front of it. These photos and videos can then be sent to a cell phone or computer in real-time, allowing you to react to a trespassing incident as it happens.
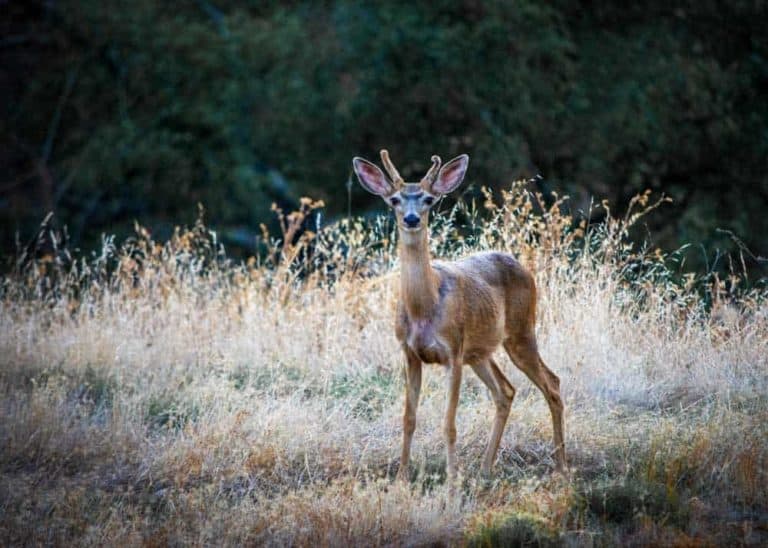
- Powerful Night Vision with IR: Trail cameras have surprisingly good infrared flashes. This means that even at night, you’ll get good images of a visiting raccoon or maybe a human visitor with bad intentions. Here’s how to keep your night vision working.
- Easy to Hide: Because they don’t need to be hard-wired, you can place them almost anywhere. This means that they can be easily hidden from unwanted visitors.
- No Monthly Fee: Finally, most trail cameras can be installed without the help of a professional and do not necessarily require a service or membership fee.
- No WiFi Needed: This makes this solution great for remote areas, like cottages, woodlots, and campgrounds.
4 Drawbacks to Using Trail Cameras for Security
While they are great tools, trail cameras might not be the right security solution for everyone.
Here are some features that most (all) trail cameras are lacking.
- App integration: If you use Arlo or Google Nest, you can view all cameras via an app on your phone. You can change settings and
- Live video feed: Also missing from many trail cameras is the ability to monitor a live feed of your location via your app. Because trail cameras only connect via cellular networks, they often only send a photo or video clip of motion. Note: Some trail cameras do offer live streaming. Make sure to check if the camera you’re considering has that feature.
- Linking Cameras: I like being able to monitor the live feeds of my Google Nest cameras in one app. I can easily change settings, check feeds, and turn them on or off. This isn’t possible with most trail cameras.
- Cell Service Required: For a dynamic trail camera security system, you’ll need cell service. If your location is remote, you might not be able to use this feature.
If you have neither cell service nor WiFi, your trail camera will be a static camera. That means that you’ll have to go to the location to download your footage to your computer.
When to Use a Trail Camera for Home Security
Cellular trail cameras work well for home security if you have a larger property or multiple buildings you want to keep an eye on. This way, you will not have to worry about having an electrical outlet at every location.
They are also a good option for properties in remote locations, where natural features can better disguise them and where electricity might be spottier.
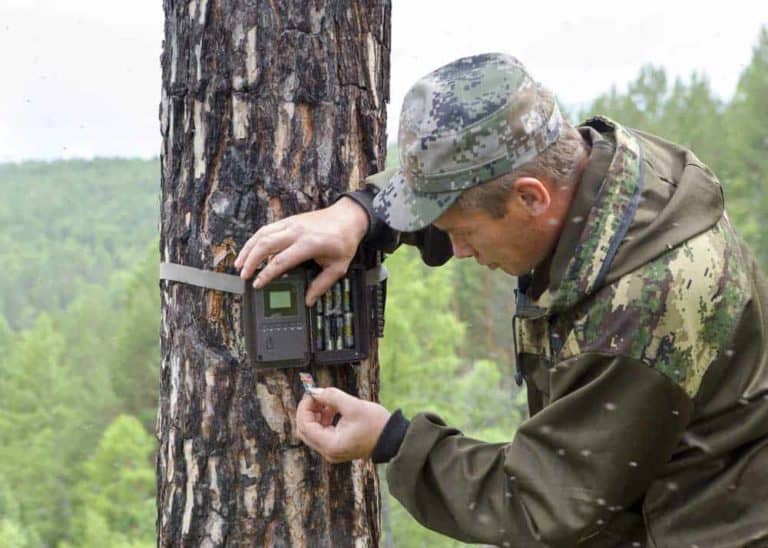
How to Setup Your Security Trail Camera
Here are the basics of setting up and using a trail camera.
- Correctly programming your trail camera is important. Here are 12 factors for trail camera settings.
- Is your trail camera not taking pictures? Here are eight easy fixes.
- Here’s how to choose the best trail camera.
- Here are 9 ways to fix a trail camera that won’t turn on.
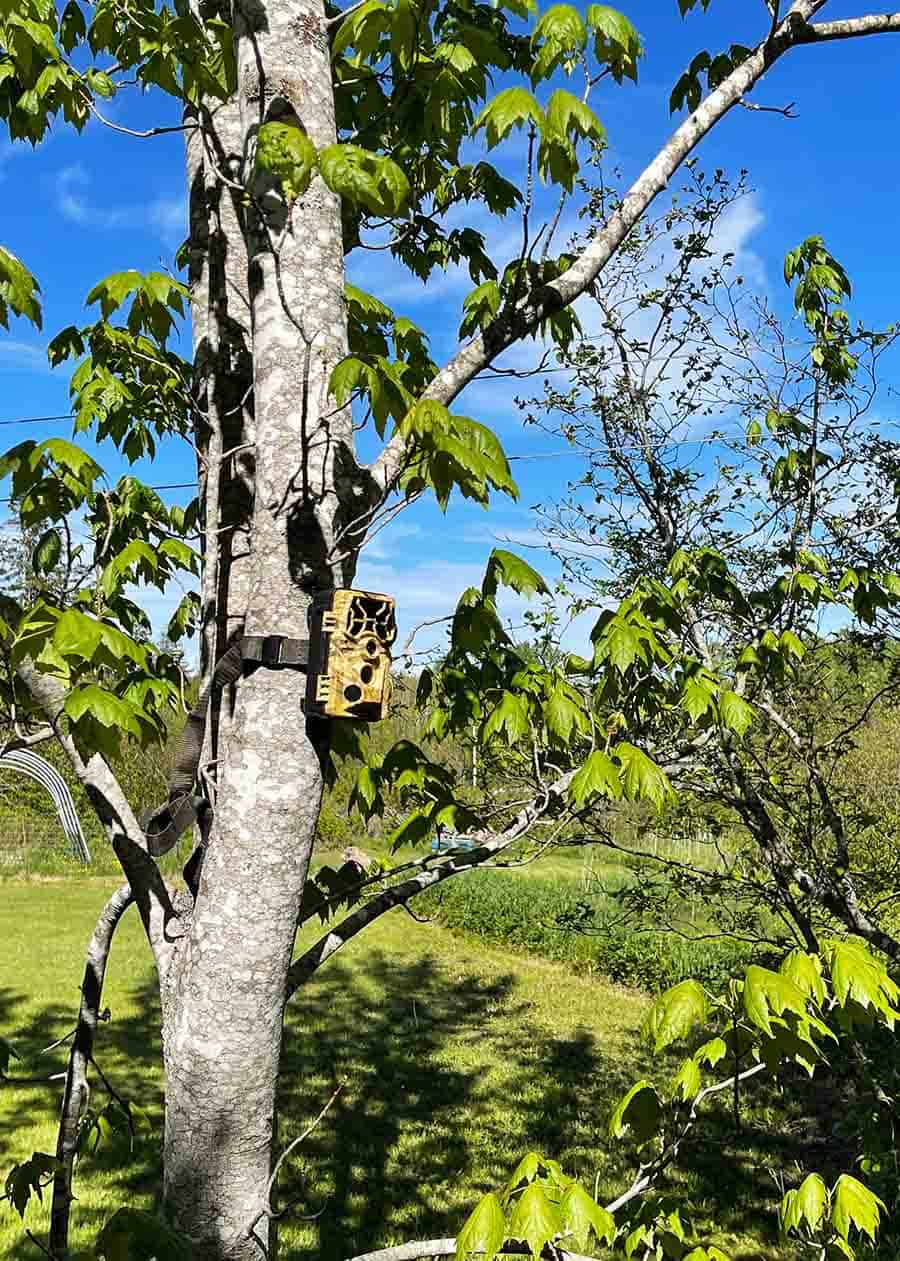
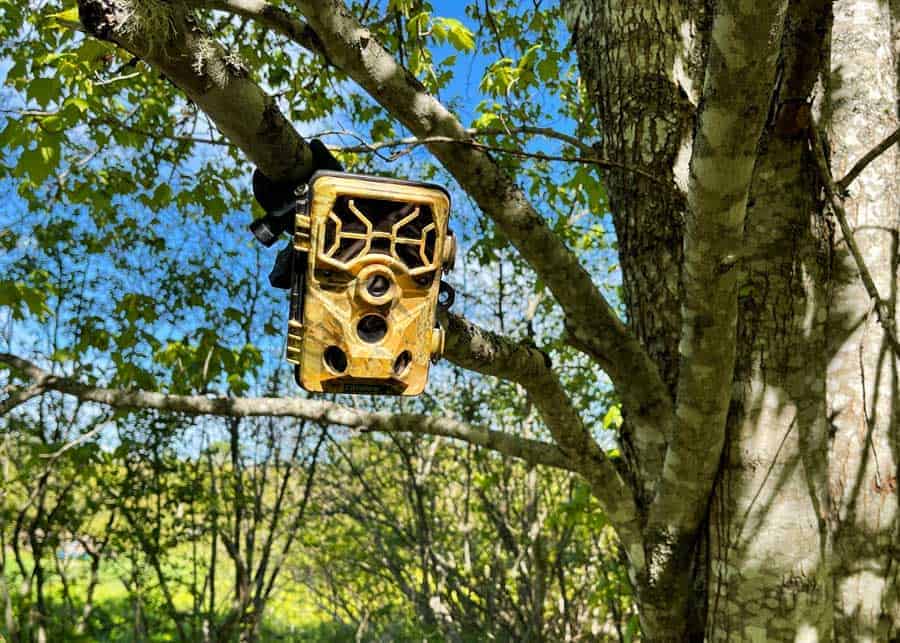
Using a Trail Camera for Security: Exodus Outdoor Gear
Where to Place Your Trail Cameras for Home Security
There are a few crucial locations to consider when placing your trail camera for security purposes.
1. Entry Points
Any place a burglar can enter your home is a good place for a trail camera to be watching. The front and back doors will likely be the main areas of concern.
Placing cameras on the sides of the house with several easily accessible first-floor windows is also a good idea.
2. Property Entrances
So while it’s good to film doors and windows where someone could enter your home or building, don’t forget to also record property entrances. Driveways and trails the come onto your property give you another opportunity to see the people and vehicles as they arrive.
To do this, angle one camera toward your house or cottage and a second camera away from your house.
2. Outbuildings and Garages
You can monitor outbuildings such as sheds, barns, and detached garages by hanging trail cameras from trees or poles in the area, or from the roof of the building itself.
Placing a camera on one of the back corners of attached garages can better capture footage of any activity inside of them. This way, no matter which way a burglar entered, you can see it.
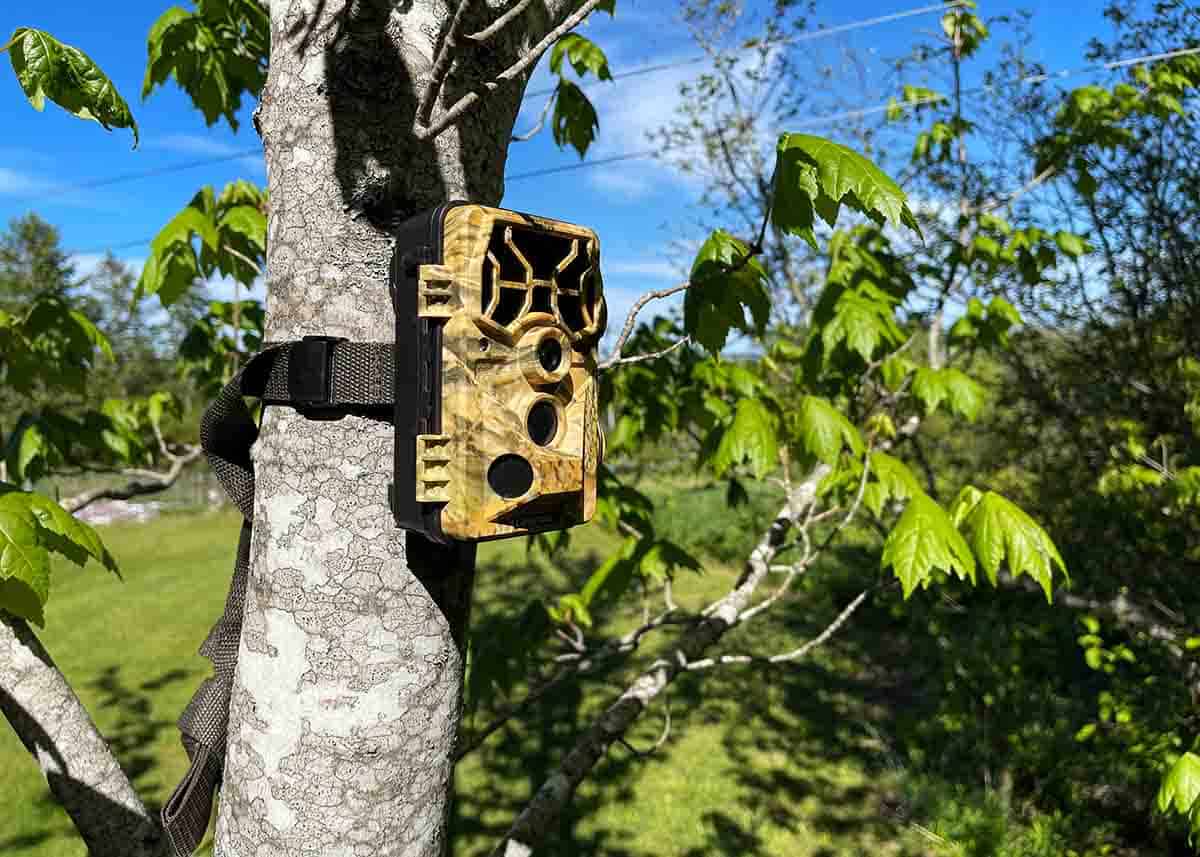
How to Conceal Your Home Security Trail Camera
Now that you have your trail camera locations set, you want to make sure no one disrupts or destroys them.
Here are a few methods to keep in mind when setting up your trail cameras.
1. Birds-Eye View
Keeping your trail cameras at a minimum of ten feet above the ground greatly reduces the chances of someone casually noticing them while walking by.
Just remember to slightly tilt the camera toward the ground as well.
2. Size Matters
The smaller the camera, the easier it will be to discreetly place. You can find plenty of smaller cameras equal in quality to their larger counterparts.
3. Master of Disguise
There are several ways to further conceal your trail camera from human eyes. Some of the most popular options are:
- Foliage: To camouflage your security trail camera, use the nature surrounding it such as leaves, vines, and flowers. You can also purchase greenery similar to the nearby plants and attach it to the camera, as long as it does not seem obvious. With this method, it is also important to ensure that the camouflaging foliage does not obscure your view.
- Paint: While many trail cameras are painted for trail camouflage, that may not lend itself well to home security. Painting the camera in the color of the building or space in which you are mounting it is one solution to this problem.
- Decoys: You can position cheap, fake cameras in easier-to-see locations to draw attention away from your real trail camera installed nearby. Placing your trail camera in tree stumps or birdhouses is another method to prevent human interference.
4. Lock It Up
While placing your trail camera in a lockbox might require some extra effort when changing batteries or swapping out SD cards, it can also act as a deterrent to someone who wants to destroy it.
5. Cover Your Tracks
Avoid visiting your trail cameras too often, as this may alert others to its location. Additionally, it is not recommended to check your cameras or change your batteries after a snowstorm or after a rainfall, since your footprints will leave a trail.
Here’s more about concealing and preventing trail camera theft.
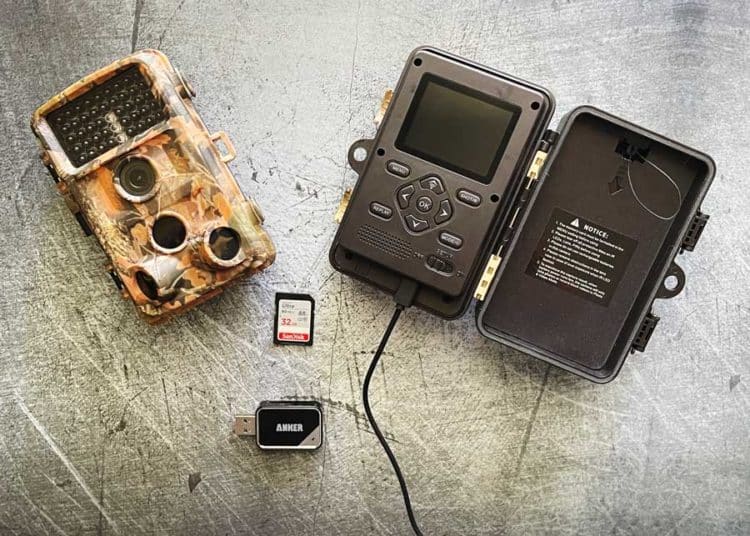
Trail Camera Features to Consider for Home Security
There are many features to sort out when looking for a cellular trail camera for security use. Here are a few aspects to keep in mind while shopping.
1. Resolution
For quality pictures and video footage, look for high-resolution trail cameras with a high megapixel count. Keep in mind that this will also require a larger memory card.
2. Trigger and Recovery Speed
A faster trigger and recovery speed means more footage or photos of a potential trespasser. Look for a trigger speed of one second or less.
3. Flash vs. Infrared
Many trail cameras utilize a flash feature. While this captures a bit more detail, it also alerts the photographed person or animal that the camera is there. Look for “no-glow” infrared cameras that do not need a flash for acceptable picture quality.
4. Battery Life
You will need to replace your trail camera battery anywhere between once a month and once every six months. The frequency will depend on what type of battery your trail camera requires.
Some companies offer models with solar panels to extend battery life. Make sure your cellular trail camera is placed somewhere with a reliable cell service connection, as searching for a signal can drain the battery faster.
Here’s more about how long trail camera batteries last – and how to make them last longer.
The Importance of Security Cameras
According to FBI statistics, 62.8 percent of burglaries were residential.
While there are several ways to make your home less attractive to potential criminals, a study involving convicted burglars listed cameras and other surveillance systems as one of the more effective deterrents for intruders. Installing one or more trail cameras for home security can help keep you, your property, and your family safe.
Have you ever used a cellular trail camera for home security? What models and methods worked best for you? What advice would you pass on to someone wanting to try this form of home security? Let us know in the comment section.
What is the difference between a trail camera and a security camera?
A trail camera will only start filming if it detects movement. And most security cameras will continually film.
The quality of the footage of many trail cameras is superior. And security cameras are more easily noticed by burglars than trail cameras.
How do trails cameras work without internet?
Trail cameras work similarly to a cell phone, using the GSM network. Therefore, your camera will need an active SIM card to work properly.
Your Turn
How did your setup go? I would love to hear your tips and tricks for setting up a trail camera for security.