How to Put Up a Dome Tent by Yourself (9 Tips and Tricks)
So you’re going on a solo camping trip? Or maybe you’re heading out with a group – and your fellow campers would rather swim and fish than set up the tent? No worries. In this post, you’ll learn how to put up a dome tent by yourself.
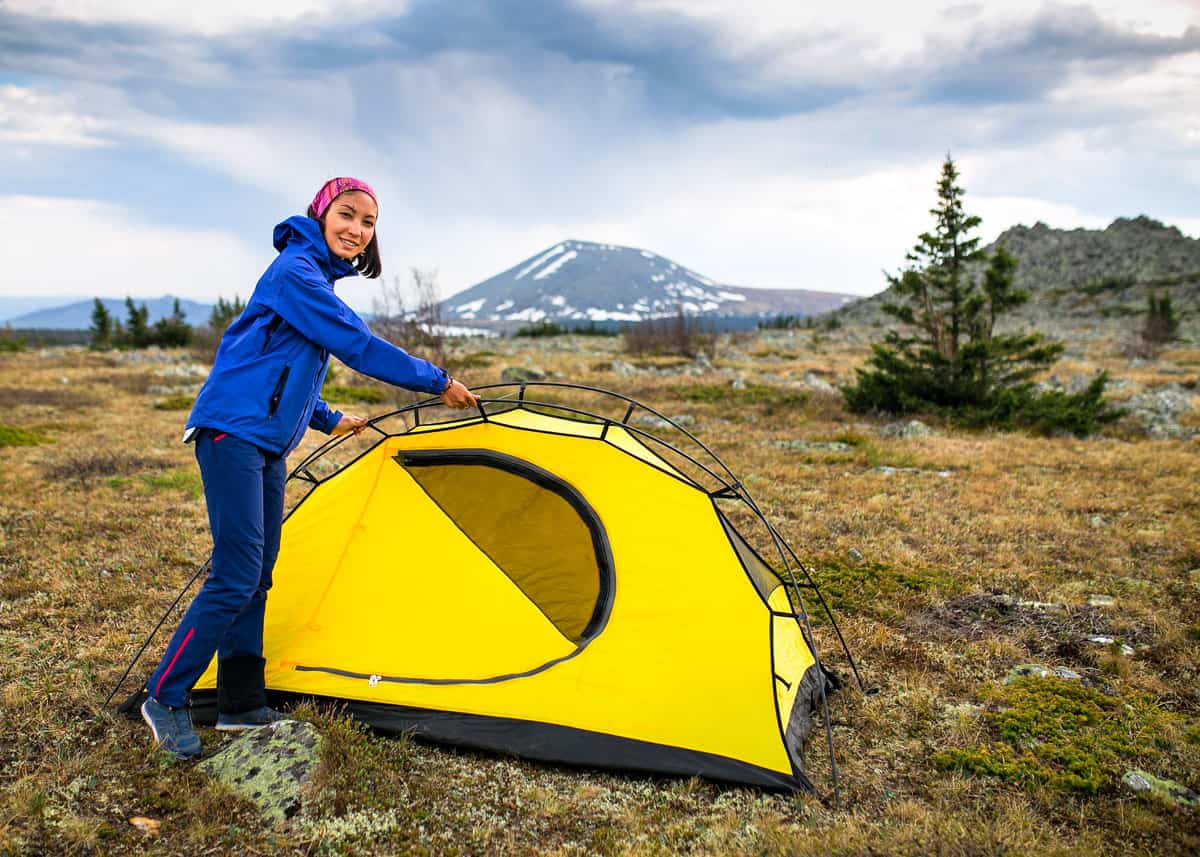
How to Put Up a Dome Tent by Yourself: 9 Tips and Tricks
Is this the first time you’ve used a dome tent? Do you need to know how to set up a dome tent before your child’s field trip? Are you setting out on a solo adventure, and aren’t sure how to set up your shelter alone? There is no need to be intimidated.
Even though dome tents look difficult to set up alone, they are one of the easiest tents to assemble by yourself! If you have a newer dome tent, it is simpler than ever to put one together.
However, a lost instruction manual can mean the difference between an easy task and a much more difficult one.
If you want to learn how to put up a dome tent by yourself, then these tips will help.
9 Tips to Setup a Dome Tent
1. Find a Nice Location
The first step is to find a beautiful place you want to wake up in the morning.
Depending on the location you plan to pitch your tent, you have a few options on where to camp.
- Pay Campground: If you are someone who enjoys fully working restrooms and the potential for amenities, a pay campground may be for you! Many pay campgrounds offer a small grocery store, showers, and electricity. They may even have their gas station, or one close by if you are in the middle of nowhere. These types of campgrounds are usually located close to the ultimate destination. That makes driving to your outdoor adventure much easier. The only downside to a pay campground is your proximity to your fellow campers. You can hear their conversations, smell their food, and be woken up by their lights. However, some people may feel safer in a large group of people and with a campground host.
- Free Campsites: There are a variety of free campsites out there for the taking! If you enjoy having all land within view to yourself, you will want to check out free campsites. Typically you can find this type of camping close to National and State Parks. If you are up for a hike in, National Parks usually allow you to wilderness camp. Be sure to check ahead of time, because some Parks require back country permits and almost all Parks have different rules. If you are lucky enough to live out west, you can benefit from BLM Land. This is Public Land, where you can set up your tent for free. Forest Roads around Parks are also prime locations for learning how to put up a dome tent by yourself!
There are positives and negatives of being the only person set up within miles. If you are someone who gets spooked alone, you may not want to camp away from the comfort of others.
If you don’t feel safe in new and unusual places, paying for a campsite and peace of mind are worth it.
You will enjoy camping in the boonies if you are interested in waking up somewhere few have seen, feeling like Survivorman, and using the bathroom in nature!
2. Pick a Good Spot of Land
The second thing to learn about how to put up a dome tent by yourself is to pick a good spot of land. I know what you’re thinking, but not all land is created equal!
There are three things to keep in mind when it comes to finding a spot.
- Pitch your dome shelter on higher ground. If it rains, you don’t want to get flooded from the runoff.
- Pick a flat portion of land. No one wants to sleep with their head downhill!
- Choose an area that is free of rocks and other pointy debris. A small amount of pine cones, rocks, and twigs on the ground is okay! Simply kick them or throw them out of the area where your tent is going to set.
3. Plan the Site Strategically
Depending on how much room you have, you can plan your site strategically. When figuring out how to put up a dome tent by yourself, take the elements of nature into account.
If it gets hot when the sun comes up, you want to position your shelter to stay in shade as long as possible in the AM. However, you do not want to camp directly underneath trees, especially if there is a threat of high winds.
Falling branches could make a mess of your tent. If you want ultimate protection from the sun and the wind, camp on the west side of a mountain, hill, or cliff.
Another part of strategic planning is deciding where to put the fire. If you are at a pay site, you probably don’t have much of a choice.
When you are in the wild, you can put your fire anywhere you want as long as there isn’t a fire ban! It is recommended you make your fire downwind of your tent. Little embers can quickly ignite cloth. In addition, keep your dome tent as upwind of your washroom area as possible.
If you are at a pay site, try to choose one away from the restroom.
Hate bugs? Check out the Campers guide to essential oil bug repellent
4. Use a Footprint
Although not all tents come with a ground tarp, you’ll want one. This is important when figuring out how to put up a dome tent by yourself. The good news is, you don’t have to splurge on a super expensive footprint to protect your shelter.
You can simply purchase a tarp that is a bit larger than the area of your tent.
If you are using a tarp, go ahead and stake it down before you assemble your shelter. If you have a footprint made especially for your dome tent, you will stake your bottom layer in a bit.
5. Lay out all of the Components
After you lay down your tarp or footprint, go ahead and unpack the tent. You should have tent poles, the tent itself, a rain fly, and stakes.
Unpack and lay everything out so you can easily access and see it. Now, make sure the tent’s zippers are closed and lay it on top of the tarp.
Tip: make sure you have everything packed before you leave the house!
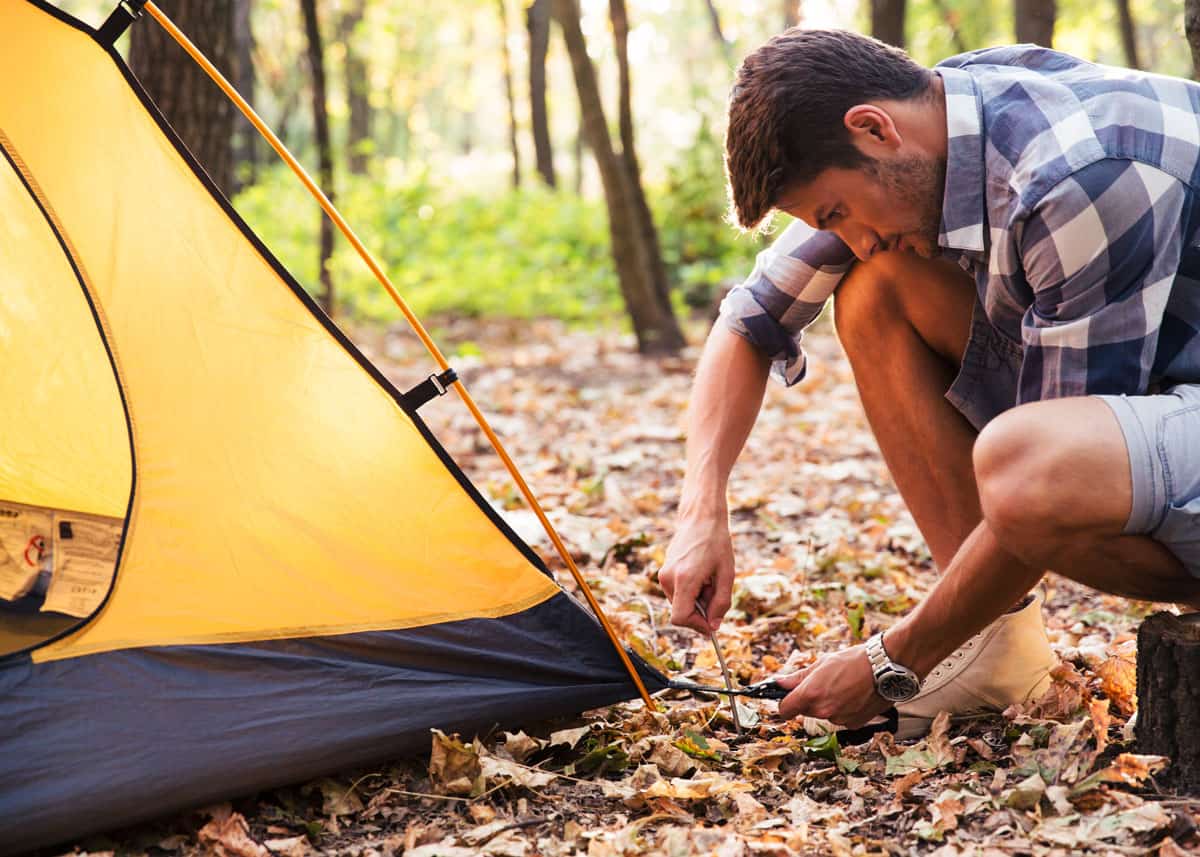
6. Thread all Poles Through the Tent
When figuring out how to put up a dome tent by yourself, you will need to know how to thread the poles.
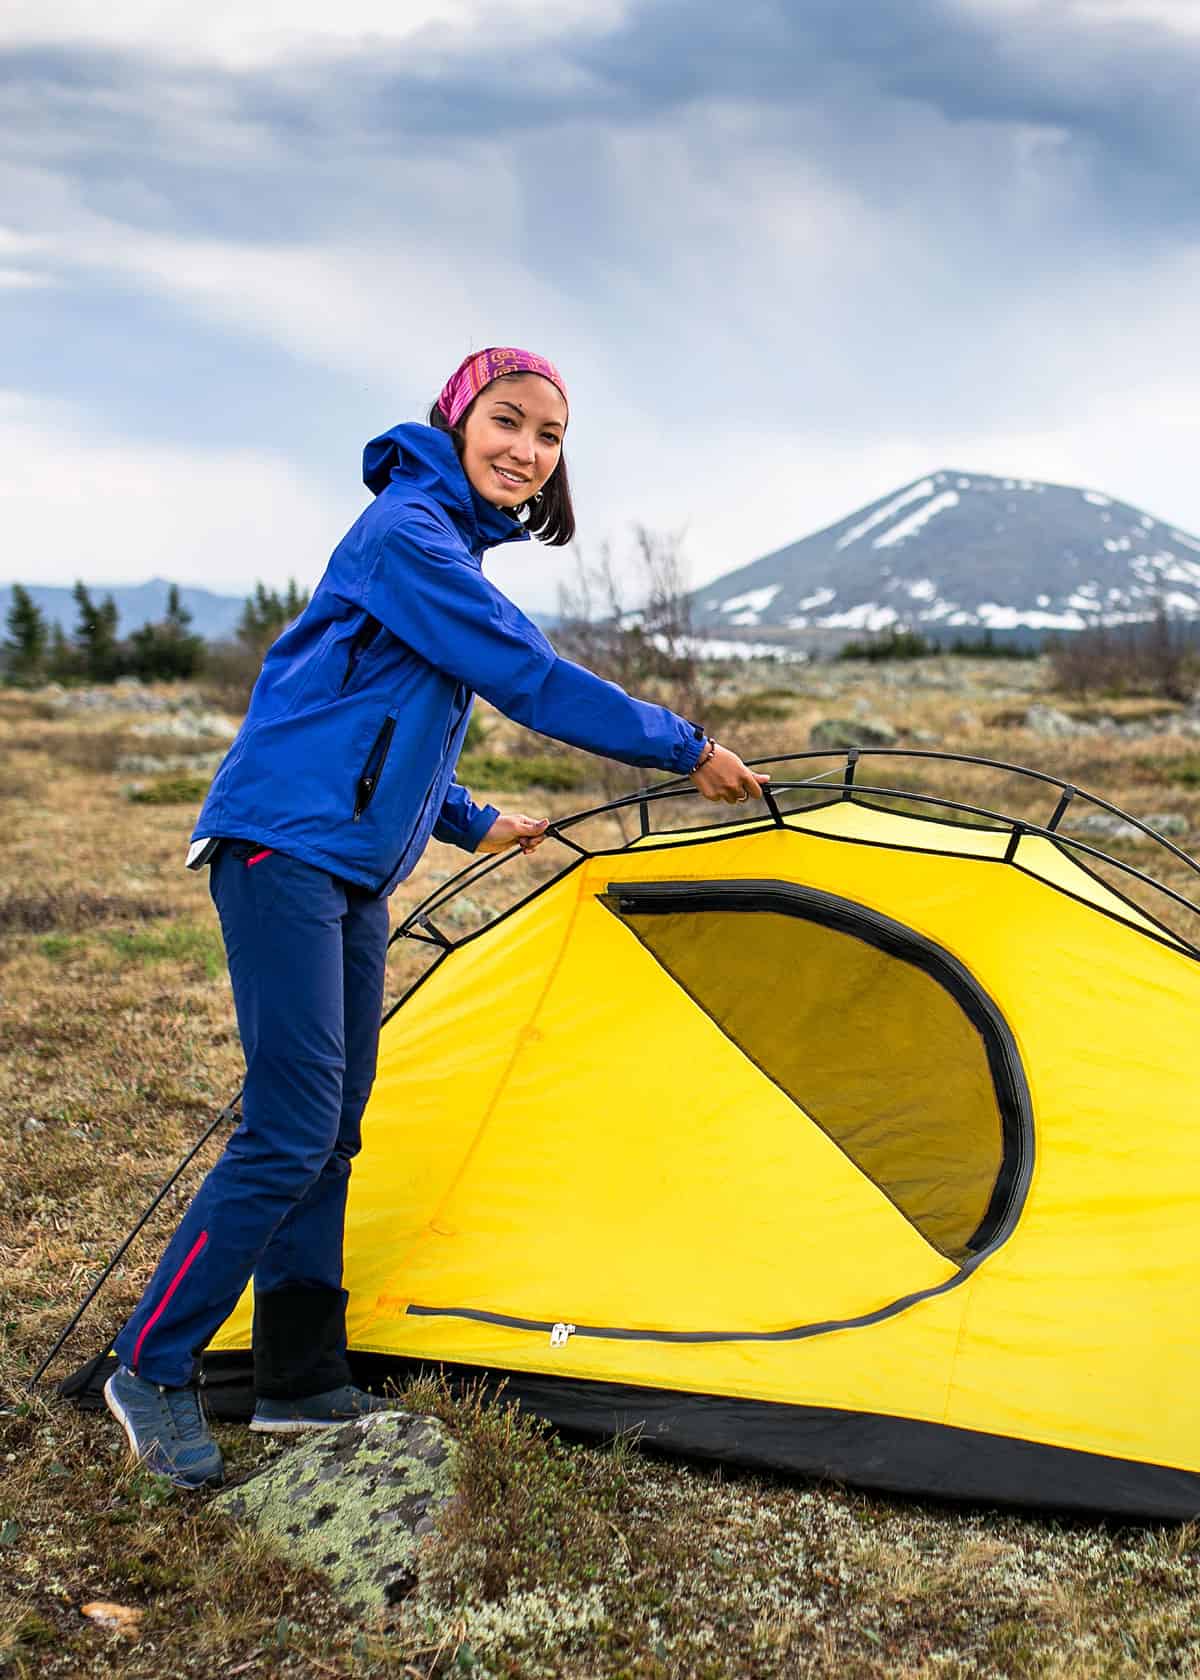
There are two primary ways you can attach the poles to the tent. Your tent will either have sleeves or clips. Either way, the first step for both is to put all of your tent poles together.
If you are by yourself, this is essential! Doing this first will help you when figuring out how to put a dome tent by yourself. Most of the time a shock cord holds the poles together.
This helps even unsure builders assemble their poles! Now, the process varies.
- Sleeves: Some tents have different-sized poles, so it may be difficult to know if you are inserting them correctly. However, laying them down on top of the tent first can help you decipher where they should go. Most of the newer products have color-coding systems to make assembly easier. When you are slipping your poles through sleeves, do not attach them into the grommets at the end of the tent until you have all of the poles in their respective sleeves. Then, go around the dome and insert them into the grommets in the corners. The last few may be difficult to do on your own, but feel free to use some muscle. Don’t forget the poles are made to bend.
- Clips: For a tent that uses clips, insert one of the finished poles into a grommet. Then, insert the other end in the grommet diagonally across. It may be difficult to stabilize the tent with one person, but don’t be afraid to push the poles into their places. Repeat this for the second section of poles you have put together. Now, you can begin clipping your tent onto the support system. Begin from the corners, and work your way up to the top. Some shelters with clips also use colors to help you see how to set up your dome tent by yourself.
Do you have a footprint underneath that is specifically made to fit the tent? If so, you will want to make sure you are sticking the poles through both grommets at the same time.
If not, your footprint won’t be taut enough to do its job. For tarps that are longer than the bottom of your tent, simply fold the excess underneath!
7. Re-position the Tent
After you have erected your dome tent, you may need to reposition it slightly. Make sure the tent is still upwind from the fire as well as the toilet. The opening of the tent should be positioned away from the prevailing winds if it’s cold, windy, or raining outside.
The last thing you want is a cold blast of air or rain hitting you in the face when you exit to use the bathroom.
You also don’t want sand, leaves, and other debris flying into your tent when you open the door. If you aren’t sure which way the wind usually blows and it isn’t currently blowing, orient westward. Why?
The sun won’t shine directly into your face, so you will not wake you up extremely early! However, if you want to wake up early for your adventure, go ahead and face your tent eastward.
When it is warm outside, you will want your tent positioned to get the most air ventilating possible.
8. Use Stakes
Some people decide not to use stakes to hold down their tent. That is their prerogative. However, when you put up your dome tent I recommend using the stakes. They will help your tent repel water, stay grounded in the wind, and maximize the room inside.
Depending on where you are camping, you might need to purchase better stakes than the ones that came with your tent. Any kind of hard ground can easily dent and bend lesser stakes.
To secure your tent, pull out the hoops on the bottom corners as far as they can go. Then, lightly hammer down your stakes into the ground at an angle. Repeat on each side, making sure your tent is tight. This is important for your shelter’s optimal performance.
The only time I would not recommend stakes is the rare situation when you are going to sleep right away, there is no rain, and you plan on packing up as soon as you get up the next day.
Here’s how to stake a tent properly.
9. Use Guy Lines
If it is warm and the weather looks good, you will want to keep the top of your dome tent free of obstruction. You should only need your rain fly if it is cold outside, or it looks like a storm is brewing.
Some dome tents have the rain fly already attached, but the majority require elbow grease.
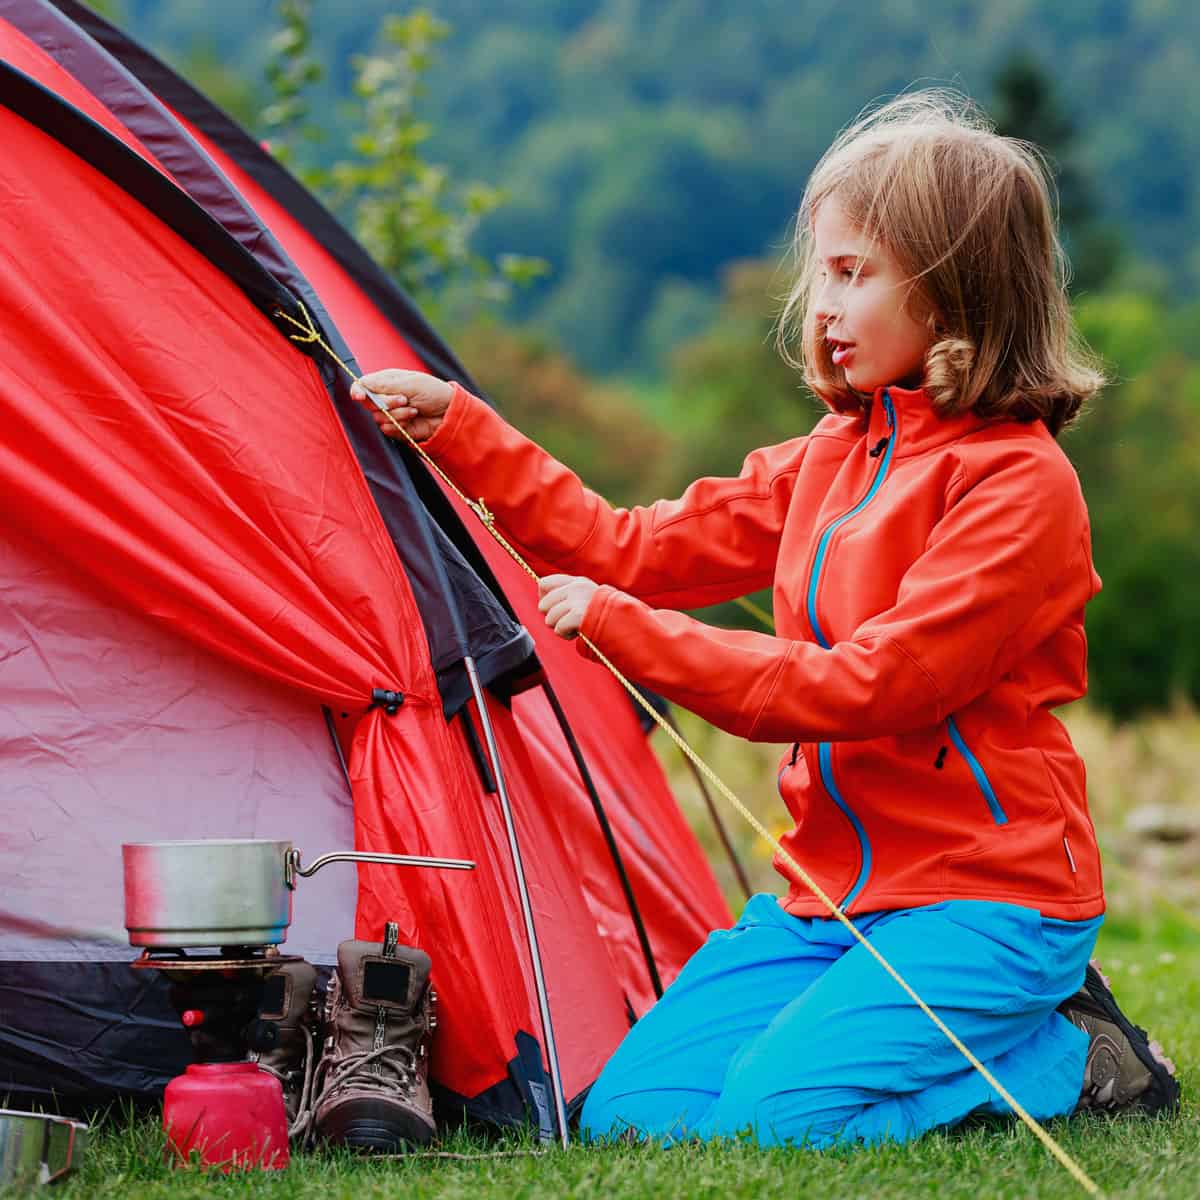
There are two primary ways to put on the covering. Some tents use velcro to attach the rain fly to the poles. Others include bungee cords that stretch the rain protection over your head.
These bungees attach underneath the poles, on the underside of the footprint’s grommets. If you are really worried about rain, you can dig a trench around the edges of the tent to collect water.
More reading: Best Camping Gear for Beginners

And now that it’s set up – you’ll need to know how to pack it down. Here’s that post: How to fold a tent like a boss (dome and cabin)
And if the post wasn’t enough, here is a light version in video:
Set Up Your Dome Tent By Yourself Today!
Never be nervous about setting up your campsite alone again. These 9 tips and tricks on how to put up a dome tent by yourself will get you pitching your tent solo in no time!
Armed with this helpful guide, almost anyone can set up for a night in nature with no extra help. If you are still unsure, consider practicing these instructions at home before you go. This will ensure your first trip out goes smoothly!
If it’s raining, this presents a whole new set of challenges. Here’s how to set up your tent in the rain.
Have a tip or story? Join me in the comments!

