How to Waterproof a Tent: 6 Tips to Keep You Dry
You’re excited about your upcoming camping trip and hoping for sunny skies. But what if it rains? Don’t worry, in this post, you’ll learn how to waterproof a tent, plus we’ve included 6 tips and tons of tricks that will keep you dry.

How to Waterproof a Tent: 6 Tips to Keep You Dry
Looking into the face of your children as they say “will the tent leak?” as the thunder crashes overhead is probably not the right time to think about how to waterproof a tent.
Spending the night listening to -drip -drip -drip is the worst way to spend a night outdoors, just ask anyone who has been through it. It’s also the quickest way to turn your holiday into a disaster.
Related: 15 tips for setting up a tent in the rain
Waterproofing your tent before you go solves all of these problems, and we’ve got you covered.
Helpful tip: Make sure to check what fabric your tent is made of before you start waterproofing it.
This article is focused on synthetic fabric like polyester and nylon. Natural fibers may need different care and products than what is recommended here.
Here are 6 tips and a ton of ‘how to’ instructions to help you out.
1. Check the entire tent, seals and rain fly
If you forget to check the entire tent you may feel you’re good to go, and then get some seeping or leaking in unexpected places. So do a thorough check and avoid any nasty surprises.
The fabric of new tents holds their waterproofing for a long time. But if you’ve got a well-used tent, or if you’re the type that feels you’re always “better safe than sorry” you’ll want to check the fabric before each trip.
You can also extend the life of your gear by waterproofing it regularly.
There are three places a tent can leak:
- through the seams
- through the fabric
- through the rain fly
More reading: How to stake a tent properly (12 tips)
2. Check every time you go camping
It’s a good idea to check your tent before each camping trip especially if you haven’t used it in a while, or if it leaked the last time. Checking the tent will reduce your stress.
Each tent will be different depending on the amount of use (exposure to harsh sun and other weather conditions) it has already endured.
Here’s how to check your tent for leaks:
- On a sunny day, set your tent up. Make it fun by setting up in the backyard with the kids.
- Grab the garden hose and turn the nozzle to a fine mist spray.
- Spray the tent with the kids in it. They are your little tent spies scouring the inside for any sign of leaking along the seams or seeping through the walls.
This will put your mind at ease and also entertain the kids, because you know kids – they’ll be running through the hose when they come out and no doubt having a ball.
If you don’t have kids, just ask a friend, spouse or another family member. You could also truly DIY and just examine it inside and out yourself after giving the tent a good soak.

Trouble putting the tent back in the bag? Here’s how to fold the tent like a boss
Helpful tip: Checking your tent for leaks before you go camping is a good idea because you won’t be fooled by condensation.
- Sometimes condensation can build up on the inside of your tent while you’re camping. This comes from the moisture produced by your breathing and body heat.
- If it’s raining and you see condensation on the inside of your tent you may think your tent is leaking, but it may just be condensation.
- By checking for leaks on a sunny day with no one “living” inside your tent – condensation won’t be an issue.
You’ll base the type of waterproofing you need on what you see after you’ve given your tent a good soak.
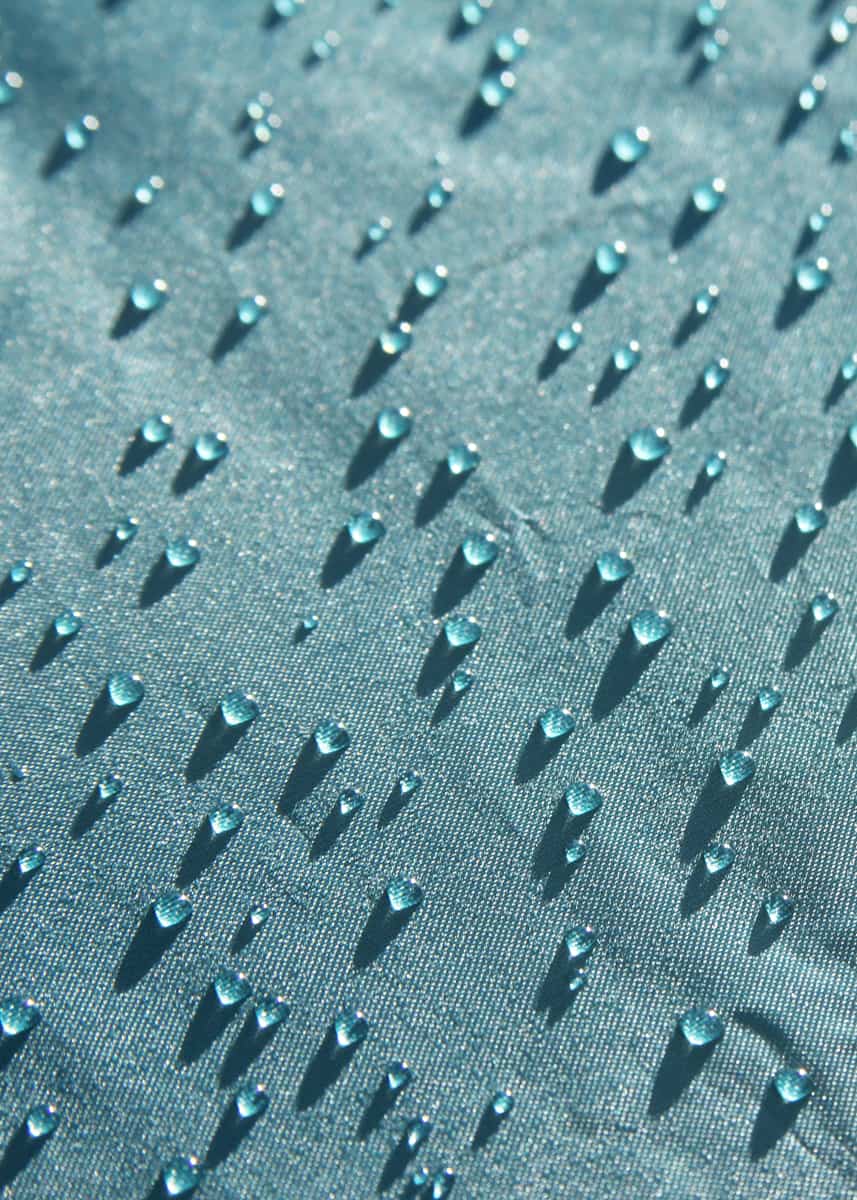
Remember to check the outside of the fabric as well, if you see lots of water beading and rolling off your tent, you’re good to go. If not you’ve got some work ahead of you, more on that later.
3. Check your fly separately
If your tent comes with a separate fly (and your tent is not made of mesh) check your tent for leaks without the fly.
Set the fly up after you’ve checked your tent. This way you’ll be doubly protected in a bad rainstorm. If your fly fails, you’ll know your tent is waterproof all on its own.
We’ll talk about checking the fly later on in this post. If your tent is made of mesh then you’ll need to set the fly up over it before you check it.
4. Choose the right waterproofing
As mentioned above the tent can leak in three areas, the seams, the fabric, and the rain fly.
There is a different sealant/waterproofing for each of these areas. So you’ll need to know which one is right for your leaking tent. More on that when we get into the “how to section” below.
5. Wash all gear before waterproofing it
If your tent isn’t brand new, make sure you wash it before applying any waterproofing products. Usually clear water and a sponge will do the job but if you see flaking product you’ll want to wash those areas with rubbing alcohol before getting started.
Helpful tip: Always be sure to check product instructions before getting started with cleaning or application.
6. Consider waterproofing your new tent
It’s a common opinion among campers that new tents only have waterproofing applied to key areas (the floor, the rain fly) so if you’re in doubt why not apply Nikwax to the tent and rain fly before you use your new tent. More on how to to that below.
How to Waterproof a Tent: Seams, Fabric, Floor & Rain Fly
How to Waterproof Tent Seams
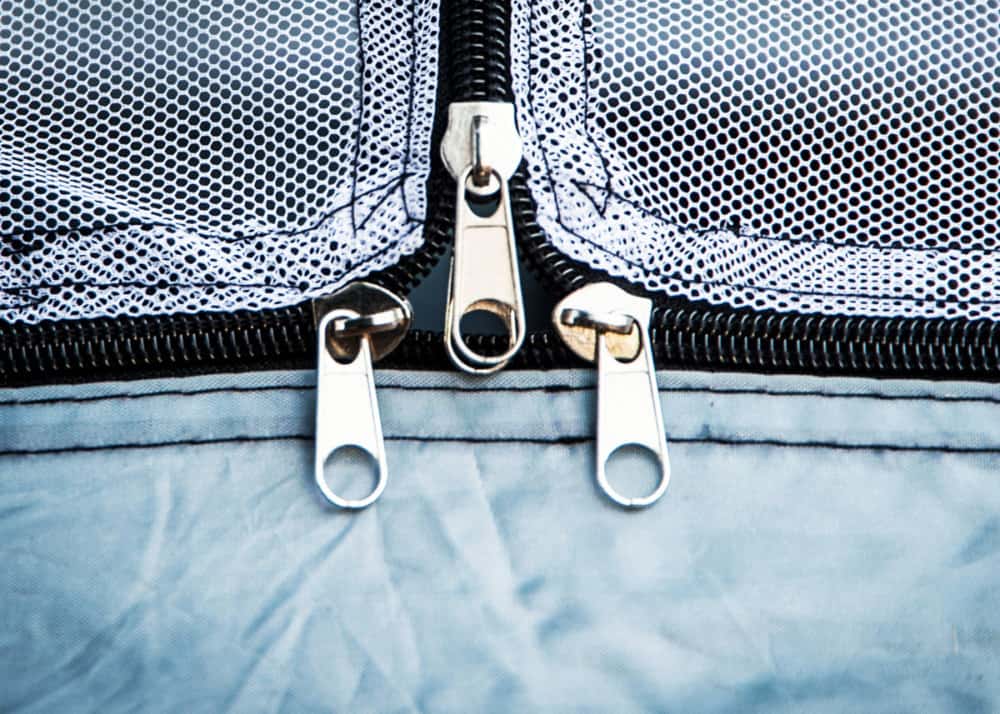
Waterproofing Tent Seams: The seams of your tent are found where two pieces of material meet.
You’ll find them running up and down along the corners of your tent, by the zippers, around the windows and doors, where the main body of your tent meets the floor, and any other place where material in your tent has been stitched together. W
hen checking for leaks, you’ll want to check along the entire length of each seam.
Sealing the seams is quick, easy and shouldn’t take more than twenty minutes once you’re ready.
Here’s what you’ll need:
- A clean dry place to work
- A small/medium-sized paint brush, unless your sealant comes with an applicator
- A top-quality sealant like Gear Aid – Seam Grip WP Sealant Adhesive
- Gloves if you want to wear them
How to Seal the Seams of Your Tent:
- Pick an area where your tent can dry without being disturbed, you may even want to do this inside if you’ve got the space.
- Make sure the seams are completely clean and dry. If the seams appear a little dirty, then gently clean with a damp cloth or some rubbing alcohol and leave to dry. If you notice major peeling of the seam tape, you’ll need to remove it.
- Apply a thin layer of sealant along the seams.
- Let dry for 8 – 12 hours.
Some people seal the seams on the inside of the tent, some seal them on the outside, and others seal both. It’s up to you, just make sure to follow product instructions.
This video will help you get an idea of how easy it is to seam seal your tent. But we recommend removing the rain fly so it’s easier to reach all the seams of your tent at the same time. You can seal your rain flay when you’ve finished with your tent.
How to waterproof a tent: Sealing your tent seams.
With tears, the old adage, better safe than sorry, applies. If the tear is tiny you could apply tape on the other side of it to hold it together and apply the sealant on and around the tear.
Once the sealant drys (8 – 10 hrs) you can apply a second layer if you wish depending on the severity of the tear. For larger tears, you may need to apply a patch, and then seal around that.
Recommended product for sealing tent seams:
Seam Grip FC Fast Cure Seam Sealant. This seam sealant is water-based and has a cure time of just 2 hours which can help make your job less time-consuming.
Many prefer using a small paintbrush or sponge brush to apply the product rather than the brush it comes with. This makes applying a thin coat and getting the seams over your head easier to manage.
This product is good for canvas, nylon, polyester, and vinyl fabrics. Get some on Amazon.
As mentioned above, if your seam tape is peeling off, you may need to remove it before applying seam sealant. It will depend on how badly it’s peeling.
How to Waterproof Your Tent Floor
Waterproofing the floor of your tent: The floor of your tent is often referred to as the bathtub or tub floor because this portion of the tent usually runs up the walls several inches.
It keeps the seams off the ground and protects against water running and/or pooling on the ground.
Keeping this area good and waterproof will help protect all your gear, sleeping bags, pillows, backpacks, and anything else sitting on the floor of your tent.
Here’s what you’ll need:
- A clean dry place to work
- Gloves and a mask if needed
- Sponge to clean the area
- Product of choice
Helpful tip: If your tent floor seems sticky or you see flaking of the existing (old) product you’ll need to clean the area with rubbing alcohol before getting started.
But be sure to check product instructions before proceeding.
How to waterproof the floor of your tent:
- Set up your tent in a clean dry area.
- If the seams and floor of your tent are dirty, wash them according to product instructions.
- After cleaning the area seal the seams of the tent floor.
- Once the seams are sealed move on to sealing the remaining area of the tent floor.
- Let dry according to product instructions.
The following video will show you how to waterproof the floor of your tent.
Waterproofing the floor of your tent
Recommended Products for waterproofing your tent floor:
Gear Aid Seam Grip + TF Tent Fabric Sealant.
This product is the updated version of the one used in the above video and can be used on the seams of your tent floor as well.
It has a built-in foam brush to help with the application, but campers say it’s only good for the seams. So you may want to pour the product into a small bowl and get a small paintbrush/foam brush to apply to the floor of your tent.
This product is good for all synthetic fabrics.
Tip: The foam brush on the product needs to be pressed firmly against the bottom of your tent to start the flow of sealant. Check current price on Amazon.
Helpful tip: Apply two thin coats rather than one thick coat.
How to Waterproof Tent Fabric
Waterproofing the tent fabric/body: The fabric/body makes up the main part of your tent. There can be a number of different types of fabric making up your tent, some provide privacy and resistance against the elements, whereas others like mesh do not.
Knowing the material your tent is made of is important because there are different kinds of sealants for different types of fabric/material.
When we think about how to waterproof a tent sometimes we can forget about the tent itself because we think the fly will keep us dry. But depending on the wind and how the water drips off the fly it can hit the tent and cause problems.
So it’s best to waterproof your tent as well because you’re always “better safe than sorry.”
What you want to see is the water beading up and rolling off the tent.
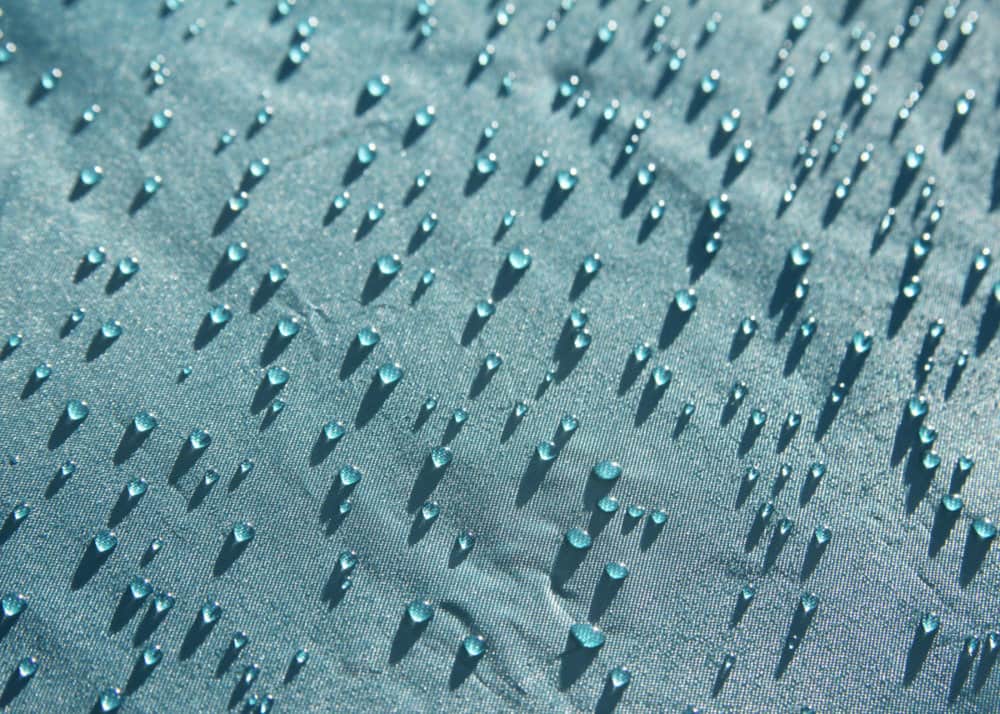
If you are not sure what your tent is made of, a quick Google search will help. Just check your tent manufacturer’s website. It’s worth the three minutes it takes to check rather than waste time and money on the wrong product!
As mentioned above in this article we’re focused on the most common tent fabric which is synthetic.
Here’s what you’ll need:
- A clean dry place to work
- A sponge (if your tent needs to be cleaned)
- Tent sealant of your choosing
- Gloves and a mask if needed
Applying the sealant is easy enough and should take less than half an hour once everything is ready to go.
How to waterproof the fabric of your tent:
The following instructions apply for Nikwax tent and gear solarproof, always remember to read the product instructions carefully.
- Set your tent up on a sunny day.
- Get your tent wet.
- Apply the sealant in a thin layer, avoiding the mesh parts of the tent. Paying special attention to the seams. Remove excess product with a sponge.
- Leave it dry (unless instructions state otherwise) before packing it away again.
In the following video, you’ll see how easy it is to waterproof the tent fabric. We recommend waterproofing the tent and then setting up the rain fly. More on that below.
Waterproofing polyester tent fabric
Recommended product for sealing tent fabric: Nikwax Tent & Gear Solarproof.
Nikwax Tent & Gear Solarproof is great protection against the harmful UV rays which quickly break down your tent’s sealant, and additional water-repellent all rolled into one.
It also leaves the fabric breathable which helps reduce condensation. Check current price on Amazon.
How to Waterproof Your Rain Fly
Waterproofing the tent rainfly: The rain fly is the fabric that stretches over the main body of your tent. This is a separate piece of fabric that is set up after you’ve set up your tent.
It takes the biggest amount of battering under both the harsh sun and during rainy weather so it is the one that will need to be re-coated most regularly.
Helpful tip: Don’t forget to seam seal your rain fly. See the section above on seam sealing your tent.
Once your seams are sealed and dry, you can move on to the fabric of your rain fly.
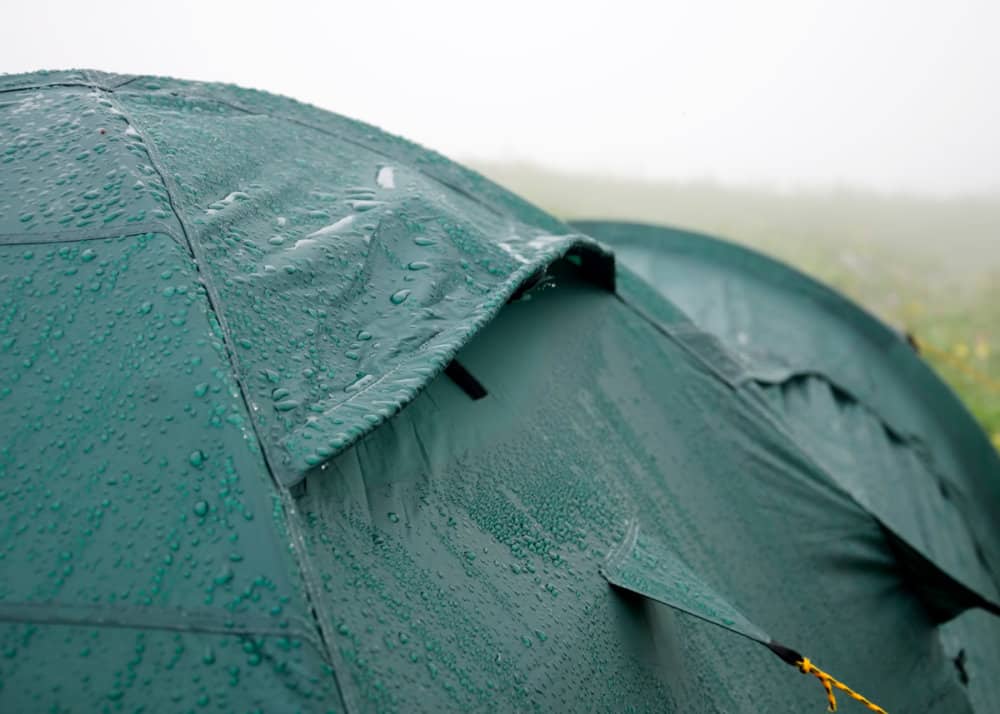
Resealing your rainfly will cause the water to bead and run straight off without having a chance to touch your tent.
What you’ll need:
- A clean dry place to work
- A sponge or damp cloth to clean the rain fly
- Gloves and a mask if needed
- Sealant of choice
How to check your rain fly:
Set the rain fly up on a sunny day, then give it a light spray with the garden hose. You will quickly see if it is still waterproof as the drops bead and runoff, or if the water is saturating the fabric and leaking through.
If it is leaking then you guessed it, it’s time to reseal your rain fly.
Learn how to put up a dome tent by yourself
Helpful tip: Make sure and check the fabric to see which sealant you will need because synthetic and natural fibers may need different sealants. There is no point wasting money on the wrong one. In this example, we are waterproofing a polyester (synthetic) rain fly.
How to waterproof your rain fly:
Waterproofing your rain fly is pretty much the same as waterproofing your tent. (See the video included in the above section about waterproofing your tent fabric.) These instructions apply for Nikwax Tent & Gear Solarproof.
- Once your tent has been waterproofed and is dry you can set your rain fly up over it.
- If it’s dirty, clean your rain fly with a sponge and let it dry fully.
- Wet your rain fly down with the hose.
- Spray the rain fly evenly with the sealant. After a moment take the sponge and wipe away any excess sealant so it can dry in one even layer.
- Leave to dry for a few hours.
Recommended product for waterproofing your rain fly:
Nikwax Tent & Gear Solarproof
As mentioned above this product helps guard against UV rays and makes your fabric water repellent, while leaving it breathable.
Nikwax is also easy on the environment, it does not contain propellant gases, is non-persistent, and is environmentally safe. It’s not tested on animals and contains no fluorocarbon. Check current price on Amazon.

Waterproofing and You
That’s it, all the tips and tricks you need for learning how to waterproof a tent. Now you can be sure to enjoy your next camping trip no matter what the weather conditions turn out to be.
Will you waterproof before heading out? Have you already waterproofed your own gear, how did it turn out? Please share your tips by commenting on this post.







Hi I sprayed my tent but from 3/4 down it streeked down the tent from excess from roof and windows I didn’t see and dried in streeks how can I fix the streaking
Great article on waterproofing a tent! We have had a tent for a couple years and this past trip water was seeping through. So I’m glad I found this website and directions on how to waterproof.
Glad to hear it Jackie! Happy (dry) camping.