How to Purify River Water for Drinking: 5 Methods
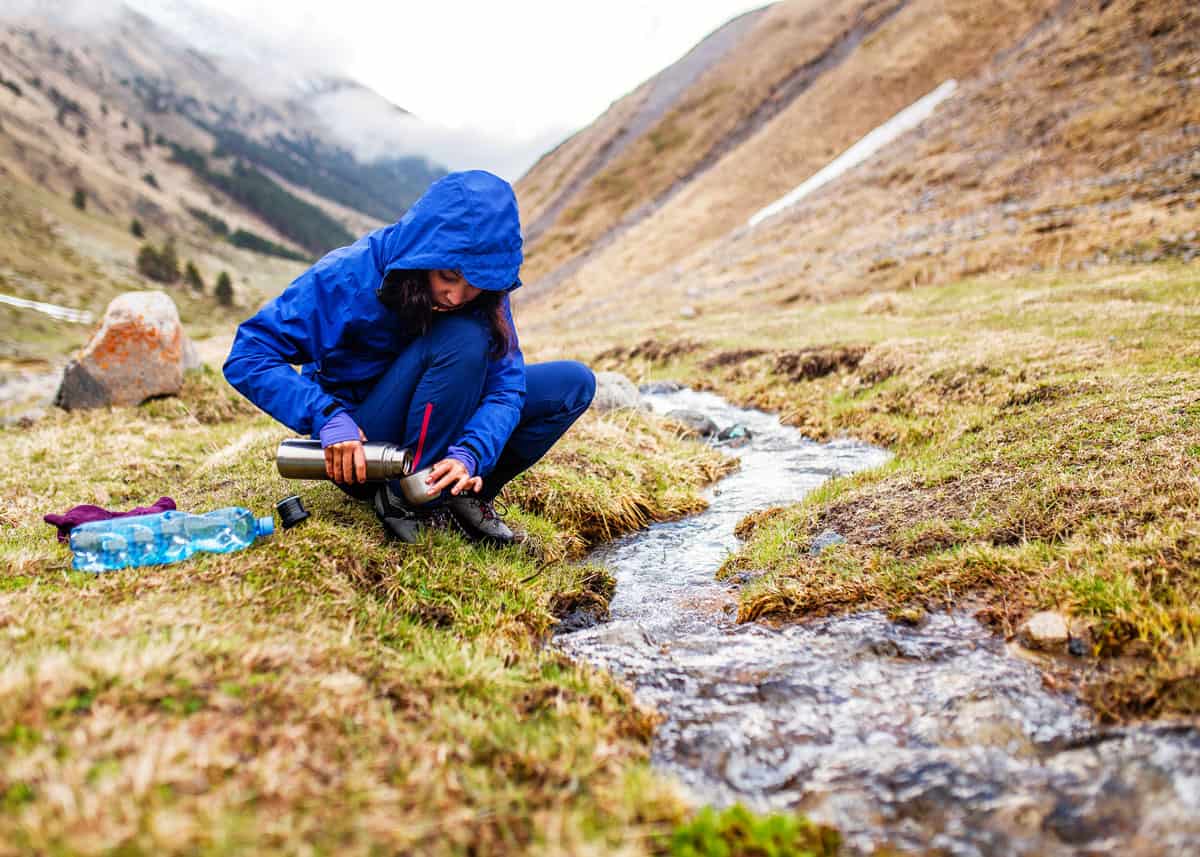
Are you still hauling your drinking water to your campsite? In this post, you’ll learn how to purify river water for drinking. These 5 methods range from free to expensive – and from easy to time-consuming. But clean water is critical and worth the effort.
More reading: Guide to Hiking Water: Hydration Tips, Gear, How Much to Drink…
How to Purify River Water for Drinking
So, how can we effectively purify water in a river? It isn’t too hard. Here are five ways to have clean water.
1. Boiling to Purify Water
Boiling Water: This is the most effective method to kill all bacteria. Just maintain a rolling boil for 1 minute (depending on elevation), let cool and you’re good to go. Here’s more about purifying water by boiling.
- Pros: No special gear needed. Just a campfire or camp stove and a container to boil the water in.
- Cons: Takes time to build a fire and bring the water to a boil. And then it takes time for the water to cool down – unless you’re also in the mood for some camp coffee.
Here’s how long you’ll need to boil water for safe drinking. And here are many ways to boil water while camping.
2. Survival Straws
These compact filtration tools are just 9″ long and weigh just 2 oz. (55 grams). Uses carbon filter to improve taste.
- Pros: Lightweight, flow rate of 1.7 liters/minute. Filters up to 1000/L per straw. Filters out 99.9% of waterborne bacteria and 99.9% of waterborne protozoan parasites. Inexpensive ($15-20)
- Cons: No way to bulk filter water for cooking – to filter the water you must suck it into your mouth. Doesn’t filter out chemicals or toxins.
Check current price of LifeStraw
3. Water Filtration
Hiking filtration systems work on a manual pump/gravity feed. These are practical for extended trips and can be used to fill tea kettles and water bottles with filtered water.
- Pros: Lightweight, removes bacteria, protozoa, cysts, algae, and chemicals. Improves taste.
- Cons: These are expensive and can cost from $60 to $180, although some can be under $20.
Check current price of Sawyer Filtration System
4. Water Sterilization
These tools differ from purifiers because they don’t remove the contaminants – they destroy them. The UV light disrupts the DNA of all bacteria, rendering them unable to replicate and cause infection.
Pros: Destroys more than 99.9 percent of harmful microorganisms, including giardia, bacteria, viruses and protozoa. Small and effective.
- Cons: They can be pricey and they need a power supply. They work best on clear water, so some river water might need to be prefiltered before using. The pre-filter could be as simple as running the water through a few layers of cloth.
Check current price of Steripen UV Purifier
5. Disinfecting Tablets
These tiny tablets are effective against viruses, bacteria, giardia and cryptosporidium. Just dissolve in the water, thoroughly mix and let sit for 30 minutes.
- Pros: Each tablet can purify up to 5 gallons of water and costs about $1 each. Easily carry many of these with no noticeable weight.
- Cons: Some hikers don’t like the idea of adding chemicals (primarily chlorine with effervescent) to their water supply.
For thru-hiking, many choose water filtration or UV sterilization to purify their water. River water is often a better choice than sitting water (like lake water).
That being said, it’s good to know what is upriver from where you’re collecting your water. While these methods will remove unwanted life, only #3 will remove toxins and chemicals.
Here are the best travel water filters – they are portable, effective, and great for travel and outdoor adventures.
Here are some other survival gadgets to consider for your next trip. Once you purify your water, here’s how to refill the freshwater tank of your RV.
These skills will be important on your next bushcraft camping trip.
Your Turn
How do you plan on purifying your water on your next trip? Let me know in the comments!





I like your water filter tips. My tap water is gross. I’ll have to get a water filter.
How to remove manganese from drinking water?