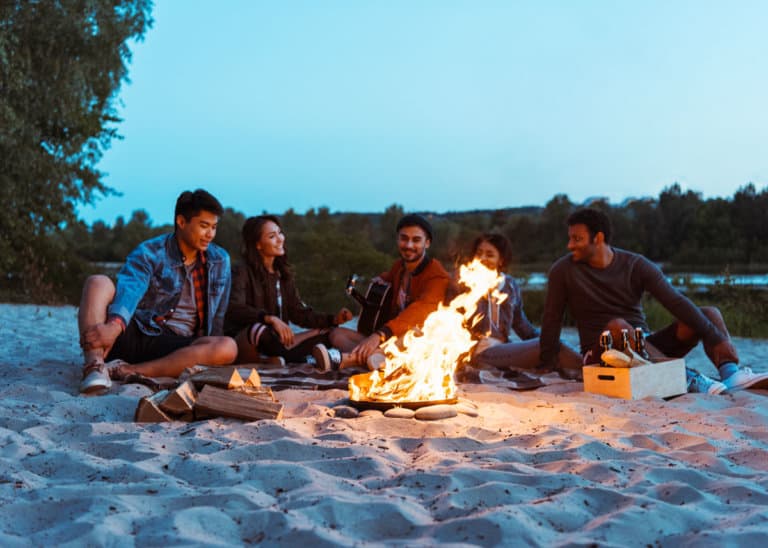
How to Start a Campfire: 6 Easy Ways to Build the Perfect Fire
Learn how to start a campfire in almost any situation. In this post, you’ll learn about the 6 best ways to start a campfire. And tips for ignition, smokeless fires, wet wood, wet days, campfire gear, and cooking tips.

How to Start a Campfire: Ultimate Guide
Me make fire. Fire good. Fire bring warmth and cook food.
In this post, you’ll learn six ways to start a campfire. And a whole lot more. Here’s what we’ll cover in this ultimate guide.
This post is divided into five sections:
- 6 ways to start a campfire (jump to section)
- How to make a smokeless campfire (jump to section)
- Lighting the campfire (jump to section)
- How to start a fire with wet wood (jump to section)
- Tools and gear for campfires (jump to section)
How to Start a Campfire: 6 Ways
Here are the six best ways to start a campfire:
- Classic Teepee Campfire
- Lean-To Campfire
- Log Cabin Campfire
- Upside Down Fire
- Wooden Rocket Stove
- Dakota Fire Hole
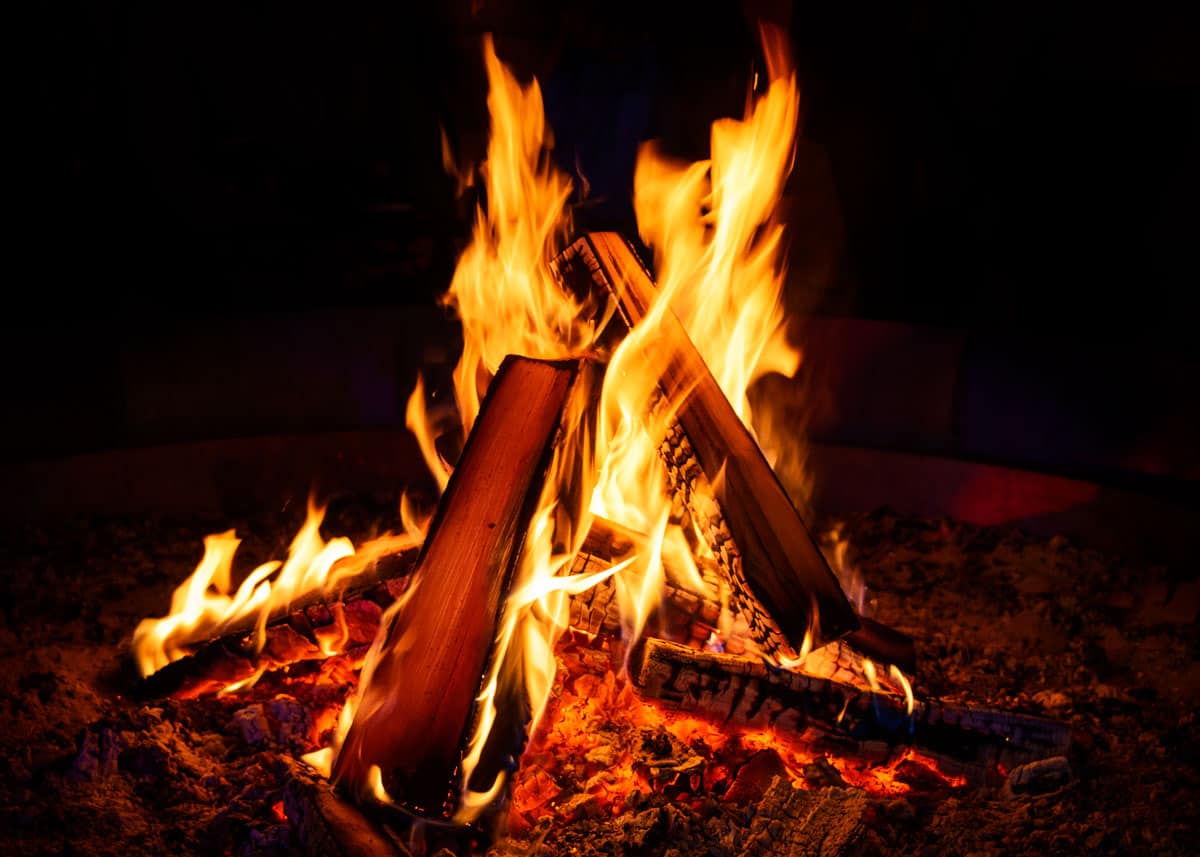
1. Classic Teepee: Best for Marshmallows and Storytelling
This is a good option for cooking snacks on the campfire – but isn’t the best for actually cooking a meal.
Here’s how to do it:
- Lay the kindling over the tinder in a shape of a teepee, leaning up against each other. For the first three or four, use smaller pieces of kindling and stick them into the ground for support. They shouldn’t be larger than twigs at this stage.
- You can then build up larger pieces of kindling over the top.
- Lean some extra smaller kindling pieces against the downwind side of the fire, with the upwind side left more open through all of the layers.
- After a few layers slowly building up the size, add a few pencil-sized sticks to the structure and dig these into the ground for further support. Some fuel-sized pieces of wood can go on the outside.
Once the structure collapses, the log cabin or cross design can be used to build up on top of it.
- Pros: Burns very hot and works with wet or green wood
- Cons: Burns fuel quickly, not great for cooking
2. Lean-To Campfire: Best for Beginners and Windy Weather
This is an easy fire to make and it works well on windy days.
Here’s how to do it:
- Push a long piece of kindling into the ground so that it is sticking out at an angle over the tinder, pointing into the wind.
- Lean tiny pieces of kindling on the tinder bundle, smaller pieces of kindling onto the larger piece of kindling to create a lean to effect over the tinder, and then another layer of large kindling over the first layer.
- If you like you can then add another support stick and another couple of layers of kindling on top.
- Pros: Super easy to set up. Great for windy weather.
- Cons: Doesn’t give a good coal bed (not great for cooking). And won’t generate much heat.
After a night around the campfire, your clothes are going to smell pretty smoky.
Here’s how to get the smoke smell out of clothes.
3. Log Cabin: Best for Cooking a Meal (Low Maintenance)
This is a great fire for cooking. And it’s an easy setup.
Here’s how to do it:
- Surround your pile of tinder with kindling, stacking pieces at right angles like you are building the walls of a cabin.
- Place smaller pieces of kindling on top.
- Then around this structure, lay two pieces of fuel wood on opposite sides, then two slightly smaller pieces of wood parallel on the other two sides.
- Continue laying smaller or shorter pieces to form a cabin or pyramid shape.
Have extra kindling ready to drop into the center when it’s collapsing or when holes appear to fill them, until the outer edges catch fire.
- Pros: Great for cooking (creates hot coal bed) and low maintenance
- Cons: Doesn’t burn as hot as the teepee style
4. Upside Down Fire
This one goes against traditional logic. Usually, a fire is built with the tinder/kindling on the bottom and then built up from there. In the upside-down fire, you do just as the name suggests.
Last summer, a friend told me about it – and it sounded like a joke. But he built it and it worked perfectly. And because the large logs are on the bottom, there is nothing to crush the fragile new fire.
And you won’t have to add any wood for hours.
- Pros: Burns for a long time, without maintenance. Somewhat fool proof campfire.
- Cons: Takes some setup time and doesn’t require maintenance (you know you like to play with the fire).
Here’s how it works:
5. Wooden Rocket Stove
This is not your traditional campfire.
To make the rocket stove, you’ll need to drill two holes in a large log. One vertical and the other horizontal so that they meet in the center.
The vertical serves as a chimney and the horizontal is for air flow.
- Pros: Great for cooking, level surface for pot/pan. Requires limited fuel.
- Cons: Requires tool for drilling and a piece of cut firewood.
Here’s how to do it:
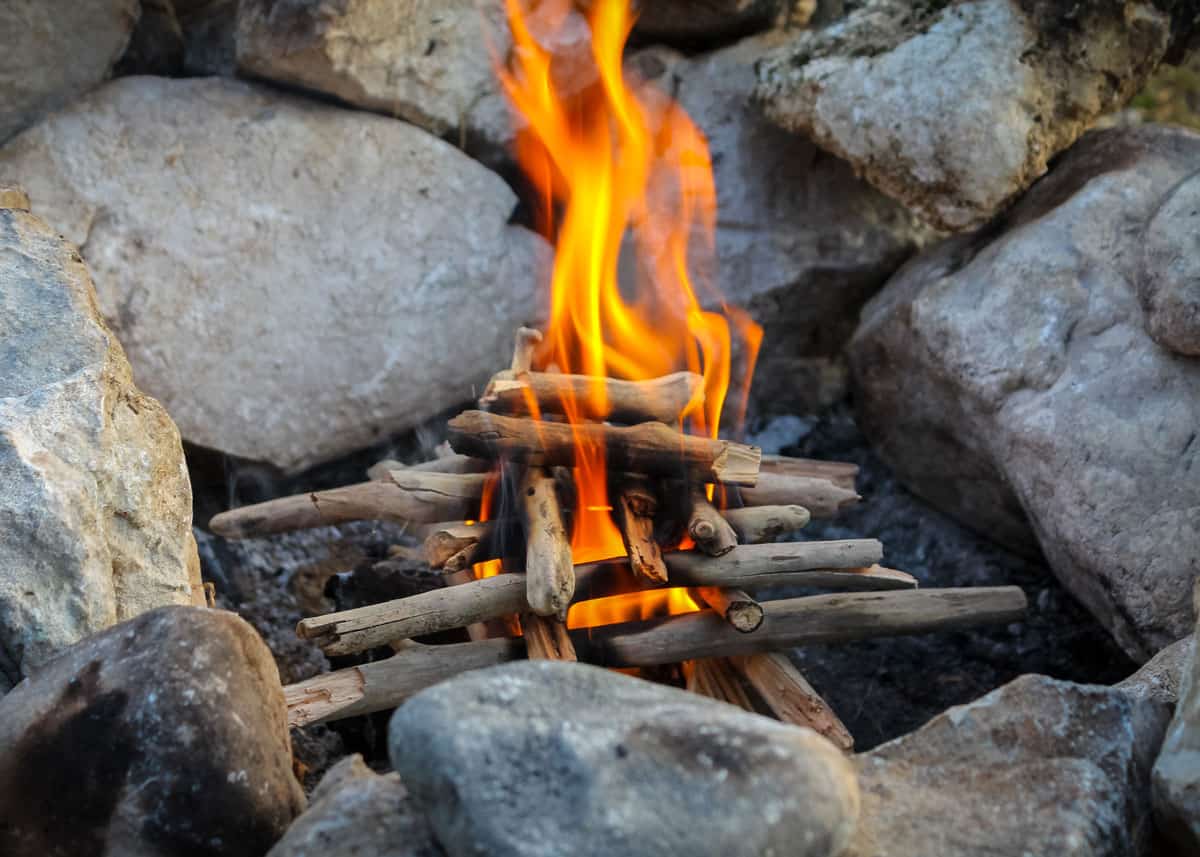
6. Dakota Fire Hole: Great for Windy Days and Leave No Trace
This is the most unconventional campfire in the list. It works great on windy days and when fuel isn’t plentiful.
Here’s how to make this campfire:
- Dig two holes about 10-12″ in diameter. One hole will be for the fire/fuel. The secondary hole will serve as the chimney.
- These two holes need to be close enough that they can be connected by the horizontal underground tunnel.
This allows air and fuel to reach the fire at the bottom of the hole.
- Pros: Burns hotter, with less fuel and less smoke than a traditional fire. It’s easier to clean up when you’re done – just fill in the hole. You’ll need a digging tool.
- Cons: Takes time to prepare and it can’t be used in every setting (rocky, sandy, or root-filled soil).
More reading: 55 Best Campfire Songs of All Time
How to Make a Smokeless Campfire
Smoke in the eyes will quickly take the fun out of a campfire. There are a few easy things to do that will reduce (even eliminate) a smoky campfire.
Why a campfire produces smoke: Smoke is unburnt fuel. To reduce smoke, increase the oxygen to the fire. Also, use dry, seasoned wood for a cleaner burn.
Here’s what you need to know, to make a smokeless fire:
Lighting the Campfire
You need fuel, air, and heat to start a fire. Remember that heat rises so when you are lighting the fire, you should light it underneath the fuel so that it can rise up into it.
So make sure that you place your lit match under your tinder so that the heat will rise up from there and catch the tinder and the kindling.
You should also light the fire with the fuel upwind from the flame. As you have already constructed the wood with the wind direction in mind, you should already know where the wind is coming from.
You can position yourself between the wind and your fire to act as a windbreak, as too much wind can put out the fire.
Finally, hold your match in place rather than throwing it into the fire. If you throw it in it is more likely to be extinguished by the journey or be snuffed out by dirt, and you will go through a lot more matches.
Lighting the Fire Without Matches
If you have no matches, you had better hope you have something else! If you don’t, then let’s get back to the caveman basics.
There are a number of different ways to start a fire using only nature’s tools. Honestly, none of them are easy but if you must, there are these options for you to try. Here are 16 ways to start a fire without matches.
How to Start a Fire with Wet Wood
If you are forced to start a campfire using wet wood, then this is still possible, but a bit more challenging.
As long as the wood is old, dead wood, it will be dry inside and the key will be burning off the water on the surface to get through to the dry wood underneath.
To do this, you will need to burn a much hotter fire to start with, which will mean burning a lot more tinder and kindling.
If you are using logs from a log pile, make sure you find the driest logs on the inside of the pile to improve your chances of getting a fire going with the least effort. If the ground is wet, you can also create a platform with rocks to keep the fire off the wet ground.
You’ll need lots of tinder and kindling. You should be able to find dry tinder somewhere, it’s important that you do – as without dry kindling this definitely won’t work.
Perhaps in a big pile of leaves or under a tree or even an old newspaper from your car.
Other bizarre but useful items that may help start your fire are corn chips, dry spaghetti, steel wool, clothing, toilet paper, or firelighters (you may need this extra assistance when it is wet).
You can make kindling from a larger piece of wood or log by shaving bits off and using the drier wood inside. However you source this kindling, make sure that it’s dry and you have a lot of it.
When it’s wet, it’s best to use the teepee method of fire building that I described earlier as it will allow for more airflow and will dry more pieces of wood more quickly.
Once you have your fire structure ready, start the tinder burning; you may need to blow on it to encourage it.
As the fire slowly builds, you can slowly place more wood. Do this slowly and carefully; if you add too much damp wood it may also dampen the fire.
Wet Wood Tip: Have plenty of wood nearby the fire, close enough to allow the fire to warm and dry the wood. However, always make sure that you keep fire safety at the top of your agenda at all times, no matter what.
Campfire Tools and Gear
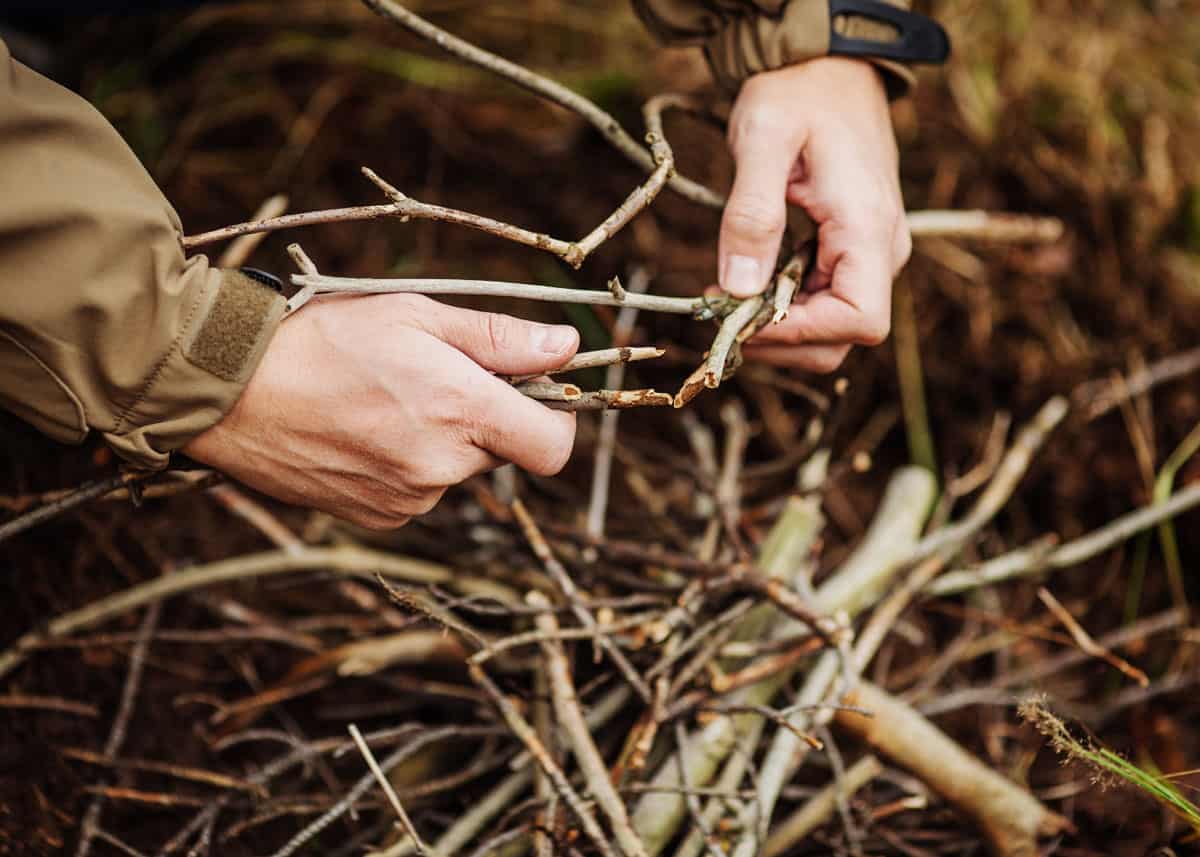
Wood: Without wood, there is no campfire. There are three types of wood you will need:
- Tinder: This is made up of small twigs and dry leaves, as well as grass and needles.
- Kindling: This is made up of larger sticks and twigs.
- Fuel: This is made up of larger pieces of wood, ideally as dry as possible
- Log Tweezers: for picking up and moving logs in the fire
- Grill/Cooking Grate: many come with support legs to hold it level over the campfire.
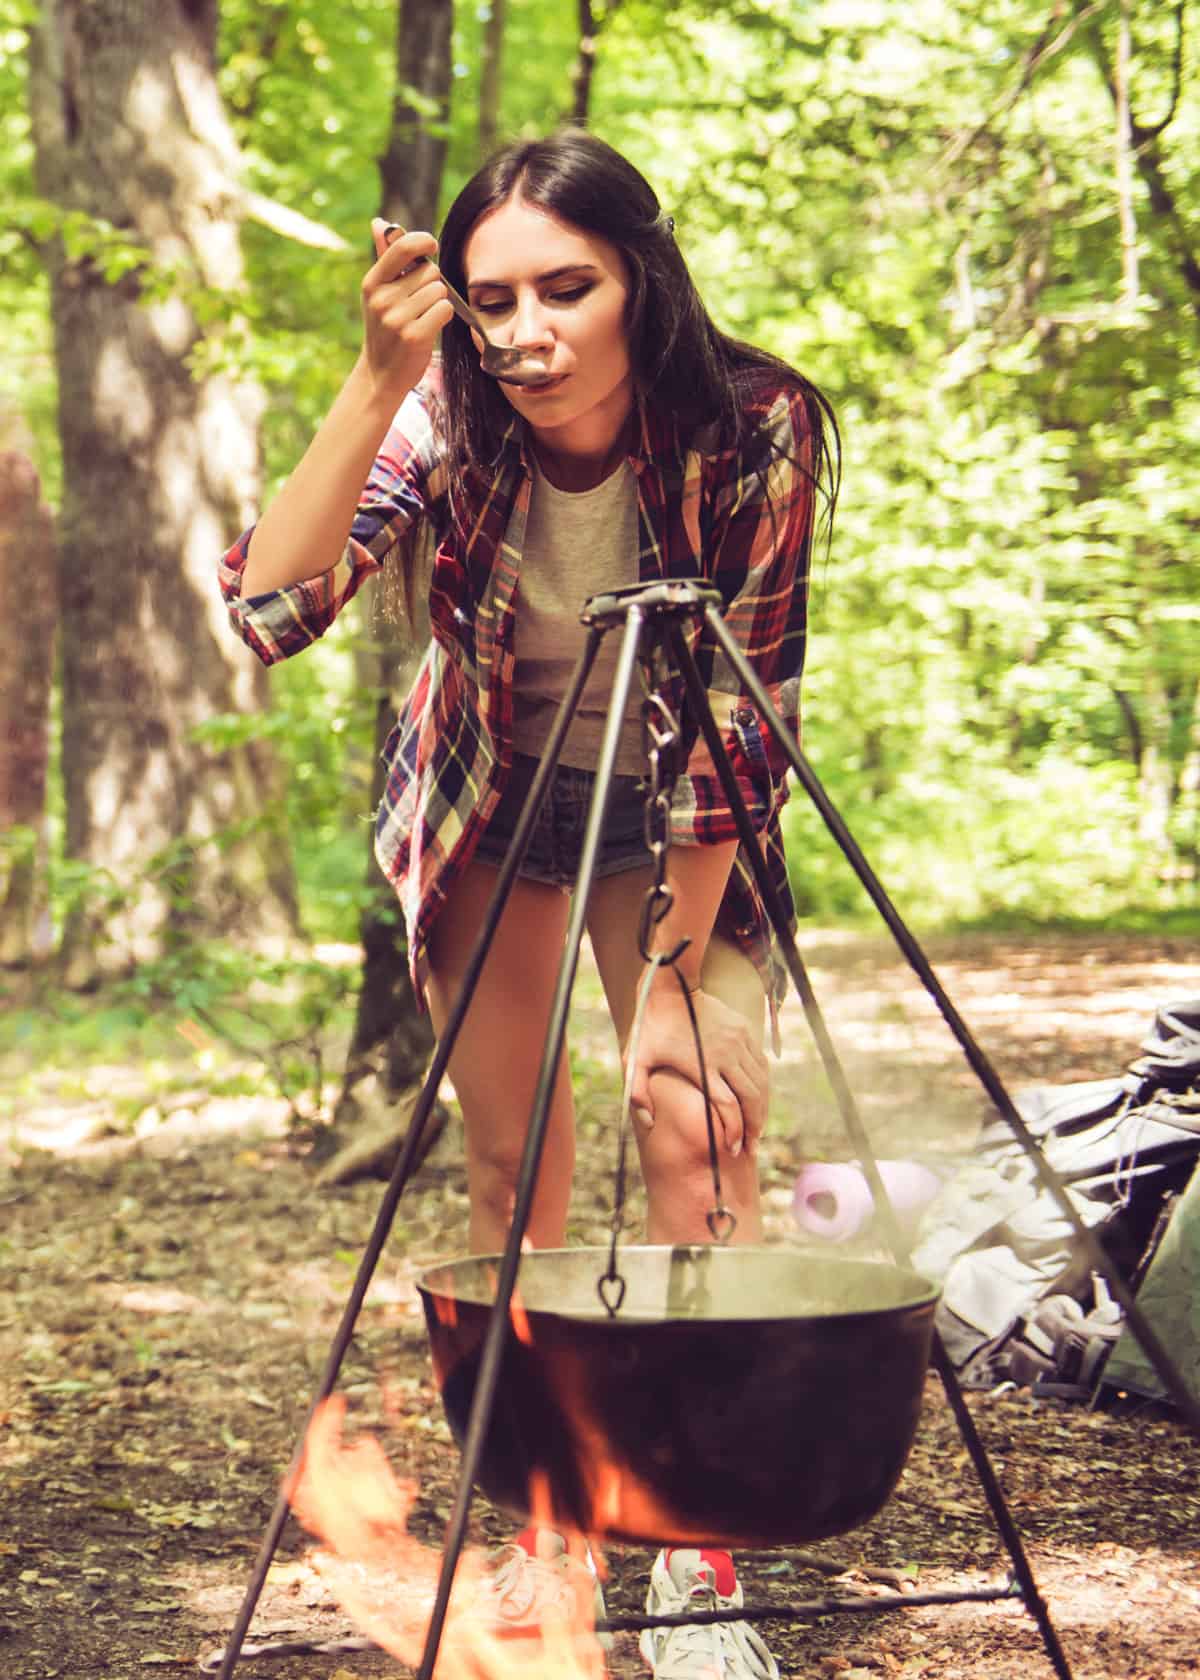
- Dutch Oven and Cast Iron Skillets: for roasting and frying. The Dutch oven also works for boiling water and making soup.
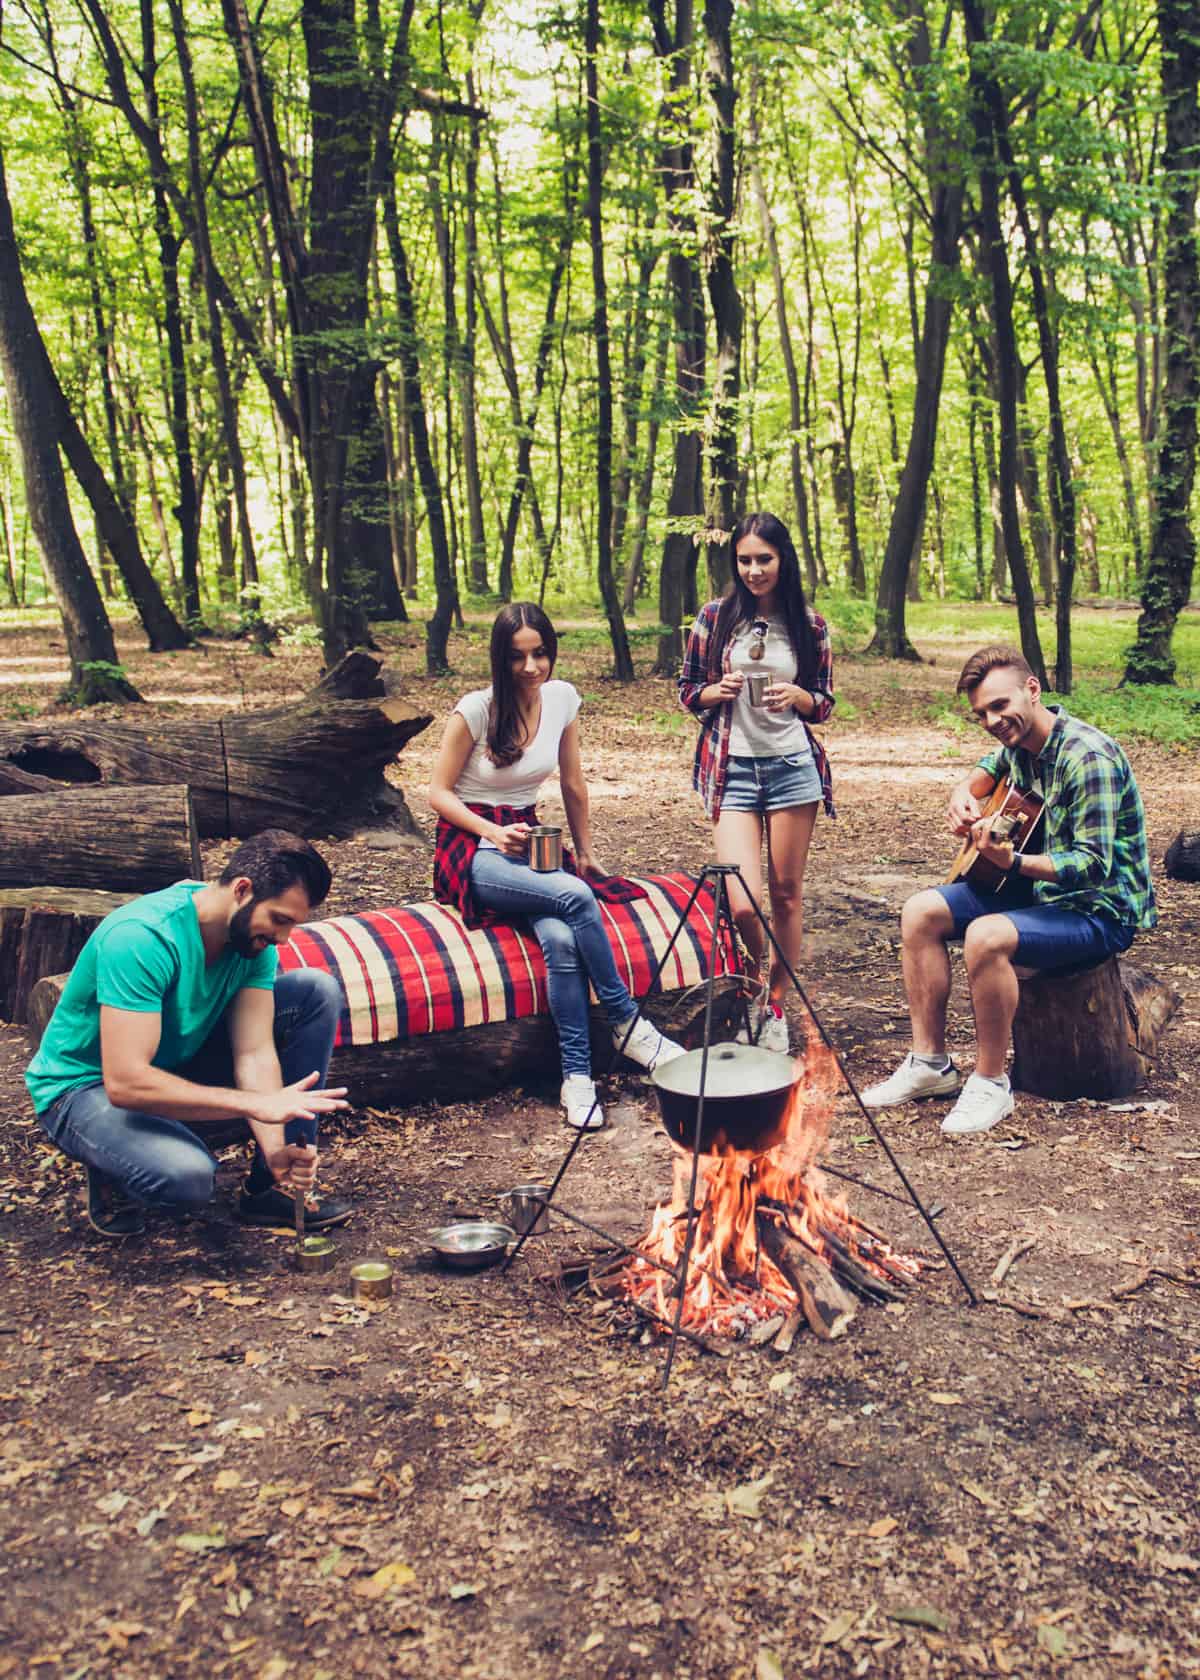
- Campfire Tripod: is a great addition to the Dutch oven. Easily hang your pot directly over the campfire.
Some other tools you might consider are oven mitts, metal skewers, cooking tongs, aluminum foil, and fire starters.
And don’t forget to bring ingredients for s’mores! Graham Crackers. Chocolate. Marshmallows. Here’s a great set of recipes for campfire s’mores.
Here are 9 methods to make coffee while camping.
Your Turn
What’s your favorite way to start a campfire? What’s your best tip for campfire cooking? Join me in the comments!